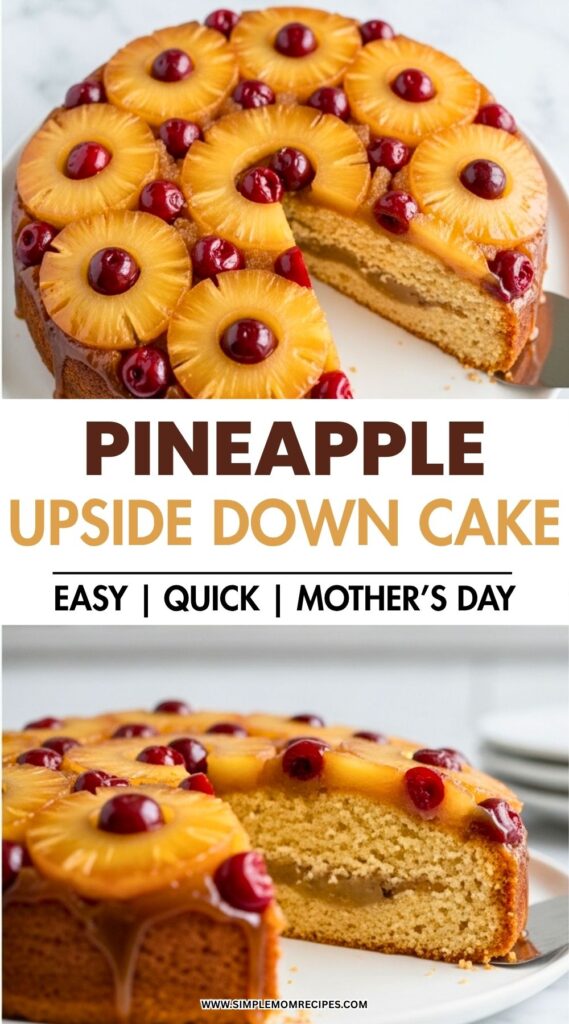
Sweet pineapple rings caramelized in brown sugar, flipped into a buttery cake that soaks up every drop – slightly messy, deeply nostalgic, and worth it.
A small thing that almost ruined it
The sugar started burning before I even got the batter ready. I was standing there, wooden spoon in one hand, staring at the pan like it betrayed me. It went from golden and bubbly to “wait… is that too dark?” in maybe ten seconds. I almost dumped it and started over, but I didn’t. I scraped a little off the edge, sniffed it, decided it still smelled like caramel and not regret, and kept going.
That’s kind of how this cake goes for me every time. It never feels perfectly controlled. There’s always a moment where I think I messed something up, and then somehow it still turns into this soft, sticky, glossy-topped thing that people get weirdly quiet while eating.
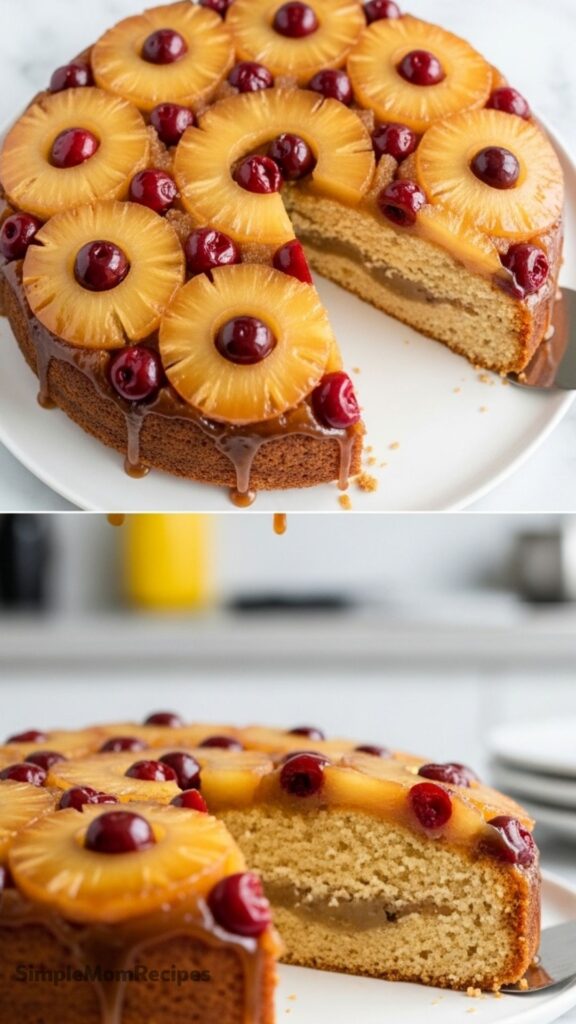
This pineapple upside down cake is soft and buttery with a caramelized brown sugar pineapple & cherry topping. Its juices seep down into the cake, adding even more luscious flavor and texture. That description sounds neat and tidy, but in my kitchen it’s more like sticky counters, a slightly uneven pineapple pattern, and me wiping syrup off my fingers mid-step.
Ingredients I Used for the Recipe
- 1/4 cup unsalted butter (melted, for that glossy caramel base)
- 1/2 cup brown sugar (packed, gives that deep caramel flavor)
- 8–10 pineapple rings (I used canned, easier and consistent)
- 15–20 maraschino cherries (mostly for color, but also sweet pops)
- 1 and 1/2 cups cake flour (lighter crumb, worth it)
- 1 teaspoon baking powder (helps lift under all that fruit weight)
- 1/4 teaspoon baking soda (just a little extra push)
- 1/2 teaspoon salt (balances the sweetness)
- 6 tablespoons unsalted butter (softened, for the batter)
- 3/4 cup granulated sugar (keeps the cake tender)
- 2 egg whites (makes the texture softer, not heavy)
- 1/3 cup sour cream (adds moisture and slight tang)
- 1 teaspoon vanilla extract (basic but important)
- 1/4 cup pineapple juice (from the can, ties flavor together)
- 2 tablespoons milk (loosens the batter just enough)
How to make Pineapple Upside Down Cake?
Step 1 – Start with the topping, even if it feels backward
I melted the butter right in the pan. Not even a separate bowl because I didn’t feel like washing more dishes. Once melted, I sprinkled the brown sugar evenly. It looks grainy at first, then slowly melts into something glossy and a little thick.
I dried the pineapple rings with a paper towel. I used to skip that. Bad idea. Too much liquid makes everything weirdly soggy later. Now I pat them dry like I actually care.
Then I arranged the rings. Not perfectly. I always think I’ll make it symmetrical, then I just… don’t. Cherries go in the centers, a few in random gaps. It still looks good after flipping, somehow better than when I overthink it.
Step 2 – Chill the pan briefly
I stuck the whole pan in the fridge for a few minutes while I made the batter. It helps the topping settle a bit so it doesn’t float around when you pour batter over it. I didn’t do this the first few times and everything shifted like a mess.
Step 3 – Mix dry ingredients without overthinking
Flour, baking powder, baking soda, salt. I whisked it quickly. I didn’t sift. I know people say to sift, but I rarely do unless there are obvious lumps. It’s been fine so far.
Step 4 – Cream butter and sugar until it looks right
I beat the softened butter and sugar until it turned pale and fluffy. This part matters more than I used to think. If I rush it, the cake ends up denser than it already naturally is.
Then egg whites went in. It looks slightly weird at this stage, kind of slippery, but it smooths out. Then sour cream and vanilla. At this point I always taste a tiny bit. Not necessary, just habit.
Step 5 – Combine everything gently
Dry ingredients go into wet. I mixed on low, then poured in pineapple juice and milk slowly. The batter gets thick but still spreadable. I almost overmixed it once and the cake came out tougher, so now I stop as soon as it looks combined, even if I feel unsure.
Step 6 – Spread batter over the topping
I took the pan out of the fridge and spooned the batter on top. It doesn’t spread perfectly on its own, so I nudged it around with a spatula. I try not to disturb the fruit underneath, but honestly it happens sometimes.
Step 7 – Bake and watch the edges
Into the oven it goes. Around halfway, I loosely covered the top with foil because it was browning faster than I liked. The edges started bubbling up with caramel. That smell is the moment I know it’s working.
Sometimes a little syrup drips over the sides. I’ve learned to place a tray underneath because cleaning burnt sugar off the oven is not something I want to repeat.
Step 8 – Cool, then flip
This part makes me nervous every time. I let it cool for about 20 minutes. Not longer, not shorter. Then I flipped it onto a plate. One quick motion.
Sometimes a pineapple sticks. I just pick it up and put it back where it belongs. No one notices.
That texture nobody explains properly
This cake is not light like a regular sponge. It’s heavier, but in a good way. The fruit on top – well, technically bottom while baking – presses down on the batter. So it stays soft but slightly dense.
I read somewhere that using egg whites instead of whole eggs helps keep it from getting too heavy, and yeah, I noticed the difference. Also switching to creamed butter instead of melted in the batter makes it softer. Small changes, big effect.
And the edges. The edges get a little sticky and caramelized where the sugar bubbles up. Those are my favorite parts. I always cut around them first.
A random habit I can’t stop doing
I always make this cake when I feel like I need something that looks impressive but doesn’t require frosting. That’s honestly half the appeal. The topping is already there. No decorating, no fixing mistakes with icing.
Also, I never refrigerate it right after baking. I tried that once to “speed things up” and it turned weirdly dense and less flavorful. Now I just wait. It slices cleaner once it’s fully cooled anyway.
And I always sneak a warm piece even though it falls apart slightly. Worth it.
Tips
- Blot the pineapple and cherries well. Extra moisture makes the cake too wet.
- Don’t overmix the batter. Stop when it just comes together.
- Use room temperature ingredients. It actually makes mixing easier.
- Place a tray under the cake in the oven to catch any drips.
- Let it cool before flipping. Too early and it turns into a syrupy mess.
- If something sticks after flipping, just fix it. No one will know.
I’ve made versions of this before that overflowed or tasted too wet. Too much batter was usually the problem. Reducing it slightly and focusing on balance changed everything. It’s still a bit messy, still not perfect, but better.
And yeah, it’s one of those cakes that doesn’t need a special occasion. It just kind of fills the room with that warm, caramel smell and suddenly people are standing closer to the kitchen than usual.
That’s usually when I know it turned out right.
Pineapple Upside Down Cake Recipe
Description
This improved Pineapple Upside Down Cake features a soft, buttery crumb and a luscious caramelized brown sugar topping with pineapple rings and maraschino cherries. Updated for better texture using cake flour and egg whites, this retro favorite is moist without being overly wet. Perfect for any celebration or holiday gathering.
Ingredients
Topping
Cake Batter
Instructions
Prepare the Topping
Preheat oven to 350°F (177°C). Pour 1/4 cup melted butter into an ungreased 9-inch round cake pan or pie dish (at least 2 inches deep). Sprinkle brown sugar evenly over the butter. Blot excess liquid from pineapple slices and cherries with paper towels. Arrange pineapple slices and cherries on top of the brown sugar. Place pan in the refrigerator to set while you make the batter.Chilling helps prevent the fruit from floating during baking.Mix Dry Ingredients
Whisk the cake flour, baking powder, baking soda, and salt together in a medium bowl. Set aside.Cream Butter and Sugar
Using a handheld or stand mixer fitted with a paddle attachment, beat the softened butter on high speed until smooth and creamy, about 1 minute. Add the granulated sugar and beat on high speed until creamed together, about 2 minutes. Scrape down the sides and bottom of the bowl as needed.Creaming ensures a soft crumb.Add Wet Ingredients
Beat in the egg whites on high speed until combined. Beat in the sour cream and vanilla extract. Scrape down the sides of the bowl again.Combine Batter
Turn the mixer to low speed. Add the dry ingredients and mix until just combined. Slowly pour in the pineapple juice and milk while mixing on low. Beat just until combined; do not over-mix. The batter will be slightly thick.Assemble and Bake
Remove the pan from the refrigerator. Pour and spread the cake batter evenly over the topping. Bake for 43-48 minutes. Tent with foil halfway through baking to prevent over-browning. The cake is done when a toothpick inserted into the center comes out mostly clean with a few moist crumbs.Place a baking sheet on the rack below to catch any potential drips.Cool and Invert
Cool the cake in the pan on a wire rack for exactly 20 minutes. Run a knife around the edges to loosen, then invert onto a serving plate. Allow to cool completely before slicing for cleaner cuts, or serve warm.Do not refrigerate to speed up cooling as it may make the cake dense.
Nutrition Facts
Servings 10
- Amount Per Serving
- Calories 340kcal
- % Daily Value *
- Total Fat 12g19%
- Saturated Fat 7g35%
- Cholesterol 35mg12%
- Sodium 240mg10%
- Potassium 180mg6%
- Total Carbohydrate 56g19%
- Dietary Fiber 1g4%
- Sugars 38g
- Protein 3g6%
* Percent Daily Values are based on a 2,000 calorie diet. Your daily value may be higher or lower depending on your calorie needs.
Note
Make Ahead: You can prepare the topping and refrigerate it in the pan for up to 1 day. Cover tightly. The cake is best served the day it is made. Store leftovers covered at room temperature or in the refrigerator for up to 3 days.
