Smoky, slightly charred corn with a hit of lime and spice in under 10 minutes – one small trick makes the kernels stay juicy instead of dry.
I always think I’m paying attention. I’m not.
The grill was already hot, like really hot, and I tossed the corn on without oiling it first. Just straight onto the grates. It stuck. Of course it did. I stood there poking at it with tongs like that would fix anything.
That first batch? Half golden, half torn. Still ate it though. Just… learned fast after that.
Now I keep it simple, but I don’t skip the tiny stuff anymore. A little oil. High heat. No foil. No boiling. Just corn doing its thing over fire, getting those dark spots that taste way better than they look.
Grilled corn on the cob is one of those things that feels too easy to mess up, which is weird because it’s also one of the easiest things to make right.
A quick moment before cooking started
I stood at the sink peeling back husks, and there was silk everywhere. Stuck to my fingers, my shirt, somehow even on the counter behind me.
I never fully get it all off. I try. Then I give up halfway and tell myself a few strands won’t matter. They don’t.
The corn itself looked good though. Bright, tight kernels. Slightly sticky silk at the top. That’s always a good sign. I don’t overthink it beyond that.
I also don’t trim the ends. I used to, for no real reason. Now I just leave them. Less work, same result.
Ingredients I Used for the Recipe
- 6 ears of corn – husked and mostly cleaned, a few silk strands left because I’m not chasing perfection
- 2 tablespoons olive oil – just enough to coat so it doesn’t stick and helps with charring
- 1 teaspoon salt – added at the end so it actually sticks
- 1 lime, halved – for that sharp fresh hit right after grilling
- 1/2 teaspoon chili flakes – for a little heat, not too much
Something that almost ruined it
I almost covered the corn in foil.
I used to do that all the time because it felt safer. Like I was protecting it from burning. But foil just steams it. You lose the char. You lose that slightly smoky taste that makes grilled corn worth it in the first place.
So I didn’t. I almost did. Then I remembered how flat it tasted last time.
Also thought about boiling it first. Didn’t. Same reason. The corn cooks fast enough on its own if the heat is right.
High heat fixes most of these worries.
How to make Grilled Corn on the Cob?
Step 1 – Preheat the grill properly
I let the grill get really hot. Not warm. Not medium. Proper heat. About 10 minutes. You want that immediate sizzle when the corn hits.
Step 2 – Prep the corn
I peeled off the husks and most of the silk. Didn’t obsess over it. Then I brushed each ear lightly with olive oil. Not dripping, just a thin coat.
Step 3 – Place directly on the grates
I put the corn straight onto the grill. No foil, nothing underneath. It started sizzling right away, which is exactly what I wanted this time.
Step 4 – Turn, but not constantly
I turned the corn every couple minutes. Not every second. Let it sit long enough to actually char. Some spots got darker than others. I didn’t fight that.
Step 5 – Watch for popping
A few kernels popped slightly. It always surprises me, even though it happens every time. I stepped back a bit, then went back in with the tongs.
Step 6 – Pull it off at the right moment
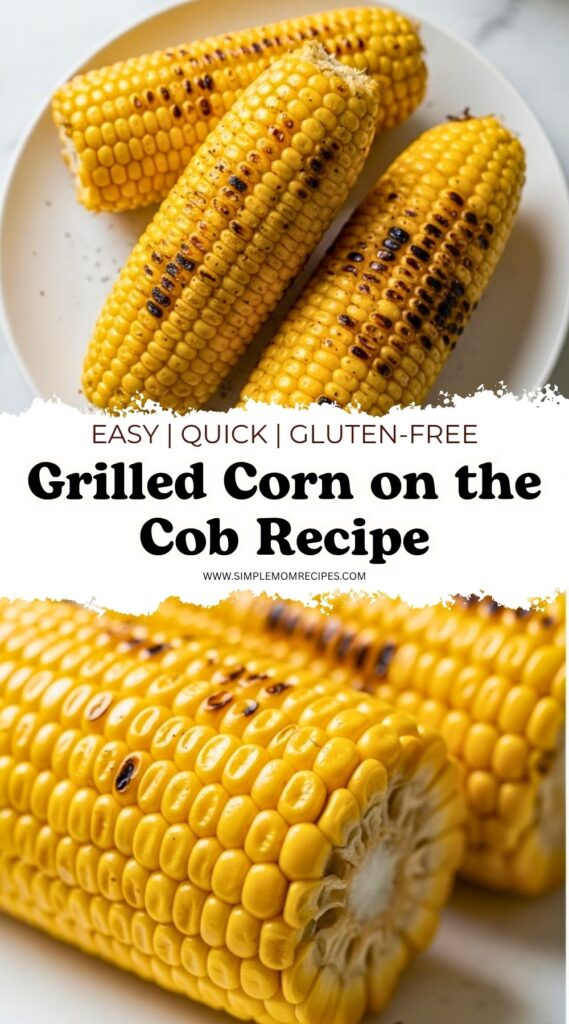
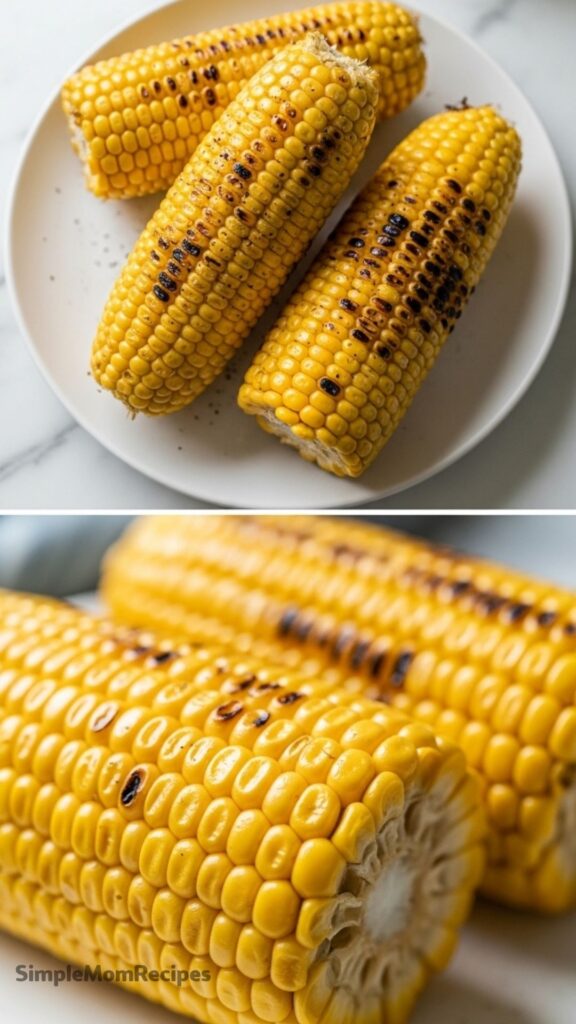
After about 10 minutes total, the corn looked unevenly charred in a good way. Some golden, some dark. That’s when I took it off.
Step 7 – Season immediately
While it was still hot, I rubbed a cut lime over each ear. It sizzled a little. Then I sprinkled salt and chili flakes right on top.
Didn’t wait. Ate one standing up.
Texture, smell, and that first bite
The smell hits first. Slightly smoky, a little sweet. Not heavy, just enough to make you stop and pay attention.
The texture is what I always notice. The kernels stay juicy if you don’t overcook them. That’s the thing. High heat, short time. If you leave them too long, they shrivel a bit. Still edible, just not great.
This batch came out right. A little snap when you bite in. Some kernels softer than others. That unevenness is kind of the point.
The lime cuts through the sweetness. The chili flakes sit in the background. Nothing complicated, but it works.
Tips
- Don’t skip the oil – I tried, it sticks and tears
- High heat matters more than anything else
- Skip boiling – it dulls the natural flavor
- Foil will steam the corn instead of charring it
- Turn occasionally, not constantly – let it actually develop color
- Season while it’s hot so everything sticks better
- Don’t stress over perfect husking – a few silk strands won’t ruin anything
- Eat it right away – it’s never as good once it cools down
I still mess it up sometimes. Leave it on too long. Forget to turn one side. But even then, it’s still grilled corn. Still better than most things I could’ve made with the same effort.
And honestly, that’s why I keep coming back to it. It doesn’t ask for much. Just a bit of attention. Which I’m still working on.
Grilled Corn on the Cob Recipe
Description
Experience the smoky, sweet, and savory flavors of summer with this easy Grilled Corn on the Cob. Inspired by street-side vendors in Egypt, this recipe skips the boil and foil to achieve perfectly charred, juicy kernels in under 10 minutes. Finished with a zesty squeeze of lime and a pinch of fruity Aleppo pepper, it’s a vibrant side dish that elevates simple corn into a memorable treat.
Ingredients
For the Grilled Corn
Optional Seasonings
Instructions
Prep the Grill and Corn
Preheat your outdoor grill to high heat (approx. 450°F/230°C). While the grill heats, remove the husks and silk from the corn cobs. Brush each ear lightly with extra virgin olive oil.Ensure the grill grates are clean and oiled to prevent sticking.Grill the Corn
Place the oiled corn directly on the hot grill grates. Cook for about 10 minutes, turning the cobs every 2-3 minutes to ensure even charring on all sides. You are looking for golden-brown char marks and tender kernels.Do not cover the grill; direct heat creates the best char.Season and Serve
Remove the corn from the grill and place on a serving platter. Immediately squeeze fresh lime juice over the hot corn. Sprinkle with kosher salt and Aleppo pepper (or red pepper flakes) to taste. Serve warm.For a creamy variation, top with feta cheese or a garlic aioli.
Nutrition Facts
Servings 6
- Amount Per Serving
- Calories 130kcal
- % Daily Value *
- Total Fat 5g8%
- Saturated Fat 0.7g4%
- Sodium 390mg17%
- Potassium 380mg11%
- Total Carbohydrate 22g8%
- Dietary Fiber 3g12%
- Sugars 8g
- Protein 4g8%
* Percent Daily Values are based on a 2,000 calorie diet. Your daily value may be higher or lower depending on your calorie needs.
Note
Storage: Store leftover grilled corn in an airtight container in the refrigerator for up to 3 days. Reheating is not recommended as it may dry out the kernels; instead, shave the kernels off the cob and use them in salads or salsas.
