I almost skipped the creamed corn. I had regular corn sitting in the fridge and thought, “close enough.” It’s not. I tried that once. Dry. Weird texture. Never again.
Canned creamed corn looks… questionable when you open it. Kinda gloopy. But that’s the magic. That’s what keeps everything soft instead of crumbly and sad.
Also, I never measure the butter perfectly. I just melt what feels right and hope for the best. It’s worked so far.
Ingredients I Used for the Recipe
- 3/4 cup yellow cornmeal – gives that signature grainy bite
- 1 1/2 cups all-purpose flour – softens the texture
- 1 tbsp baking powder – makes it rise properly
- 1/2 cup white sugar – just enough sweetness, not cake-level
- 1/4 tsp salt – balances everything
- 1 cup canned creamed corn – the key to moisture, don’t skip
- 1/2 cup melted butter – richness and flavor
- 2 eggs – helps structure, keeps it from falling apart
- 3/4 cup milk – loosens the batter
- 1 to 2 tbsp extra butter – for the skillet, for those crispy edges
How to make Cornbread recipe?
Step 1 – Heat the skillet first
I throw my cast iron skillet into the oven and preheat everything to 220°C. Yes, the empty skillet goes in cold. It feels wrong the first time. Do it anyway.
A hot pan is what gives that golden crust. Skip this and you get soft edges. Not bad, just… less exciting.
Step 2 – Mix the dry stuff
Cornmeal, flour, baking powder, sugar, salt. I dump it all into one bowl and stir quickly.
No sifting. I’m not in the mood for extra dishes.
Step 3 – Mix the wet ingredients
In another bowl, I whisk the eggs, then add milk, melted butter, and the creamed corn.
The texture looks weird here. Lumpy. Slightly thick. That’s fine. It’s supposed to look like that.
Step 4 – Bring it together
Pour wet into dry. Stir just until combined.
I always overmix a little. I tell myself “stop now” and then give it two more stirs. Try not to do that. It still works, but lighter batter = better crumb.
Step 5 – Butter the hot skillet
Carefully pull the skillet out. It’s screaming hot.
Drop in a spoon of butter. It melts instantly, foams a bit. I swirl it around fast before it browns too much.
Step 6 – Pour and bake
Pour the batter in. It should sizzle slightly. That sound? That’s the crust forming.
Turn the oven down to 190°C and bake for about 25 to 30 minutes.
Top should be golden. Not pale. Not too dark like mine almost was.
Step 7 – Let it sit (annoying but necessary)
I hate waiting, but give it 10 to 15 minutes. It firms up and slices better.
Cut too early and it crumbles. I’ve done it. Regret every time.
The texture situation (this is where it wins)
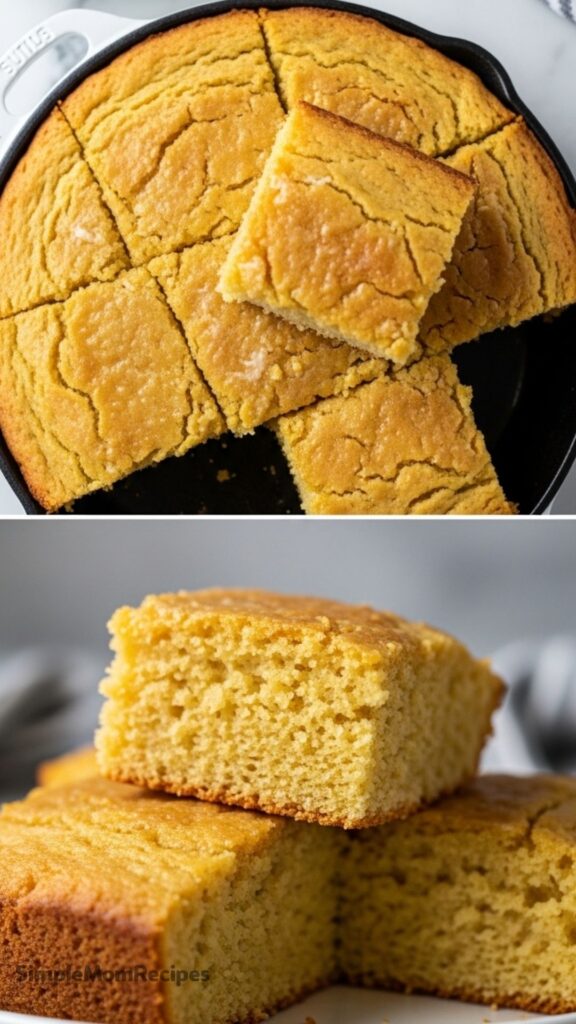
The edges are the best part. Always. Crisp, buttery, slightly crunchy. I’ve actually cut around the edges first and left the middle sitting there. No shame.
Inside is soft but not mushy. There’s a tiny bit of grain from the cornmeal. That contrast matters.
And the smell… warm, slightly sweet, a little toasty. It fills the kitchen fast. Not subtle at all.
Sometimes I drizzle honey on top. Sometimes I don’t. Depends how impatient I am.
When I usually make this
This shows up when I don’t feel like thinking too much.
It’s quick. No complicated steps. No waiting for dough to rise. Just mix, pour, bake.
I’ve made it alongside random dinners. Soup. Grilled chicken. Even just on its own when I wanted something warm and filling but didn’t want to commit to a full meal.
Also works when people say “don’t bring anything.” I bring this anyway. Nobody complains.
Tips
- Use creamed corn, not regular kernels. This one matters more than anything else.
- Don’t skip heating the skillet. That crispy edge depends on it.
- Stop mixing as soon as it comes together. Overmixing makes it dense.
- If the top browns too fast, loosely cover with foil for the last few minutes.
- Let it cool slightly before cutting. It holds together better.
- Add a little extra butter on top right after baking if you want it richer. I usually do.
It’s funny how something this simple can feel a little dramatic while you’re making it. Too hot, too brown, too thick… and then suddenly it’s perfect.
Or close enough that you stop caring and just eat it warm, straight from the pan.
That’s usually how it ends for me.
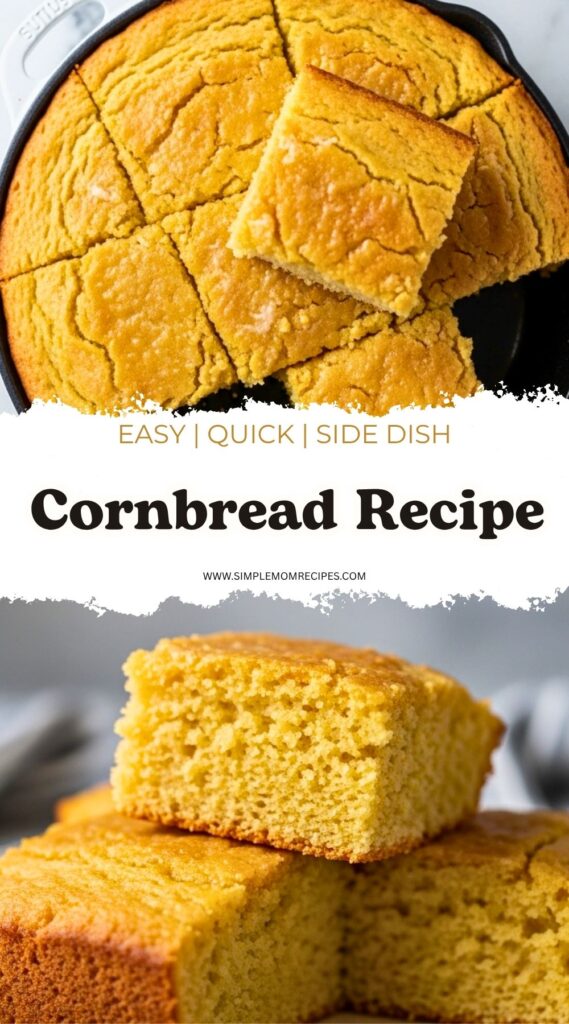
Cornbread Recipe
Description
This cornbread is legendary for a reason. It features crispy, buttery edges and a soft, moist interior with the perfect balance of savory and sweet. Made with canned creamed corn for extra moisture and flavor, this quick recipe comes together in just 30 minutes. It’s the ultimate side dish for pulled pork, chili, or BBQ, but delicious enough to enjoy on its own with a drizzle of honey.
Ingredients
Dry Ingredients
Wet Ingredients
For Baking
Instructions
Preheat and Prepare Skillet
Place a 26cm (10-inch) cast iron skillet in the oven and preheat to 220°C (425°F). This ensures the skillet is piping hot when the batter hits it.Mix Dry Ingredients
In a large bowl, whisk together the cornmeal, flour, baking powder, sugar, and salt until well combined.Mix Wet Ingredients
In a separate bowl or jug, mix the creamed corn, melted butter, whisked eggs, and milk until combined.Combine Batter
Pour the wet ingredients into the dry ingredients. Stir gently until just combined. Do not overmix; a few lumps are okay.Grease Hot Skillet
Carefully remove the hot skillet from the oven. Add 1 tablespoon of butter and swirl it around to coat the base and halfway up the sides. You can also use a brush if preferred.Be careful with the hot handle!Bake
Pour the batter into the hot skillet and smooth the top. Immediately turn the oven temperature down to 190°C (375°F). Bake for 25 to 30 minutes, or until the top is light golden brown and a skewer inserted into the center comes out clean.Cool and Serve
Let the cornbread cool in the skillet for 15 minutes before turning it out onto a serving platter or cutting board. Serve warm, ideally with extra butter and a drizzle of honey.
Nutrition Facts
Servings 9
- Amount Per Serving
- Calories 285kcal
- % Daily Value *
- Total Fat 12g19%
- Saturated Fat 7g35%
- Trans Fat 0.4g
- Cholesterol 65mg22%
- Sodium 320mg14%
- Potassium 180mg6%
- Total Carbohydrate 42g15%
- Dietary Fiber 2g8%
- Sugars 14g
- Protein 5g10%
* Percent Daily Values are based on a 2,000 calorie diet. Your daily value may be higher or lower depending on your calorie needs.
Note
Cornmeal Note: In Australia and some other regions, cornmeal is often sold in packets labeled as 'Polenta'. Ensure you buy standard cornmeal/polenta, not 'instant' polenta, for the best texture.
Creamed Corn: Do not substitute with whole kernel corn. The pureed texture of creamed corn is essential for the moisture and density of this specific recipe.
