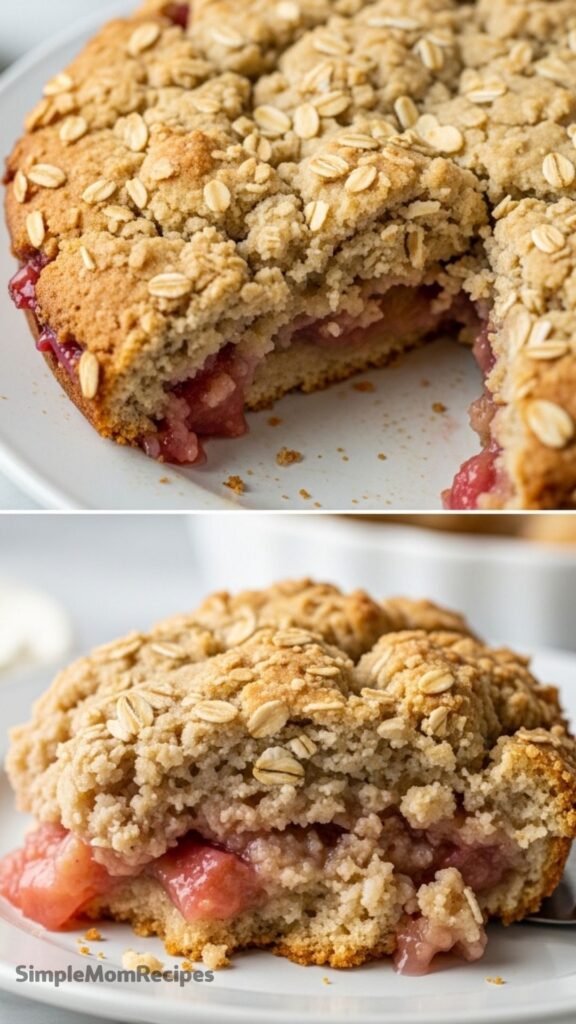
Tangy, jammy rhubarb tucked under a golden biscuit topping, slightly messy and bubbling at the edges, the kind of dessert that tastes better than it looks
The oven was already too hot. I forgot I’d cranked it up earlier for something else, so when I slid the dish in, it hissed louder than it should. Not dramatic, just that sharp little sound that makes you pause and think, alright, this might go sideways. I almost pulled it back out. Didn’t. Shut the door and hoped for the best.
That’s kind of how this cobbler went from start to finish. Not perfect, not planned out cleanly, but somehow it still landed exactly where it needed to. Soft, tart rhubarb underneath, a slightly uneven, crumbly topping that crisped in some spots and stayed tender in others. Honestly, I like it better that way.
A small thing I always do before baking
I don’t measure everything right away. I line things up first. Bowls, butter, sugar, the rhubarb sitting there looking kind of aggressive with those sharp edges. Then I start. It slows me down just enough so I don’t forget something obvious.
Still forgot to soften my grip while mixing the topping. I went at it too hard, like I was kneading bread. Cobbler doesn’t want that. It wants a light hand. I caught it halfway through and stopped, but yeah, you can tell in the final texture. Not bad. Just a bit denser in a couple of bites.
Ingredients I Used for the Recipe
- 500g fresh rhubarb, chopped – the sharp, tangy base that softens into something jammy
- 200g demerara sugar – gives a deeper sweetness and slight crunch in the filling
- 140g all-purpose flour – structure for the topping
- 1½ tsp baking powder – helps the topping lift and not sit flat
- 50g sugar – just enough to sweeten the topping without overpowering
- ¼ tsp salt – balances everything, even the sweetness
- 113g cold butter – creates those crumbly bits when mixed in
- 50g rolled oats – adds texture, a little chew
- 150ml whole milk – brings the topping together into a soft dough
How to make Rhubarb Cobbler (Traditional Recipe)?

Step 1 – Get the oven going
I set the oven to 190C. Or at least I meant to. Like I said earlier, it was already hotter than that. If you’re paying attention, stick to 190C. It’s enough.
Step 2 – Prep the rhubarb
I chopped the rhubarb into rough pieces. Not perfect cubes. Some bigger, some smaller. Threw them into a baking dish and poured the sugar over. Mixed it with my hands. It felt gritty and slightly wet almost immediately.
Step 3 – Let it sit for a minute
I didn’t plan this, but I got distracted and left it sitting. Came back and there was already juice pooling at the bottom. That actually helped later.
Step 4 – Make the topping
Flour, baking powder, sugar, salt into a bowl. Then the butter. Cold. Cut into small chunks. I used my fingers instead of a tool, which is probably why I overworked it a bit. You want crumbs. Not paste.
Step 5 – Add oats and milk
Stirred in the oats, then poured the milk. Mixed just until it came together. It looked uneven. Some dry bits still visible. I left them. It works out better that way.
Step 6 – Assemble without overthinking
I dropped spoonfuls of the topping over the rhubarb. Didn’t spread it evenly. Gaps are good. They let the fruit bubble up and caramelize around the edges.
Step 7 – Bake and watch
Into the oven. Around 50 minutes. I checked too early, of course. The top looked pale, so I left it longer. Eventually it turned golden with a few darker spots. That’s when I pulled it out.
Step 8 – Let it rest, even if you don’t want to
This part is annoying. It smells ready. It looks ready. But if you scoop it immediately, it’s basically lava. I gave it 25 minutes. Still warm, but not dangerous.
Something that almost ruined it
Sugar. I almost added more. The rhubarb tasted really sharp when I tried a raw piece, and I thought, this needs help. But I held back. Good call. Once it cooked down, it mellowed out on its own.
There’s this moment where you second guess everything. Especially with rhubarb. It tricks you into thinking it’s harsher than it will be. Baking softens it in a way that’s hard to explain. Still tangy, but rounder.
How it turned out in the end
The top wasn’t perfectly even. Some parts crisp, some softer. I actually like hitting those different textures in one spoonful. The rhubarb underneath broke down into this thick, slightly stringy filling. Not too runny because I let it rest long enough.
I tried it plain first. Then with a bit of cold cream. The contrast worked better than I expected. Warm, slightly tart fruit with that cool, smooth finish on top.
I went back for another serving later when it had cooled completely. Different experience. Firmer, a little sweeter somehow. Not better or worse. Just different.
Tips
- Don’t overmix the topping. Stop when it looks unfinished
- Leave gaps when adding the topping, it helps the texture
- Let the cobbler rest before serving or it will be too loose
- If your rhubarb is very tart, resist adding too much extra sugar right away
- Cold butter matters more than you think for that crumbly top
Traditional Rhubarb Cobbler Recipe
Description
This comforting rhubarb cobbler celebrates the bold, tangy flavor of fresh rhubarb paired with a lightly sweet, golden oat topping. A rustic dessert rooted in tradition, it comes together with simple pantry staples and delivers a perfect balance of tart fruit and soft, biscuit-like crust. Ideal for spring and early summer, this cobbler is best enjoyed warm with a creamy accompaniment.
Ingredients
For the Rhubarb Filling
For the Cobbler Topping
Instructions
Prepare Oven
Preheat your oven to 190°C (375°F) and lightly grease a baking dish.Make Filling
Place the chopped rhubarb into the baking dish and toss it evenly with sugar. Spread it out into an even layer.Prepare Topping
In a bowl, combine flour, baking powder, salt, and sugar. Add the cold butter and rub it into the mixture until it resembles coarse crumbs.Cold butter ensures a tender textureAdd Oats and Milk
Stir in the rolled oats, then pour in the milk and mix gently until a soft dough forms. Do not overmix.Assemble Cobbler
Spoon the topping over the rhubarb, leaving small gaps so the fruit can bubble through while baking.Bake
Bake uncovered for about 50 minutes, until the topping is golden brown and the rhubarb filling is bubbling.Cool and Serve
Allow the cobbler to rest for 20–30 minutes before serving so the juices can thicken slightly. Serve warm.Pairs well with ice cream or whipped cream
Nutrition Facts
Servings 6
- Amount Per Serving
- Calories 320kcal
- % Daily Value *
- Total Fat 12g19%
- Saturated Fat 7g35%
- Cholesterol 30mg10%
- Sodium 180mg8%
- Potassium 280mg8%
- Total Carbohydrate 50g17%
- Dietary Fiber 3g12%
- Sugars 28g
- Protein 5g10%
* Percent Daily Values are based on a 2,000 calorie diet. Your daily value may be higher or lower depending on your calorie needs.
Note
For a richer flavor, use coarse sugar for the topping. If you prefer a thicker filling, add 1–2 tablespoons of flour or cornstarch to the rhubarb before baking.
