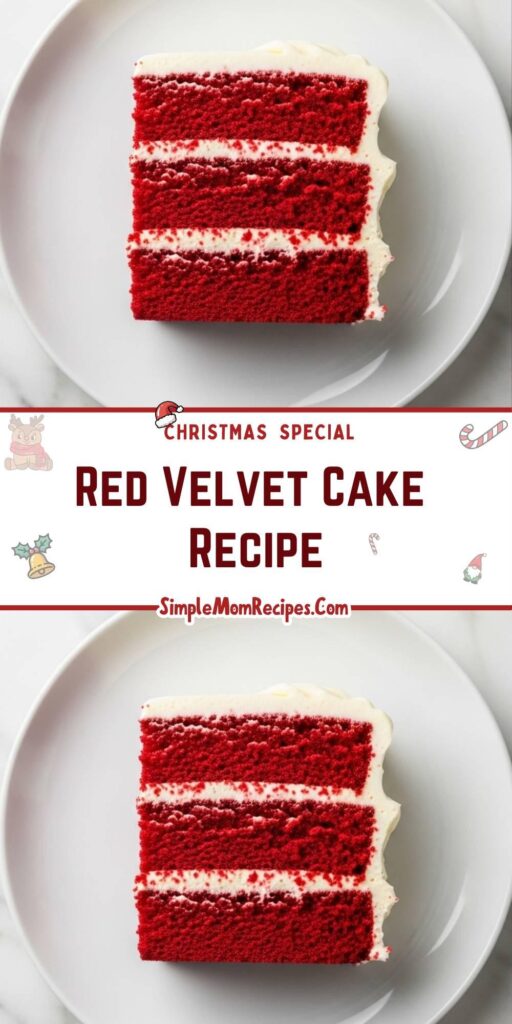
Let’s be honest, the first thing that grabs you is the color.
That bold, brilliant red promises something dramatic, a cake that’s not afraid to be the center of attention.
But what *is* it, really? It’s a classic Southern cake, with a soft, tender crumb that truly earns the “velvet” in its name.
The flavor is a quiet, elegant dance between a hint of cocoa, a tang from buttermilk, and the sweetest, creamiest frosting you can imagine.
The Story Behind the Red
The red wasn’t always about food coloring, you know. Originally, the chemical reaction between natural cocoa, buttermilk, and vinegar gave the cake a subtle, reddish-brown hue.
These days, we use a bit of help to get that iconic scarlet, but the other ingredients remain for their essential roles in texture and taste.
Ingredients Needed for the Recipe
Gathering everything before you start is the secret to a smooth baking session. Here’s what you’ll need.
- All-Purpose Flour: The sturdy foundation for our tender cake.
- Natural Cocoa Powder: Not Dutch-process. It provides that faint, essential chocolate whisper.
- Hot Coffee or Water: This blooms the cocoa, waking up its deepest flavor.
- Buttermilk & Distilled White Vinegar: The dynamic duo for incredible tang and a tender, fine crumb.
- Vegetable Oil & Melted Butter: Oil guarantees moistness, while butter adds that irreplaceable, rich flavor.
- Red Gel Food Coloring: Gel gives intense, vibrant color without thinning the batter.
- Cream Cheese, Butter & Powdered Sugar: For the classic, tangy-sweet frosting that crowns it all.
How to make Red Velvet Cake?
This is where the magic happens. Just follow the steps, take your time, and you’ll be amazed.
Step 1 – Prep and Bloom
First, get your oven preheating to 325°F and prepare three 8-inch cake pans with parchment and non-stick spray.
Then, whisk the hot coffee into the cocoa powder and let it sit for a full five minutes; this simple step makes the cocoa flavor sing.
Step 2 – Combine the Dry Goods
In a separate bowl, whisk together your flour, baking powder, baking soda, salt, and just a pinch of cinnamon.
That tiny bit of cinnamon is my secret, it adds a warm, mysterious note you can’t quite place but will love.
Step 3 – Build the Wet Batter
In a large bowl, whisk the sugar with the oil and melted butter until they’re friends.
Add the eggs and yolk, whisking vigorously for twenty seconds, then stir in the room-temperature buttermilk, vanilla, and that vibrant red gel coloring.
Step 4 – Bring It All Together
Now, whisk the vinegar and your bloomed cocoa-coffee mixture into the red batter.
Sift the dry ingredients into the wet in three parts, folding gently after each addition until just combined—no overmixing.
Step 5 – Bake and Cool
Divide this beautiful batter evenly between your pans and give them a firm tap on the counter to settle.
Bake for 25-30 minutes, until a tester comes out clean, then let the layers cool completely in their pans before turning them out.
Step 6 – The Frosting & Assembly
For the frosting, beat the room-temperature cream cheese and butter together until flawlessly smooth and creamy.
Beat in the vanilla, then gradually add the sifted powdered sugar on low speed until it’s fluffy and dreamy.
Step 7 – Layer and Frost
Place your first cake layer on a plate, spread a generous amount of frosting, and repeat.
Finally, use the remaining frosting to cover the top and sides, swirling it decoratively with an offset spatula.
Choosing Your Tools
The right tools aren’t strictly necessary, but they make the process so much more enjoyable and professional.
Light-colored aluminum pans, like Fat Daddio’s, bake evenly and prevent those dark, dry edges.
An offset spatula is a game-changer for smooth frosting, and a turntable feels like a luxury until you use one.
Most importantly, don’t skip the parchment paper rounds; they are your best insurance against sticking.
Tips
- Room temperature ingredients are non-negotiable for a smooth, unified batter and frosting. Plan ahead!
- Use gel food coloring, not liquid. You’ll need a good amount, so get a larger bottle or two small ones.
- When measuring flour, spoon it into the cup and level it off. Scooping directly packs it in and leads to dry cake.
- Let the baked layers cool completely before frosting. Even slightly warm cake will melt your beautiful cream cheese frosting.
Red Velvet Cake Recipe
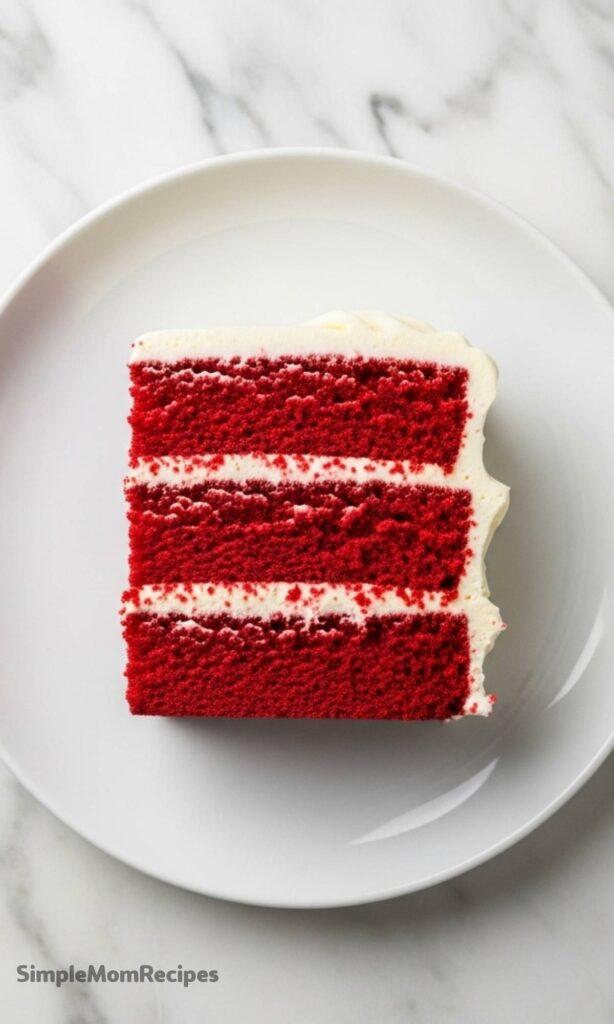
Description
This Red Velvet Cake is decadently moist with just a hint of chocolate, balanced perfectly with tangy, silky cream cheese frosting. Inspired by Southern tradition and perfected with baking science, it's ideal for birthdays, Valentine’s Day, holidays, or whenever you're craving something rich, red, and utterly irresistible.
ingredients
For the Cake
For the Cream Cheese Frosting
Instructions
For the Cake
- Preheat the oven to 325°F (163°C). Line three 8-inch cake pans with parchment rounds and spray parchment and sides generously with nonstick cooking spray.
- In a glass measuring cup, whisk hot coffee and cocoa powder. Cover and let stand for 5 minutes.
- In a medium bowl, whisk together flour, baking powder, baking soda, salt, and cinnamon (if using).
- In a large bowl, whisk sugar, oil, and melted butter. Add eggs and yolk; whisk until very well combined. Add buttermilk, vanilla, and food coloring; whisk to combine.
- Whisk in vinegar and coffee mixture. Sift dry ingredients into wet in 3 additions, whisking after each until just incorporated.
- Divide batter evenly between pans. Tap pans on counter to release air bubbles.
- Bake 25–30 minutes, or until a toothpick comes out clean. Cool in pans for 10 minutes, then invert onto wire racks to cool completely.
For the Frosting
- In a stand mixer with paddle attachment, beat cream cheese and butter on medium-high until light, creamy, and smooth (about 2–3 minutes). Scrape bowl well.
- Add vanilla and beat to combine. Gradually add sifted powdered sugar on low speed, then beat on medium until fluffy (about 3 minutes). Adjust consistency if needed.
To Assemble
- Place one cake layer flat-side up on a cake stand. Add ~1/3 of frosting as filling. Repeat with second layer.
- Top with final layer (flat-side up). Frost sides and top smoothly with remaining frosting.
- Refrigerate cake for at least 1 hour before slicing to set frosting. Store covered in fridge for up to 3 days.
Nutrition Facts
Servings 12
- Amount Per Serving
- Calories 420kcal
- % Daily Value *
- Total Fat 22g34%
- Saturated Fat 13g65%
- Cholesterol 85mg29%
- Sodium 420mg18%
- Potassium 180mg6%
- Total Carbohydrate 52g18%
- Dietary Fiber 1g4%
- Sugars 38g
- Protein 5g10%
- Calcium 8 mg
- Iron 8 mg
* Percent Daily Values are based on a 2,000 calorie diet. Your daily value may be higher or lower depending on your calorie needs.
Note
- Use gel food coloring—liquid won’t give you the vibrant red hue, and natural dyes may alter flavor and color unpredictably.
- Room temperature ingredients are essential for a smooth, cohesive batter and stable frosting.
- Don’t skip parchment paper—it prevents sticking and ensures clean cake layers.
- Make-ahead tip: Unfrosted cake layers can be frozen for up to 2 months. Thaw overnight in the fridge before frosting.
