There’s something truly magical about a dessert you can hold in your hand.
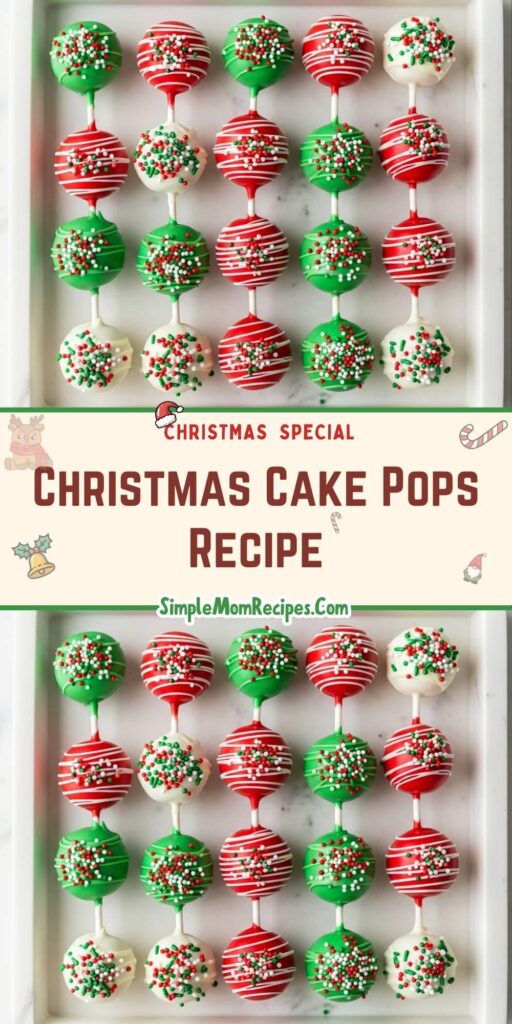
Christmas cake pops are exactly that—a festive, bite-sized celebration of rich, creamy flavor, and they’re surprisingly simple to create.
Why We Adore These Festive Treats
Honestly, these little pops are the life of any holiday party, and they save you a fortune compared to the bakery versions.
With just a handful of ingredients, you can create stunning treats that look professionally made and taste even better, straight from your own kitchen.
Ingredients Needed for the Recipe
Gathering your ingredients is the first step to sweet success.
Each one plays a specific role in building the perfect texture and flavor.
- Super Moist Yellow Cake Mix: This is your base, providing a soft, fluffy crumb that forms the very heart of the pop.
- Cream Cheese Frosting: Acts as the delicious glue, binding the cake crumbs together while adding a tangy, creamy richness.
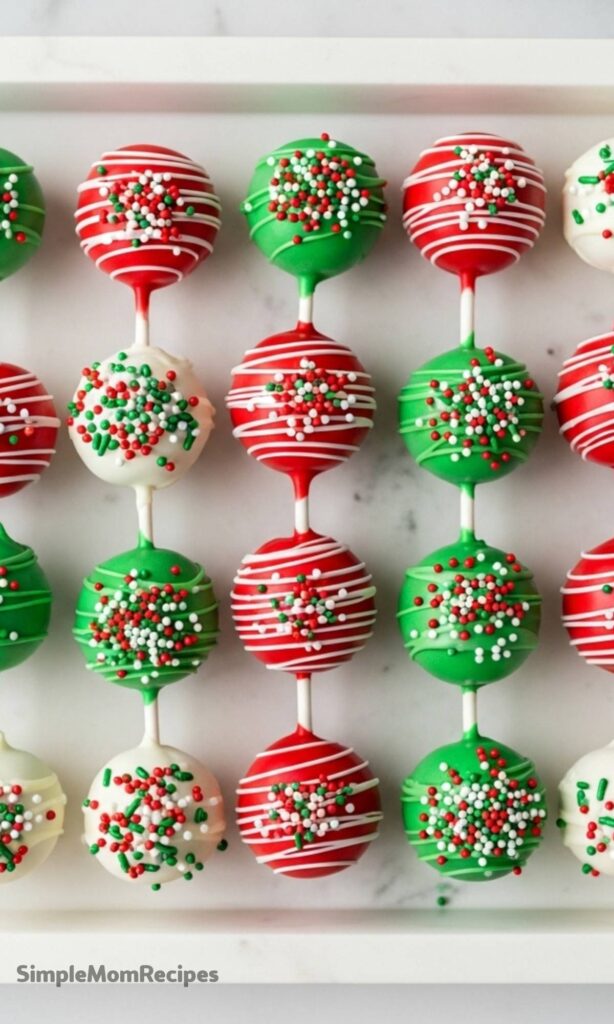
- White, Red, and Green Candy Melts: These create that signature smooth, colorful shell, giving each pop its festive coat.
- Christmas Sprinkles: They’re the final touch of holiday cheer, adding sparkle, texture, and a delightful crunch.
- Lollipop Sticks: The essential handle, transforming a simple cake ball into a fun, portable treat.
Ahead-of-the-Game Preparation
Let’s talk about getting a head start, because the holidays are busy enough.
You can absolutely prepare the uncoated cake balls a day or two in advance and keep them chilled in the refrigerator.
Some folks even bake the cake itself a week ahead and freeze it, thawing it when they’re ready to crumble and mix.
This approach breaks the process into manageable chunks, making the final assembly feel like a breeze.
How to make Christmas Cake Pops?
The journey from simple ingredients to dazzling dessert is a fun one.
Just follow these steps, and you’ll be a cake pop pro in no time.
Step 1 – Bake and Cool the Cake
Start by baking your cake in a 9×13 inch pan, following the directions on the box perfectly.
Then, and this is crucial, let the cake cool completely to room temperature on a wire rack.
Step 2 – Crumble and Refine
Remove the entire cake from the pan and gently slice away the darker, outer crust.
Discarding this part gives you a more uniform, tender texture, then crumble the remaining cake into a large mixing bowl.
Step 3 – The Binding Magic
Now, measure your frosting precisely and add it to the bowl of cake crumbs.
Stir, and then stir some more, until every last crumb is moistened and the mixture is thoroughly combined.
Step 4 – Forming the Balls
Use a cookie scoop to portion out the mixture, then roll each portion gently between your palms to form a smooth ball.
Placing them on a parchment-lined baking sheet makes cleanup effortless and prevents any sticking.
Step 5 – The Chill Factor
Gently insert a lollipop stick about halfway into each cake ball.
Pop the entire baking sheet into the freezer for just 10 to 15 minutes; this short chill firms them up for dipping.
Step 6 – Melt the Coating
Place each color of candy melts into its own microwave-safe bowl.
Heat in 30-second intervals, stirring well after each one, until the candy is completely smooth and fluid.
Step 7 – The Grand Dip
Take one chilled cake pop and fully submerge it into your chosen color of melted candy.
Lift it out, and gently tap your wrist to let the excess coating drip back into the bowl.
Step 8 – Decorate and Set
Immediately, while the coating is still wet, shower your pop with festive sprinkles.
Stand the finished pop upright by poking the stick into a block of styrofoam, allowing it to dry completely.
Creative Flavor Twists
Don’t feel locked into just one flavor profile, the possibilities are wonderfully endless.
You could swap the yellow cake for a rich red velvet, a classic chocolate, or even a bright, zesty lemon.
The decorations can change with the season, too, think pink and red for Valentine’s Day or pastels for Easter.
For a different coating, high-quality melted chocolate works beautifully, and you can even use a gluten-free cake mix if needed.
Tips
A few simple tricks can make the difference between a good cake pop and a great one.
They’re all about ensuring a smooth process and a perfect final product.
- Chill a Sticky Mix: If your cake and frosting mixture feels too soft or sticky after mixing, a brief 15-minute stint in the refrigerator will firm it right up.
- Secure the Stick: Before inserting a stick into a cake ball, dip the very tip of it into the melted candy first; it acts like an edible anchor.
- Timing is Everything: Always add your sprinkles the very second after dipping, before the candy shell has any chance to set.
- Avoid Overheating: Candy melts are delicate, so patience with the 30-second melting intervals is key to preventing a scorched, clumpy mess.
- Frosting Precision: Resist the urge to add extra frosting, as too much will make the balls too soft and they may slide off the stick.
Storing Your Sweet Creations
Once fully set, your beautiful cake pops can be stored at room temperature for up to two weeks.
For longer storage, they keep wonderfully in the refrigerator for about three weeks.
Yes, you can freeze them for up to a month, just separate layers with wax paper and seal them tightly in an airtight container.
When you’re ready to enjoy them again, simply thaw them overnight in the fridge.
Christmas Cake Pops Recipe
Description
Christmas Cake Pops make a festive bite-sized dessert. They are rich and creamy while being simple to prepare. This recipe is one of our favorite Christmas desserts. The red and green coating with sprinkles makes this extra special—it’s such a pretty dessert for Christmas! The kids ask me to make this every single year.
ingredients
Instructions
- Make cake and bake according to box instructions in a 9x13 pan. Let the cake cool completely at room temperature.
- Remove the cake from the pan. Carefully trim off and discard the brown outer crust. Crumble the remaining cake into a large bowl.
- Add cream cheese frosting to the crumbled cake and mix until well combined and the mixture holds together when pressed.
- Using a cookie scoop or spoon, shape the mixture into 24–36 evenly sized balls (about 1-inch diameter). Place on a parchment-lined baking sheet.
- Gently insert a lollipop stick about halfway into each cake ball. Place the tray in the freezer for 10–15 minutes to firm up.
- Place each color of candy melts (white, red, green) into separate microwave-safe bowls. Heat in 30-second intervals, stirring between each, until fully melted and smooth. Do not overheat.
- Dip each cake pop into one color of melted candy, tilting and rotating to fully coat. Allow excess to drip off back into the bowl.
- Immediately add Christmas sprinkles while the coating is still wet. Stick each pop upright into a block of Styrofoam or cake pop stand to dry completely.
- Once all cake pops are dry (about 20–30 minutes), they’re ready to serve or package as gifts!
Nutrition Facts
Servings 24
- Amount Per Serving
- Calories 180kcal
- % Daily Value *
- Total Fat 7g11%
- Saturated Fat 4g20%
- Cholesterol 15mg5%
- Sodium 180mg8%
- Potassium 60mg2%
- Total Carbohydrate 28g10%
- Sugars 20g
- Protein 2g4%
- Calcium 4 mg
- Iron 2 mg
* Percent Daily Values are based on a 2,000 calorie diet. Your daily value may be higher or lower depending on your calorie needs.
Note
- Make ahead: Form the cake balls up to 2 days in advance and store covered in the fridge. Dip in coating the day of serving.
- Gluten-free option: Use a certified gluten-free yellow cake mix.
- Stick tip: Dip lollipop sticks in melted candy before inserting into cake balls for better adhesion.
- Storage: Keep at room temperature in an airtight container for up to 1 week, or freeze for up to 1 month.
