Let’s be honest, the world probably has enough chocolate chip cookie recipes.
But this one, well, it’s a different beast entirely, and it all comes down to one simple, magical step.
Why Brown Butter Makes All the Difference
Browning butter is like unlocking a secret level of flavor you never knew existed in your fridge.
It transforms simple melted butter into a deeply nutty, almost toffee-like liquid gold that fills your kitchen with the most incredible aroma.
Ingredients Needed for the Recipe
Gather these simple ingredients; each one plays a specific, important role in creating cookie perfection.
- Butter: We start with more than a cup because it reduces during browning, giving us the perfect amount of solid, flavorful butter for the dough.
- Brown & Granulated Sugar: The brown sugar brings molasses for chew and that rich toffee note, while the white sugar helps create those beautifully crisp edges.
- Eggs: These are the backbone, providing structure and making the dough wonderfully light and fluffy when whipped.
- Vanilla: A classic flavor enhancer that rounds out all the other warm, toasty notes in the cookie.
- All-Purpose Flour: The main structure of the cookie; measuring it correctly is absolutely crucial for the right texture.
- Baking Soda: Our leavening agent, which gives the cookies their lift and spread in the hot oven.
- Salt: A flavor booster that makes the sweetness pop and complements the nutty brown butter perfectly.
- Semisweet Chocolate Chips: Their slight bitterness is the ideal counterpoint to the sweet, rich cookie base, creating a more complex and satisfying treat.
How to make Brown Butter Chocolate Chip Cookies?
The process is a joy, a series of small, careful steps that lead to a magnificent payoff.
Just follow along, and you really can’t go wrong.
Step 1- Browning the Butter
Melt your butter in a light-colored saucepan over medium heat, swirling the pan often.
It will foam and crackle before settling down to reveal little brown bits at the bottom; that’s your signal it’s done, a beautiful amber color with a nutty scent.
Step 2- Chilling the Butter
Pour the entire contents of the pan, every single toasted brown bit, into a heatproof bowl and chill it.
You’re waiting for it to become solid again, cool to the touch but still soft enough to cream, which is essential for building the right cookie texture.
Step 3- Creaming Butter and Sugars
Once your butter is perfectly chilled, beat it with both sugars for about a minute.
This isn’t just mixing; you’re creaming, which means you’re trapping tiny air pockets in the fat that will later help the cookies rise.
Step 4- Adding Eggs and Vanilla
Now, add your eggs and vanilla, then beat for a full two to three minutes more.
Watch the magic happen as the mixture turns pale, thick, and wonderfully fluffy, which is the foundation for a light, tender cookie.
Step 5- Incorporating Dry Ingredients
Add your flour, baking soda, and salt all at once to the wet mixture.
Mix only until the last streaks of flour disappear; overmixing at this stage is the enemy of a soft, delicate crumb.
Step 6- Folding in Chocolate Chips
Switch to a spatula and gently fold in your chocolate chips until they’re evenly distributed.
This final hand-mixing step ensures you don’t overwork the dough you so carefully built up.
Step 7- Baking to Perfection
Scoop a generous 1/4 cup of dough per cookie, place them on a lined baking sheet with plenty of space to spread, and bake at 375°F.
In just 8-10 minutes, you’ll have cookies with golden edges and a soft, set center that’s simply begging to be eaten.
The Art of the Perfect Cookie Scoop
Using a large cookie scoop, the kind that holds a quarter-cup of dough, isn’t just a convenience.
It’s your secret weapon for achieving that professional bakery-style look and the ideal ratio of crispy edge to gooey center.
Tips
A few small pieces of advice can make the difference between a good cookie and a truly great one.
- Never skip chilling the brown butter; using it liquid will result in flat, greasy puddles, not cookies.
- Scrape every last browned bit from the pan into your mixing bowl; those little specks are pure, concentrated flavor.
- For a stunning presentation, press a few extra chocolate chips onto the top of each dough ball right before baking.
- Right after pulling the baking sheet from the oven, give it a firm tap on the counter to deflate the cookies slightly and create lovely, rustic wrinkles.
- If a cookie bakes up a little lopsided, use a large round cookie cutter to gently swirl it into a perfect circle while it’s still hot and pliable.
Your Cookie Questions, Answered
It’s normal to have a few questions when trying a new technique, so let’s clear up the common ones.
Why does the butter quantity seem so high? Because browning drives off water, you start with extra to end up with the right amount of solid butter for creaming.
Why did my cookies turn out flat? The culprit is almost always butter that wasn’t chilled enough before creaming; it must be solid to hold air.
What if my cookies are hard? You likely made them too small; the large 1/4-cup portion protects the center from overbaking, keeping it soft.
Storing and Freezing for Future Cravings
To keep that perfect texture, store cooled cookies loosely covered with a towel for a day to maintain the crisp edge.
For longer storage, an airtight container will make them uniformly chewy, which is still absolutely delicious, just different.
To freeze the dough, scoop balls onto a parchment-lined sheet, freeze solid, then transfer to a bag for up to three months.
Bake straight from frozen, adding just a minute or two to the baking time, for a warm, fresh cookie anytime the mood strikes.

Brown Butter Chocolate Chip Cookies Recipe
Description
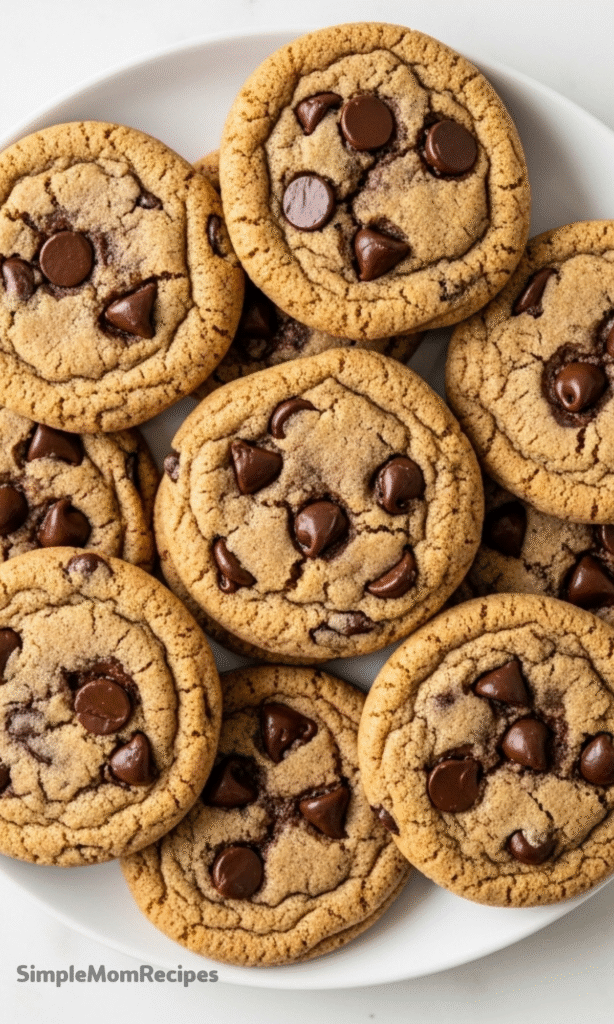
These brown butter chocolate chip cookies are the perfect cookie. The brown butter gives these cookies a rich toffee flavor and a hint of salt. They have crisp, golden edges, a nice crust on the outside, but are still soft and gooey in the center with melty semisweet chocolate.
ingredients
Instructions
-
Brown 1 ¼ cups of butter in a medium-large saucepan, stirring constantly over medium-high heat, until it reaches a deep honey color with brown bits at the bottom. Remove from heat and pour into a large mixing bowl.
-
Chill the browned butter in the fridge or freezer until it returns to a solid but soft, room-temperature consistency (about 30–60 minutes). Do not skip this step—using melted butter will result in flat cookies.
-
Preheat oven to 190°C (375°F). Line baking sheets with parchment paper or silicone mats.
-
In a large bowl, cream the chilled brown butter with granulated and brown sugars for 1 minute until combined. Add eggs and vanilla; beat for 2–3 minutes until pale and fluffy. Scrape in all the toasted milk solids from the bottom of the bowl—they add rich flavor!
-
In a separate bowl, whisk together flour, baking soda, and salt. Gradually add to the wet ingredients and mix just until combined. Do not overmix.
-
Fold in semisweet chocolate chips until evenly distributed.
-
Scoop ¼-cup portions of dough (about 68g each) and roll into balls. Place 6 per baking sheet, spacing them well apart. Press a few extra chocolate chips on top for visual flair.
-
Bake for 8–10 minutes, or until edges are golden but centers still look soft. Immediately bang the pan on the counter once out of the oven to create wrinkles and even thickness.
-
Let cookies cool on the baking sheet for 2–3 minutes before transferring to a wire rack to cool completely.
Nutrition Facts
Servings 24
- Amount Per Serving
- Calories 210kcal
- % Daily Value *
- Total Fat 12g19%
- Saturated Fat 7g35%
- Cholesterol 35mg12%
- Sodium 140mg6%
- Potassium 85mg3%
- Total Carbohydrate 26g9%
- Dietary Fiber 1g4%
- Sugars 16g
- Protein 2g4%
- Calcium 20 mg
- Iron 1 mg
* Percent Daily Values are based on a 2,000 calorie diet. Your daily value may be higher or lower depending on your calorie needs.
Note
- Freeze dough ahead: Scoop and freeze unbaked dough balls for up to 3 months. Bake from frozen—just add 1–2 minutes to bake time.
- Storage tip: For crisp edges and soft centers, store cookies uncovered on a plate overnight with a loose towel over them.
- Flour matters: Always measure flour by weight or use the spoon-and-level method to avoid dry, dense cookies.
- Don’t skip the brown bits: Those toasted milk solids are flavor gold—scrape every bit into your dough!