A slow afternoon, sticky fingers, and ribs that fall apart just enough to make you pause before the next bite.
The grill was already hotter than I wanted. I knew it the second I held my hand over the grates and pulled it back way too fast. Not ideal when ribs are supposed to take their sweet time. I stood there for a second, tongs in hand, debating whether to pretend I didn’t notice or actually fix it. I fixed it. Reluctantly.
I like things quick. Ribs don’t care about that.
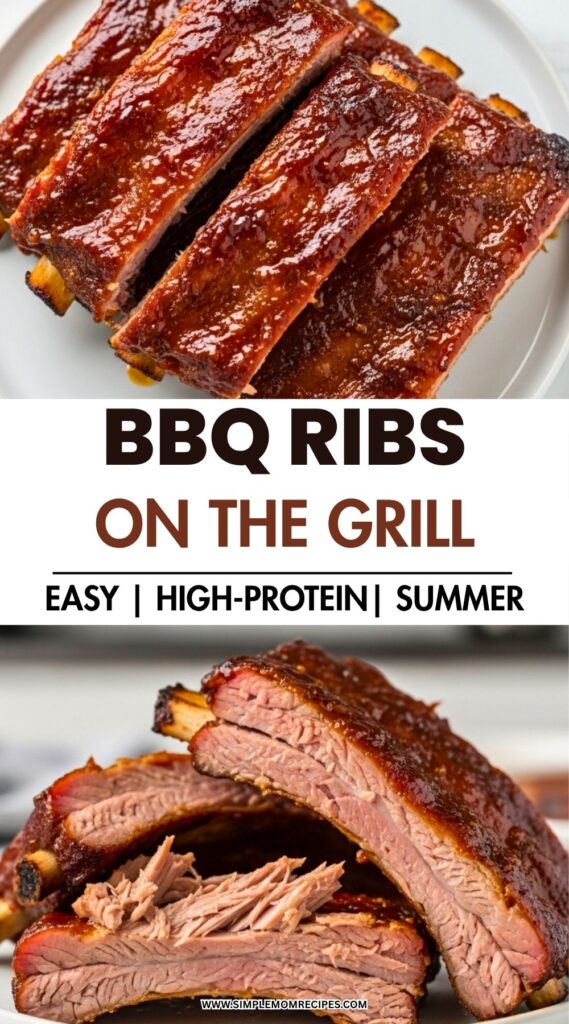
Make my pull apart rib recipe on the grill and impress everyone! These ribs come out tender, juicy and with the fat completely rendered. They are full of flavor thanks to my homemade dry rub and my homemade barbecue sauce! Save this recipe now so you can make the Barbecue ribs for your next summer grilling session.
There’s something a little stubborn about ribs. You can’t rush them, you can’t bully them with heat, and if you forget them for too long, they’ll absolutely punish you. I’ve done that. Once turned them into something closer to jerky than dinner.
This version though? This one behaves. Or maybe I just finally paid attention.
A quick moment before cooking started
I almost didn’t make these.
It was one of those days where the idea sounded better than the effort. Four hours of cooking? Outside? Standing around checking temps? I almost swapped it for burgers. Faster, easier, less commitment.
But ribs kept sitting in the fridge like they were waiting for me to get serious.
Also, there’s this weird satisfaction when you nail ribs. Like you’ve unlocked something.
So I dragged the foil out, grabbed the spices, and committed. Slightly annoyed at first. That changed pretty fast once the smell kicked in.
Ingredients I Used for the Recipe
- 1 slab baby back ribs – the main event, about 2 to 3 pounds
- 2 tsp garlic salt – base seasoning, adds depth fast
- 4 tsp garlic powder – yeah, it’s a lot, but it works
- 2 tsp onion powder – rounds out the flavor
- 2 tsp paprika – for color and a little warmth
- 1.5 to 3 tsp chili powder – depends how bold I’m feeling
- Salt and pepper – quick extra layer right before cooking
- 1.5 cups ketchup – the base of the sauce
- 1/2 cup Worcestershire sauce – adds that tangy punch
- 2 tbsp soy sauce – sneaky umami boost
- 1 tsp liquid smoke – helps when the grill is being moody
- 1/2 tsp hot sauce – just enough to notice
- 2 tbsp yellow mustard – slight sharpness
- 5 tbsp brown sugar – balances everything out
- 1 tsp garlic powder (for sauce) – because why not more
- 1 tsp onion powder (for sauce) – same logic
- 3 tbsp fresh lemon juice – brightness cuts through fat
- 2 tbsp maple syrup – adds smooth sweetness
- 1 tsp apple cider vinegar – tiny but important
- 1/4 cup beer or water – keeps things moist in foil
How to make Pull Apart Barbecue Ribs recipe on the grill?
Step 1 – Get the grill under control
I turn on just one side of the grill. Low to medium. I aim for around 250°F, but honestly, I hover between 240 and 270 most of the time. The first time I did this, I kept opening the lid every 5 minutes. Don’t do that. It messes everything up.
Step 2 – Prep the ribs
I lay the ribs on foil and wrestle with that silver membrane. Sometimes it comes off clean. Sometimes it fights back and I end up tearing it in pieces. Either way, get most of it off. It makes a difference.
Step 3 – Season heavily
I mix the rub and go all in. Both sides. It looks like too much, but it isn’t. The grill steals some of that flavor, so I don’t hold back. I did once. The ribs tasted flat. Lesson learned.
Step 4 – Build the foil tent
I wrap the ribs but not tightly. More like a loose tent. You want space in there. The first time I wrapped them too tight and everything got a little steamed instead of slow-cooked. Still edible, just not great.
Step 5 – First long cook
I place them on the cool side of the grill. Close the lid. Leave them alone for 2 hours. This is where I usually get impatient. I’ve peeked early before and it didn’t help anything.
Step 6 – Sauce and flip
After 2 hours, I open the foil and hit the ribs with sauce. Flip them so the meat side faces up. If it looks dry, I pour in a little beer. I’ve used water too, but beer smells better while cooking.
Step 7 – Back in for round two
I reseal the foil and let them go another 2 hours. This is when the smell really starts messing with you. It’s sweet, smoky, a little sharp. Hard to ignore.
Step 8 – High heat finish
I open everything up, sauce again, and crank the grill. This part moves fast. About 10 minutes with the lid closed. Then I take them out of the foil and put them directly on the grates for a few minutes. This is where I’ve burned them before. Stay close.
Step 9 – Rest and don’t rush it
I pull them off and let them sit. At least 10 minutes. I’ve skipped this once and the juices just ran everywhere. Worth the wait.
Something that almost ruined the dish
I nearly dried them out halfway through.
I opened the foil at the 2-hour mark and there wasn’t much liquid inside. I figured it was fine. Closed it back up. Walked away.
Came back later and had that sinking feeling. They looked… tight. Not dry yet, but heading there.
I added the beer late. It saved things, but barely.
Now I always check. If it looks even a little dry, I add liquid. No guessing.
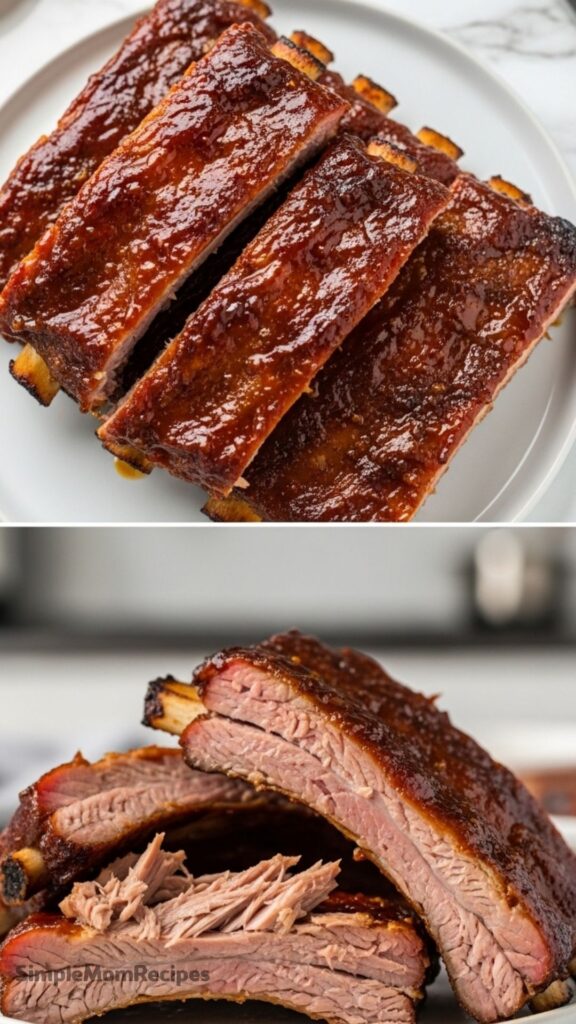
Texture, smell, and that first bite
When they’re done right, you don’t need a knife.
I grab one rib and it bends easily. Not falling apart completely, but close. That’s what I like. Some people want them sliding off the bone. I want just a little resistance.
The outside gets this sticky, slightly charred layer. Not burnt. Just enough to give it edge.
The inside stays juicy. You can actually see the moisture when you pull it apart.
And the smell? Sweet, smoky, a little tangy. It lingers. Even after you’re done eating, it sticks around on your hands and clothes.
I don’t mind.
Tips
- Keep the grill low. Going above 300°F too often will mess with the texture
- Don’t skip the foil stage. It’s what makes the ribs tender
- Add liquid if the foil looks dry halfway through cooking
- Go heavy on seasoning. The grill tones it down
- Stay close during the final high heat step. Things burn fast here
- Let the ribs rest. It actually matters
- If the ribs feel stiff when you pick them up, they need more time
I still get a little impatient every time I make these. That part hasn’t changed. But I’ve stopped trying to rush them.
Ribs win that battle every time anyway.
Barbecue Ribs Recipe on The Grill
Description
Impress your guests with these tender, juicy Pull Apart Barbecue Ribs cooked low and slow on the grill. Featuring a homemade dry rub and a tangy-sweet barbecue sauce, these ribs are perfect for summer gatherings and holidays like the 4th of July. The meat pulls easily off the bone, offering a delightful balance of smoky char and rich flavor.
Ingredients
For the Dry Rub
For the Homemade Barbecue Sauce
For the Ribs
Instructions
Preparation
Prepare the Rub and Sauce
Mix all dry rub ingredients together in a small bowl. In a separate bowl, whisk together all barbecue sauce ingredients until well combined. Set aside.Prep the Ribs
Remove the silver membrane from the back of the ribs for tenderness. Place ribs on a large piece of heavy-duty aluminum foil.Season
Generously rub half of the spice mixture on one side of the ribs, then flip and rub the remaining half on the other side.
Grilling Process
Setup Grill
Preheat your gas grill to low/medium heat (aim for internal temperature of 250°F/120°C). Turn on only one side of the burners (indirect heat).First Cook (Wrapped)
Place the seasoned ribs bone-side up on the foil. Tent the foil over the ribs to create a pocket, ensuring the foil does not touch the meat. Place on the cool side of the grill (opposite the lit burner). Cook for 2 hours, maintaining temp between 200-300°F.Sauce and Second Cook
After 2 hours, carefully open the foil. Coat ribs generously with barbecue sauce. Flip ribs bone-side down. If liquid has evaporated, add 1/4 cup beer/water. Reseal the foil tent tightly. Cook for another 2 hours.Char and Finish
Open the foil. Coat ribs with more sauce. Turn all burners to high to increase heat (up to 450°F). Close lid and cook for 10 minutes to caramelize. Then, turn off the burner directly under the ribs. Remove ribs from foil and place directly on the grill grate over the unlit side. Close lid and cook for 5 minutes to render fat and get a nice char/smoke.Rest and Serve
Remove ribs from grill and let rest for 10 minutes to retain juices. Brush with final layer of barbecue sauce before serving.
Nutrition Facts
Servings 4
- Amount Per Serving
- Calories 620kcal
- % Daily Value *
- Total Fat 42g65%
- Saturated Fat 15g75%
- Cholesterol 140mg47%
- Sodium 1250mg53%
- Potassium 780mg23%
- Total Carbohydrate 28g10%
- Dietary Fiber 1g4%
- Sugars 22g
- Protein 35g70%
* Percent Daily Values are based on a 2,000 calorie diet. Your daily value may be higher or lower depending on your calorie needs.
Note
For best results, use a meat thermometer to ensure internal temperature reaches at least 190°F for pull-apart tenderness. Leftover sauce can be stored in an airtight container in the refrigerator for up to one week.
