Halloween has a certain magic to it, doesn’t it? It’s not just about the costumes, but the chance to create something wonderfully spooky and share it with friends. And these Vampire Cupcakes, they capture that spirit perfectly.
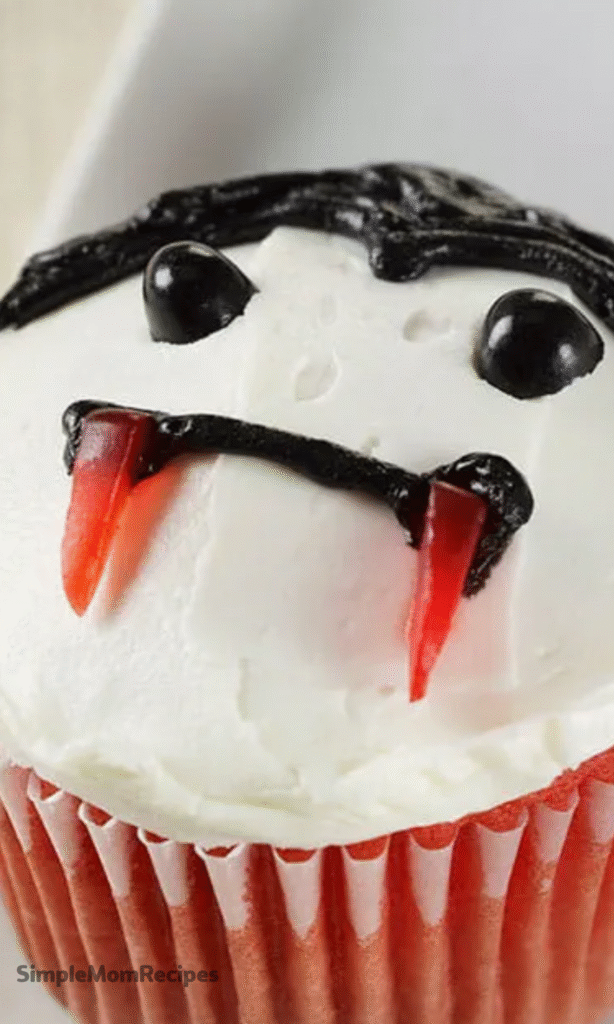
Imagine a rich chocolate cupcake, topped with a dramatic swirl of dark frosting, and crowned with the pale, mischievous face of a vampire made from a white Reese’s Cup. They’re frighteningly cute, a treat that’s more fun than fright. I’m always so excited when the season rolls around, and these cupcakes are a big reason why.
They do take a little time to decorate, I won’t lie. But the result is a true showstopper, the kind of dessert that makes everyone at your party stop and smile. They look spectacular on a food table, and they’re so satisfying that you might not need any other dessert.
Why Reese’s Cups Make the Best Vampires
For years now, I’ve loved using Reese’s Cups as the foundation for cupcake toppers. There’s something about their shape and size that’s just perfect. Perched on a big swirl of frosting, they become the ideal head for an animal, or in this case, a charming vampire.
The white chocolate version is the real star here. Its pale color is exactly right for a creature of the night who could use a little more sun. It’s a blank canvas just waiting for a pair of mischievous eyes and some tiny fangs.
And the best part? They’re delicious. This isn’t just a decoration you pick off and discard; it’s an integral, yummy part of the whole experience.
Ingredients Needed for the Recipe
Gathering your ingredients beforehand makes the whole process so much smoother. Here’s what you’ll need to bring these little Draculas to life.
- 6 chocolate cupcakes, baked and cooled
- 2 cups chocolate frosting
- Black food coloring gel
- 6 White Chocolate Reese’s Cups
- 2 ounces black candy melts
- 1 ounce white candy melts
- ⅓ cup white frosting
- 3 red fruit roll-up sheets
- 6 Pocky sticks (or similar biscuit sticks)
The Secret to Deep, Dark Frosting
Getting that perfect, midnight-black frosting can be tricky. The secret is to start with a chocolate base. Chocolate frosting already has a deep, dark color, which means you’ll need far less black food coloring to achieve a true black.
It tastes fantastic, too, which is a nice bonus. While I adore homemade frosting, when I’m designing treats like this, I often reach for a ready-made tub from a brand like Wilton. Their frostings are consistently stiff, which is key for holding a tall, beautiful peak on your cupcakes.
Just remember to use a gel-based food coloring, not a liquid one. The gel won’t thin out your frosting, and the color payoff is so much stronger. Stir it in slowly, and you’ll have a wonderfully dark canvas in no time.
How to make Vampire Cupcakes?

Step 1: Create the Vampire’s Face
First, unwrap your white Reese’s Cups. Using a food-safe paintbrush, dip into the melted black candy melts and paint a widow’s peak—that classic V-shaped hairline—onto the top of each cup.
Then, carefully add two dots for eyes, a little mouth, and two slanted eyebrows to give him some personality. Don’t worry about being too perfect; a little character makes him more charming.
Step 2: Add Details and Harden
Pop the candy into the freezer for just a minute or two. This will set the black candy melts firmly so you can add the next layer without smudging.
Once hard, take them out and use the melted white candy melts to add a tiny highlight dot in each eye. Then, paint two small fangs dipping down from the mouth. Let the candy harden completely again, this time at room temperature.
Step 3: Build the Support Structure
Now, let’s make sure our vampire stands tall. Dip one end of a Pocky stick into the melted black candy melts. Lay it flat on a piece of parchment paper.
Then, carefully set one of your vampire Reese’s Cups on top of the coated end, pressing gently so the stick acts like a lollipop stick holding him up. Allow this assembly to harden completely before moving on.
Step 4: Frost the Cupcake Base
Take your chocolate cupcake and, using a piping bag with a star tip, pipe a big, generous swirl of your black frosting right in the center. You want a nice, tall swirl to give your vampire a good foundation.
The stiff frosting will help support the weight of the topper. This is where that good, firm frosting really pays off.
Step 5: Assemble the Vampire
Take your Pocky stick with the attached vampire head and gently but firmly insert the other end of the stick down into the center of the frosted cupcake. Push it in until the Reese’s Cup is sitting nicely on top of the frosting swirl.
The stick provides crucial support, especially if you need to transport these cupcakes anywhere.
Step 6: Craft the Ruffled Shirt
Now for the dapper details. Fill a separate piping bag fitted with a small round tip (or just snip a tiny hole in a bag) with the white frosting.
Pipe little squiggles and ruffles around the base of the vampire’s head, directly onto the black frosting swirl. This creates the illusion of a fancy, ruffled shirt collar for your sophisticated creature of the night.
Step 7: Add the Final Accessories
Unroll your red fruit sheets and use a small knife or scissors to cut out small collar shapes and little bow ties. You can make them as simple or as detailed as you like.
Gently wrap one collar around the frosting swirl, just under the vampire’s head. Then, press a bow tie onto the center of the white ruffled “shirt.” And just like that, your vampire is ready for the ball!
Tips for Frightfully Good Results
If your frosting ever feels too soft, a short stay in the refrigerator can firm it up beautifully. This is especially helpful if your kitchen is warm.
While the Pocky stick is highly recommended for stability, if you have very firm frosting and are serving them immediately, you might get away without it. But for peace of mind, the stick is a vampire’s best friend.
If you can’t find red fruit rolls, you can also use red fondant or even red candy clay to fashion the bow ties and collars. It’s all about using what you have available.
How to Store Your Gothic Treats
These vampire cupcakes will be perfectly happy stored in an airtight container at room temperature for up to three days. I wouldn’t recommend refrigerating them, as that can cause the cupcakes to dry out.
The candy decorations will stay firm, and the frosting will remain at the ideal consistency for eating. They’re best enjoyed fresh, but they hold up surprisingly well, making them a great make-ahead option for a busy party day.
Perfect Pairings for Your Halloween Spread
These cupcakes are certainly a centerpiece, but every vampire needs a pack of friends. They would look amazing alongside a batch of werewolf cupcakes, perhaps made with regular chocolate Reese’s Cups, or some clever black cat cupcakes.
For a savory balance, consider serving them with some “witch’s finger” breadsticks or “mummy” wrapped sausages. The contrast of salty and sweet is always a hit.
And for drinks? A big bowl of bubbling “witch’s brew” punch, maybe with a little dry ice for effect, would complete the spooky scene perfectly. It’s all about creating a memorable experience.
A Note on Decorating with Kids
This project can be a fantastically fun activity to do with children. They’ll love adding the facial features and creating the personalities for each vampire.
To make it easier, you can pre-melt the candy melts and draw the faces yourself, then let the kids handle the piping of the white frosting shirt or applying the fruit leather accessories.
Embrace the uniqueness of each cupcake—no two vampires need to be identical. In fact, it’s more fun if they all have their own little quirks and expressions. It’s a wonderful way to spend a cozy afternoon, creating edible art and Halloween memories together.

Vampire Cupcakes Recipe
Description
These Vampire Cupcakes are a delightfully spooky Halloween treat! Rich chocolate cupcakes are topped with a dramatic swirl of black chocolate frosting and crowned with a White Reese’s Cup transformed into a pale-faced vampire—complete with fangs, widow’s peak, and a dapper fruit-roll bow tie. Perfect for parties and guaranteed to impress!
ingredients
Cupcakes & Frosting
Vampire Toppers
Instructions
-
Unwrap White Reese’s Cups. Using a food-safe paintbrush, paint a black widow’s peak (hairline) on each cup using melted black candy melts.
-
Add two eyes, a mouth, and two eyebrows using black candy melts. Place in the freezer for 1–2 minutes to set.
-
Add tiny white candy melt dots for eye highlights and two small fangs in the mouth. Let harden completely.
-
Dip one end of a Pocky stick into black candy melts. Place on parchment paper and press a vampire Reese’s Cup onto the coated end to form a lollipop. Let harden.
-
Pipe a large, firm swirl of black frosting onto each chocolate cupcake.
-
Insert the Pocky stick (with vampire) into the center of the frosting swirl.
-
Pipe a ruffled collar of white frosting around the base of the vampire head to resemble a shirt.
-
Cut small bow ties and shirt collars from red fruit roll sheets. Wrap a collar around the white frosting and attach a bow tie to the front.
Nutrition Facts
Servings 6
- Amount Per Serving
- Calories 420kcal
- % Daily Value *
- Total Fat 21gg33%
- Saturated Fat 10gg50%
- Trans Fat 0gg
- Cholesterol 25mgmg9%
- Sodium 280mgmg12%
- Potassium 180mgmg6%
- Total Carbohydrate 56gg19%
- Dietary Fiber 2gg8%
- Sugars 42gg
- Protein 6gg12%
- Calcium 60 mg
- Iron 2 mg
* Percent Daily Values are based on a 2,000 calorie diet. Your daily value may be higher or lower depending on your calorie needs.
Note
- Frosting tip: Start with chocolate frosting and add black gel food coloring—it’s easier to achieve deep black without using excessive dye.
- Support trick: The Pocky stick isn’t just decorative—it stabilizes the vampire head during transport and serving.
- Make ahead: Decorate vampires up to 2 days ahead and store in an airtight container at room temperature.
- Storage: Keep assembled cupcakes at room temperature for up to 3 days. Do not refrigerate—candy melts may sweat.