That jar of sourdough discard sitting in your fridge is about to become your secret weapon. It’s not waste; it’s a flavor-packed foundation waiting to be transformed.
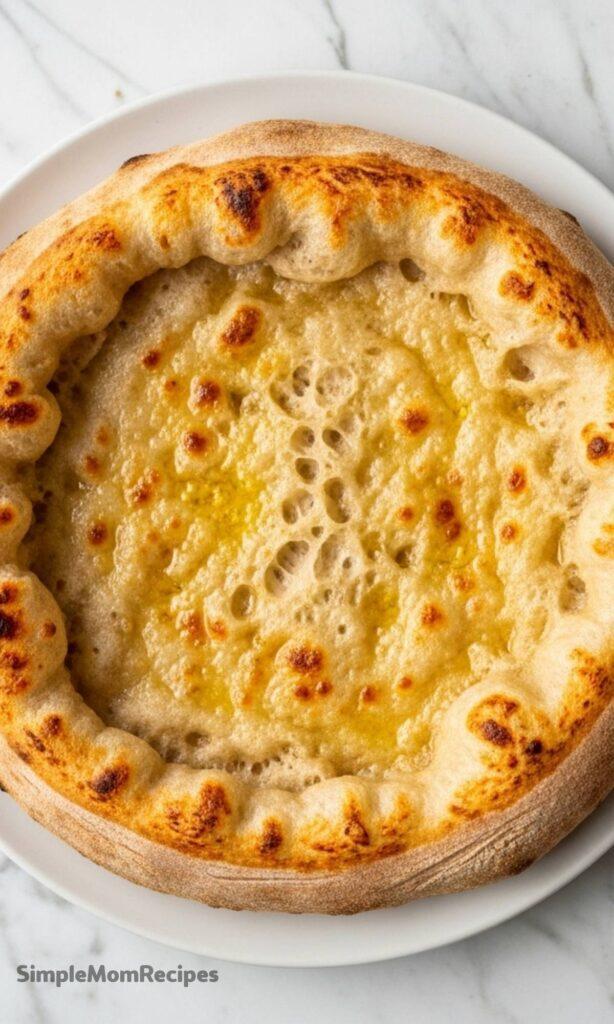
This crust turns that tangy starter into something chewy, hearty, and deeply satisfying. It has a character all its own, perfect for holding up to your boldest topping creations.
Ingredients Needed for the Recipe
Sourdough starter, unfed (1 cup / 227g): This is your discard, straight from the fridge. It brings that signature tang and helps create a wonderful, open crumb structure.
Lukewarm water (1/2 cup plus 2 tablespoons to 3/4 cup / 141g to 170g): We start with the lesser amount, adding more as needed to bring the dough together gently.
All-Purpose Flour (2 1/2 cups / 300g): The reliable backbone of our dough, providing just the right structure for a crisp yet chewy bite.
Table salt (1 teaspoon): It’s the essential flavor enhancer that makes all the other ingredients sing.
Instant yeast (1/2 teaspoon): A little boost here guarantees a reliable rise, working alongside your wild starter for the perfect lift.
Pizza Dough Flavor (4 teaspoons, optional): Think of this as a flavor amplifier. It adds a subtle, bakery-style depth that’s utterly delicious.
The Heart of Your Sourdough Starter
Understanding your discard is key to the recipe's personality. A starter fed last week will behave differently than one from last month.
The longer it's been since a feeding, the more pronounced the sour flavor and the slower the rise. It's not a flaw, it's a feature you can plan your day around.
How to make ?
Make this recipe yours—just save it to your Pinterest board!"
Step 1: Gather Your Starter
First, give your refrigerated starter a good stir to incorporate any hooch, that liquid layer on top. Scoop out your measured cup of discard into a large mixing bowl.
This is the perfect moment to feed what’s left in the jar, returning it to the fridge for another day.
Step 2: Mix the Dough
Combine the discard with the flour, salt, yeast, optional flavor, and the smaller amount of water. Stir everything together until a shaggy ball forms.
If the dough seems dry or there’s lots of flour left in the bowl, add the extra water, just a tablespoon at a time. We’re aiming for a soft, slightly tacky dough.
Step 3: Knead and Rise
Now, knead the dough for about 7 minutes with a mixer’s dough hook, until it becomes smooth and cleans the sides of the bowl. By hand, this takes a bit longer, about 10 minutes.
Place the dough in a lightly greased bowl, cover it, and let it rest. It needs to rise until almost doubled, which can take anywhere from 2 to 4 hours depending on your starter's vigor.
Step 4: Shape for Thin Crust
For two thin-crust pizzas, divide the dough in half. Shape each piece into a flattened disk.
Drizzle a couple of 12-inch pizza pans with olive oil and brush it around. Place a dough disk in each pan, cover them, and let rest for 15 minutes.
Step 5: Press and Patience
After resting, gently press each piece of dough outward toward the edges of its pan. Don’t fight it.
If the dough stubbornly shrinks back, just cover it again and walk away for another 15 minutes. A little patience here gives you a relaxed, easy-to-shape crust.
Step 6: Shape for Thick Crust
Prefer a deep-dish style? Oil a 14-inch round pan or a large half-sheet pan. Place the entire batch of dough in the center.
Press it out toward the edges, using that same start-stop technique if it resists. Cover the pan and let the dough rise until it’s as puffy as you desire.
Step 7: Top with Strategy
Preheat your oven to a solid 450°F. Now, sauce and top your pizza with everything except the cheese. Yes, you read that right.
Holding the cheese back for a few minutes is the smart trick for a crisp, not soggy, bottom crust.
Step 8: The Two-Part Bake
Slide your creation into the hot oven. For thin crust, bake for 5 minutes. For thick crust, bake for 10 minutes.
Pull the par-baked pizza out, scatter your cheese over the top, and return it to the oven. Bake for another 5 to 7 minutes, just until the cheese is gloriously melted and bubbling.
Step 9: Finale and Feast
Remove your masterpiece from the oven. Let it sit for just a minute on the pan, then slice.
This is best enjoyed immediately, hot from the oven, when the crust is at its peak of chewy-crisp perfection.
Storing Your Leftover Pizza
Any leftovers, and that’s a big *if*, store well-wrapped in the fridge. They’ll keep for up to five days.
The oven or a toaster oven is your best bet for reheating, to bring back some of that lost crispness. The microwave will work in a pinch, but it tends to steam the crust soft.
Tips
No starter? No problem. You can begin one from scratch, though it takes about a week of feedings to become active. For a quicker start, a dehydrated variety can be revived in just a day or two.
Time is on your side. For a slow, all-day rise, use very old discard and don’t increase the yeast. For a faster, lunch-ready pizza, use a more recently fed starter.
Respect the dough’s tension. When it snaps back during shaping, it’s telling you the gluten needs a break. Listen to it, cover it, and wait. The result is a much easier dough to handle.
Consider the cheese-lid effect. Adding cheese too early traps steam underneath it. Par-baking the sauced crust first lets excess moisture evaporate, which is the true secret to a crisp foundation.
Playing with Flavor and Form
This dough is wonderfully adaptable. Try folding a handful of chopped herbs, sun-dried tomatoes, or grated hard cheese into the dough during the last minute of kneading.
You can also shape it into personal-sized pizzas, or even stretch it out to make a fantastic focaccia. Once you master the basic recipe, your sourdough discard will never look the same again.
This sourdough discard pizza crust is a great way to put unfed sourdough starter to good use. Chewy and flavorful, with an open crumb and a hearty, tangy taste, it pairs beautifully with bold toppings and well-aged cheeses. Perfect for turning kitchen scraps into a gourmet meal!
ingredients
1cup sourdough starter, unfed/discard (227g)
1/2 to 3/4cup water, lukewarm (141g to 170g total)
2 1/2cups King Arthur Unbleached All-Purpose Flour (300g)
1tsp table salt
1/2tsp instant yeast or active dry yeast
4tsp King Arthur Pizza Dough Flavor (optional but delicious)
Instructions
1
Stir any liquid on top of your refrigerated starter back into it. Measure 1 cup (227g) into a large mixing bowl. (Consider feeding the rest of your starter after this step.)
2
In your mixing bowl or stand mixer, combine the starter, the lesser amount of lukewarm water (½ cup + 2 tbsp), flour, salt, yeast, and Pizza Dough Flavor (if using).
3
Mix to combine. If the dough appears dry, add the remaining water 1 tablespoon at a time. Knead with a dough hook for about 7 minutes until smooth and the dough clears the sides of the bowl.
4
Place dough in a lightly greased container, cover, and let rise until nearly doubled—this takes 2 to 4 hours depending on starter vitality. For a faster rise, place in a warm spot or double the yeast.
5
For two thin-crust pizzas: Divide dough in half and shape into disks. Oil two 12" round pans and place dough in each. Cover and rest 15 minutes, then gently stretch to edges. If dough resists, rest another 15 minutes before continuing.
6
For one thick-crust pizza: Oil a 14" round pan or 18"x13" sheet pan. Press dough into pan. Rest 15 minutes if dough snaps back, then continue pressing. Cover and let rise until desired thickness is reached.
7
Preheat oven to 450°F (232°C) near the end of the rise.
8
Add sauce and toppings—but hold the cheese. Bake thin-crust for 5 minutes or thick-crust for 10 minutes. Remove, add cheese, and return to oven for 5–7 more minutes until cheese is melted and crust golden.
9
Let cool slightly, slice, and enjoy hot!
Nutrition Facts
Servings 4
Amount Per Serving
Calories210kcal
% Daily Value *
Total Fat0.5g1%
Sodium590mg25%
Potassium65mg2%
Total Carbohydrate43g15%
Dietary Fiber1.5g6%
Sugars0.5g
Protein6g12%
Calcium 10 mg
Iron 2 mg
* Percent Daily Values are based on a 2,000 calorie diet. Your daily value may be higher or lower depending on your calorie needs.
Note
No starter? Make your own or buy a fresh one—it takes 5–7 days to mature before baking.
More sour? Use a neglected starter for extra tang and slower rise—ideal for all-day dough.
Crispier crust? Par-bake without cheese first to let moisture escape before adding toppings.
Storage: Keep leftover pizza wrapped in the fridge for up to 5 days.
I’m a London-based food writer, recipe developer, and home cook who has been passionate about cooking for over 15 years. What started as a way to recreate my mother’s traditional dishes turned into a lifelong love for experimenting with flavors, writing about food, and helping others feel more confident in the kitchen.