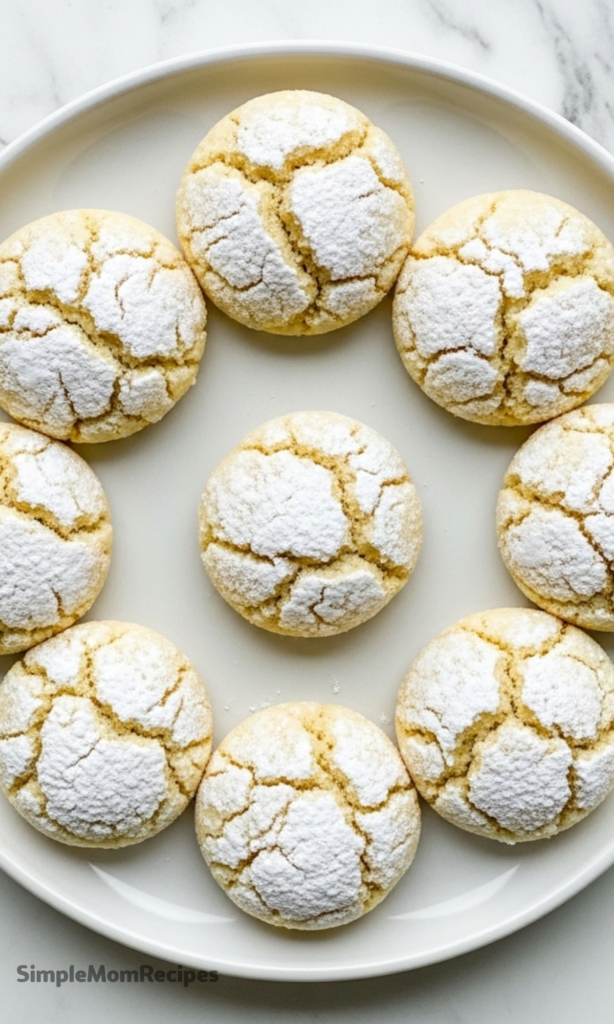
There’s a certain magic in a cookie that disappears with a gentle, buttery crumble, leaving just a sweet, nutty whisper and a dusting of sugar on your lips.
These snowball cookies are exactly that kind of magic, a humble treat transformed into something memorably tender.
A Little Cookie History
These powdery delights pop up in countless cultures, often cradling different names and nutty hearts.
Some families know them as Mexican wedding cookies, others as Russian tea cakes, but the shared experience is universal: that first melt-in-your-mouth bite.
Ingredients Needed for the Recipe
Gathering these simple components is the first quiet step toward something wonderful.
- Slivered Almonds: They provide the essential nutty foundation and a delicate crunch.
- All-Purpose Flour: This is the structural backbone, giving the dough its body.
- Baking Soda: A tiny amount works quietly to lift the texture, banishing any denseness.
- Kosher Salt: It’s the flavor enhancer, making the sweet and nutty notes sing brighter.
- Unsalted Butter: This is the star, really, creating that legendary rich and tender crumb.
- Granulated Sugar: It sweetens the dough itself, perfectly balancing the butter.
- Vanilla Extract: A teaspoon adds a warm, aromatic depth to every component.
- Confectioners’ Sugar: This is for the iconic double coat, creating the snowy glaze and finish.
How to make ?
The process is a peaceful one, where small, careful steps lead to a spectacular result.

Step 1- Toast and Mix the Dry Ingredients
Start by toasting your almonds in a preheated 325°F oven until they’re lightly golden and fragrant.
Let them cool completely, then pulse them in a food processor until finely chopped, but not pasty.
Step 2- Combine the Butter and Sugar
In a mixer, beat the softened butter with the granulated sugar and vanilla for a good four minutes.
You’re looking for it to become pale, creamy, and wonderfully fluffy—this air is key.
Step 3- Bring the Dough Together
With the mixer on low, add your nut and flour mixture to the creamed butter.
Mix just until no dry streaks remain, scraping the bowl once to ensure everything is evenly incorporated.
Step 4- Shape and Chill
Line a baking sheet with parchment paper. Scoop level tablespoons of dough, rolling them gently into balls.
Place them an inch apart on the sheet and pop the whole tray into the freezer for just ten minutes.
Step 5- Bake to Golden Perfection
Bake the chilled cookies for about 22 minutes. They should be lightly golden on top.
A deeper, more toasted gold on the bottom is your true signal that they’re perfectly done.
Step 6- The First Sugar Coat
Let the cookies cool on the sheet for only ten minutes—they must still be quite warm.
Roll them, two at a time, in a bowl of confectioners’ sugar, then return them to the parchment to cool fully.
Step 7- The Final Snowy Finish
After an hour, the initial sugar coat will have melted into a smooth, seamless glaze.
Sift your sugar to remove crumbs, then give each cookie a second, final roll for that classic snowy look.
Choosing Your Nut
While almonds are traditional, the type of nut you choose is a wonderful place to express a personal preference.
Pecans will lend a richer, almost butterscotch note, while walnuts offer a slightly earthy, robust flavor.
Tips
- For the best texture, truly let your butter soften at room temperature; microwaving it will melt it unevenly.
- That initial ten-minute freeze is non-negotiable—it’s what keeps your snowballs round, not flat.
- Don’t skip the double sugar roll. The warm glaze sets the stage for the final powdery layer.
- If your dough feels too soft after mixing, you can refrigerate the whole bowl for 15 minutes before scooping.
Storing Your Sweet Creations
Once completely cool, layer the cookies between sheets of wax paper in an airtight container.
They keep beautifully at room temperature for up to two weeks, though they rarely last that long.

Perfect Snowball Cookies Recipe
Description
Buttery, nutty, and melt-in-your-mouth tender—these Perfect Snowball Cookies are a holiday classic with a secret technique for a creamy-sugary glaze beneath their snowy exterior. Inspired by family tradition and perfected through thoughtful testing, these cookies are crisp yet delicate, with toasted almonds, a whisper of vanilla, and just enough salt to balance the sweetness.
Ingredients
Instructions
-
Adjust oven rack to center position and preheat oven to 160°C (325°F).
-
Spread almonds on a pie plate and toast until golden, about 8 minutes. Let cool, then pulse in a mini food processor until finely ground.
-
In a small bowl, whisk together ground almonds, flour, baking soda, and salt.
-
In the bowl of a stand mixer fitted with the paddle attachment, beat butter, granulated sugar, and vanilla until creamy (about 4 minutes).
-
On low speed, add the almond-flour mixture and mix until just combined, scraping bowl as needed (about 1 minute).
-
Line a baking sheet with parchment paper. Scoop level tablespoons of dough and gently roll into balls. Arrange 1 inch apart.
-
Freeze dough balls for 10 minutes until just firm.
-
Bake until tops are lightly golden and bottoms deep golden, about 22 minutes.
-
Cool on sheet for 10 minutes. Place confectioners’ sugar in a shallow bowl.
-
While still warm, roll 1–2 cookies at a time in confectioners’ sugar until coated. Return to baking sheet.
-
Let cool completely undisturbed for about 1 hour until glaze sets.
-
Sift confectioners’ sugar to remove crumbs, then re-roll cooled cookies for a snowy finish.
Nutrition Facts
Servings 24
- Amount Per Serving
- Calories 80kcal
- % Daily Value *
- Total Fat 5g8%
- Saturated Fat 3g15%
- Cholesterol 10mg4%
- Sodium 35mg2%
- Potassium 25mg1%
- Total Carbohydrate 9g3%
- Dietary Fiber 0.5g2%
- Sugars 6g
- Protein 1g2%
- Calcium 10 mg
- Iron 0.3 mg
* Percent Daily Values are based on a 2,000 calorie diet. Your daily value may be higher or lower depending on your calorie needs.
Note
- Nut substitutions: Toasted pecans, walnuts, or hazelnuts work beautifully in place of almonds.
- Make ahead: These cookies keep well in an airtight container at room temperature for up to 2 weeks.
- Storage tip: Layer between sheets of waxed paper to prevent sticking and preserve the sugary coating.