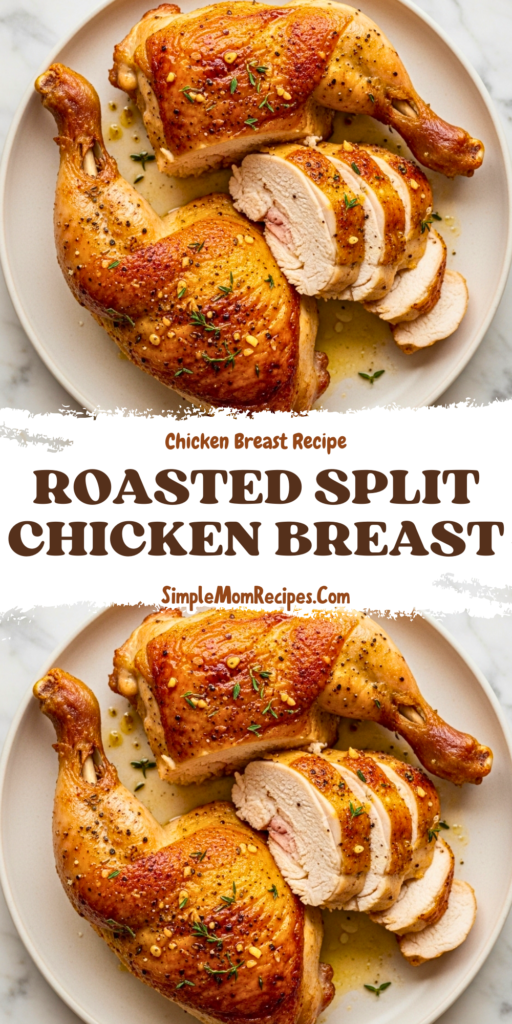
This is the chicken recipe I come back to when I want something reliable, comforting, and honestly kind of impressive for how simple it is. It’s the one I’ve made on autopilot after long days and the one I still get excited about when the skin comes out perfectly crisp.
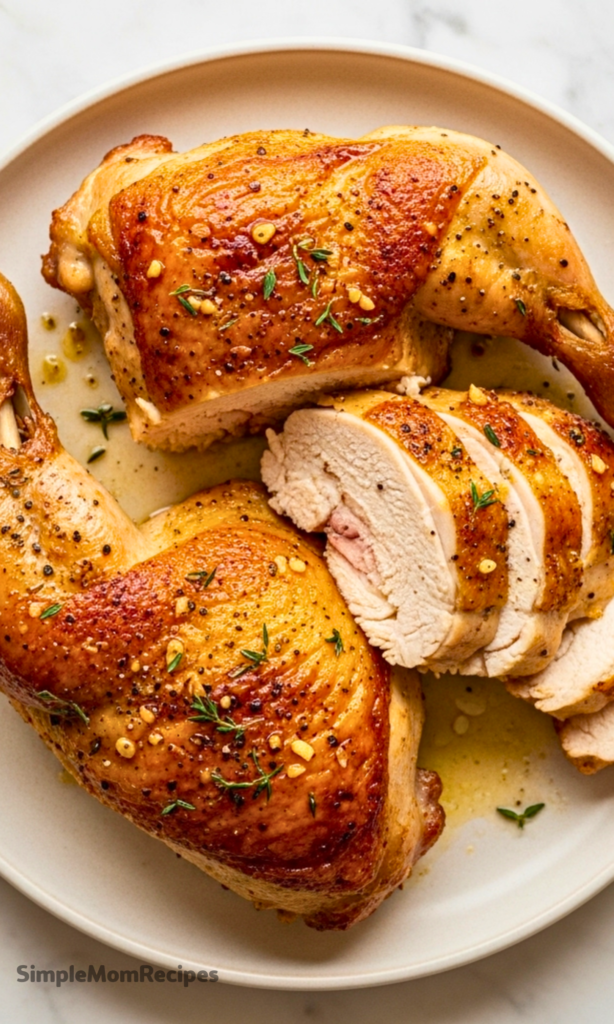
Perfect Every Time Roasted Split Chicken Breast isn’t a dramatic name, but it’s accurate. Bone-in, skin-on chicken roasted hot and fast gives you juicy meat, salty crackly skin, and leftovers that actually taste better the next day.
I’ve cooked this chicken more times than I can count, both for other people and for myself. It never lets me down, and it’s one of those recipes that quietly teaches you why technique matters more than fancy ingredients.
If you’ve sworn off chicken breast because it’s dry or boring, this will change your mind. This version keeps everything that makes chicken good, the fat, the bone, the flavor, and skips the parts that make it sad.
This is also a meal prep hero. I roast a tray at the start of the week and use it everywhere, salads, soups, bowls, and sandwiches, without ever feeling like I’m eating leftovers.
Ingredients Needed for the Recipe
- Split chicken breasts: Bone-in and skin-on for moisture, flavor, and that crispy skin that makes the whole dish.
- Olive oil: Helps the skin crisp and carries seasoning evenly across the surface.
- Sea salt: Essential for seasoning the meat all the way through and drawing moisture from the skin.
- Black pepper: Adds warmth and balance without overpowering the chicken.
- Garlic powder: Gives a savory backbone that works with almost anything you serve this with.
- Fresh thyme (optional): Adds a subtle herbal note if you have it, but the recipe shines without it.
That’s it. No marinades, no long ingredient list, no tricks. Each ingredient earns its place and does exactly what it’s supposed to do.
Why Bone-In, Skin-On Makes All the Difference
There’s a reason this recipe doesn’t work with boneless, skinless chicken breast. The bone protects the meat from drying out, and the skin acts like insulation while also turning gloriously crisp.
When chicken cooks on the bone, heat moves more gently through the meat. That slower, more even cooking keeps the inside tender while the outside gets exactly as golden as you want it.
The skin also does more than add texture. As it renders, it bastes the meat underneath, creating flavor you simply can’t fake with seasoning alone.
This is the kind of recipe that reminds you chicken doesn’t need help. It just needs to be cooked the right way.
How to make Perfect Every Time Roasted Split Chicken Breast?
Step 1 – Preheat and Prep
Start by preheating your oven to 425°F. This high heat is key for crisp skin and juicy meat, so don’t lower it out of fear.
Line a baking sheet with parchment paper to make cleanup easier and prevent sticking. You want the chicken exposed, not crowded or sitting in liquid.
Step 2 – Oil the Chicken
Pat the chicken breasts dry with paper towels before adding anything. Dry skin is non-negotiable if you want crisp results.
Rub olive oil all over the chicken, using your hands to make sure every curve and edge is coated. This helps seasoning stick and encourages browning.
Step 3 – Season Generously
Season the chicken liberally with salt, pepper, and garlic powder on all sides. Don’t be shy here, thick cuts of meat need confident seasoning.
If you’re using fresh thyme, tuck a few sprigs under or around the chicken. It will perfume the meat gently as it roasts.
Step 4 – Roast Until Perfect
Place the chicken skin-side up on the prepared baking sheet, leaving space between each piece. Airflow helps the skin crisp evenly.
Roast for about 40 minutes, or until the skin is deeply golden and the internal temperature reaches 165°F at the thickest part.
Step 5 – Rest Before Cutting
Remove the chicken from the oven and let it rest for at least five minutes. This step matters more than people think.
Resting allows the juices to redistribute throughout the meat, keeping every bite moist instead of letting it spill out onto the cutting board.
What Makes This Chicken So Reliable
This recipe works because it respects how chicken wants to be cooked. High heat, minimal handling, and enough fat to protect the meat do all the heavy lifting.
There’s no guesswork once you’ve made it a few times. The timing stays consistent, and the results don’t depend on perfect knife skills or special equipment.
It’s also forgiving. Slightly bigger breasts just need a few extra minutes, and smaller ones are easy to check early without stress.
That kind of reliability is what turns a recipe into a staple.
Tips
- Always pat the chicken dry before seasoning to help the skin crisp properly.
- Use a heavy baking sheet to promote even browning.
- Leave space between pieces so the chicken roasts instead of steams.
- Check doneness early if your chicken breasts are on the smaller side.
- Let the chicken rest before slicing to keep it juicy.
- Season more than you think you need, thick cuts require it.
What to Serve With Roasted Split Chicken Breast
This chicken plays well with almost anything, which is part of why I make it so often. It’s neutral enough to pair with bold sides and flavorful enough to stand on its own.
Roasted vegetables are my go-to, especially green beans, squash, or sweet potatoes. Toss them in the oven alongside the chicken if your pan allows.
Fresh salads also work beautifully. The warm chicken against crisp greens and a bright dressing makes the whole meal feel balanced.
For heartier meals, I serve it with rice, roasted potatoes, or tucked into grain bowls that stretch leftovers into multiple dinners.
Using Leftovers Without Getting Bored
Leftover roasted split chicken breast might be even better than the first night. The flavor deepens, and the meat stays tender for days.
I slice it cold for salads and sandwiches, shred it into soups, or warm it gently with a splash of broth on the stovetop.
The key is avoiding the microwave when possible. Gentle reheating keeps the meat moist and prevents that rubbery texture.
This is the kind of leftover that feels like a head start, not a compromise.
Simple Variations That Still Work
Once you’ve mastered the base recipe, it’s easy to make small changes without breaking it. The method stays the same, only the flavor shifts.
Smoked paprika adds warmth and color, while chili powder gives a subtle kick. Curry powder works surprisingly well if you want something different.
You can also swap olive oil for avocado oil if that’s what you have. The results stay just as crisp and juicy.
As long as you keep the bone, skin, and high heat, the recipe stays solid.
Storing and Reheating
Store any leftover chicken in an airtight container in the refrigerator for up to four days. I prefer slicing it before storing to make meals easier later.
For reheating, place the chicken in a pan with a splash of broth and warm gently over low heat. This keeps the meat tender.
You can also enjoy it cold, especially in salads or wraps, where the flavor really shines without reheating at all.
Why I Keep Coming Back to This Recipe
This roasted split chicken breast has followed me through busy weeks, quiet weekends, and everything in between. It’s dependable without being boring.
It reminds me that good food doesn’t need to be complicated. Sometimes it’s about doing one simple thing really, really well.
If you’ve been stuck in a cycle of dry chicken breast and disappointment, this is your way out. It’s honest cooking, done right.
I can’t wait for you to make this Perfect Every Time Roasted Split Chicken Breast and see just how good simple can be.

Roasted Split Chicken Breast Recipe
Description
Juicy, tender bone-in, skin-on chicken breast with irresistibly crispy, flavorful skin—roasted to perfection every single time. This foolproof recipe is a meal prep staple that’s just as delicious fresh from the oven as it is days later in salads, sandwiches, or soups. Say goodbye to dry, bland chicken forever!
ingredients
Instructions
-
Preheat oven to 220°C (425°F). Line a baking sheet with parchment paper for easy cleanup.
-
Pat chicken breasts dry with paper towels. Coat evenly with olive oil using your hands.
-
Season generously on all sides with sea salt, black pepper, and garlic powder. Add fresh thyme if using.
-
Place chicken skin-side up on the prepared baking sheet.
-
Roast in the preheated oven for 40 minutes, or until the internal temperature reaches 165°F (74°C) and the skin is golden and crisp.Check smaller pieces at 30 minutes to avoid overcooking.
-
Remove from oven and let rest for 5 minutes before slicing or serving.Resting ensures juices redistribute for maximum tenderness.
Nutrition Facts
Servings 4
- Amount Per Serving
- Calories 320kcal
- % Daily Value *
- Total Fat 20gg31%
- Saturated Fat 5gg25%
- Trans Fat 0gg
- Cholesterol 115mgmg39%
- Sodium 980mgmg41%
- Potassium 420mgmg12%
- Total Carbohydrate 1gg1%
- Dietary Fiber 0gg0%
- Sugars 0gg
- Protein 34gg68%
- Calcium 20 mg
- Iron 1 mg
* Percent Daily Values are based on a 2,000 calorie diet. Your daily value may be higher or lower depending on your calorie needs.
Note
- Do not substitute boneless, skinless chicken breasts—this method relies on the fat and moisture from the skin and bone.
- Customize the spice blend: Try adding paprika, chili powder, or dried herbs like rosemary or oregano.
- Meal prep tip: Cook once, enjoy all week—in grain bowls, wraps, or chopped into soups.