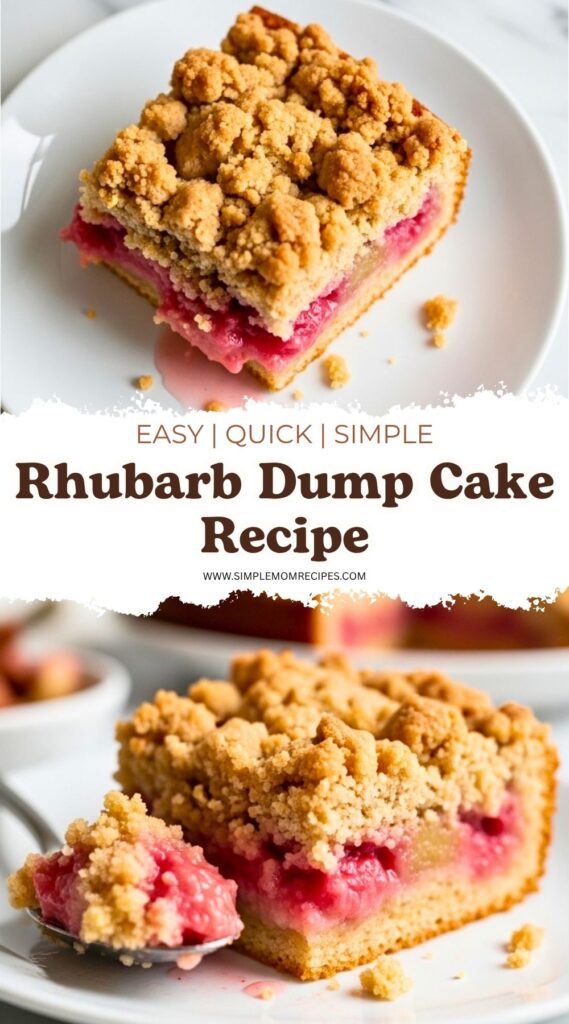
A tangy-sweet dessert with rhubarb, cake mix, and buttery topping that bakes into a soft, jammy layer with crisp edges you didn’t expect.
A quick moment before I started
I was already halfway through cutting the rhubarb when I realized I hadn’t even preheated the oven. Typical. I always think I’m being efficient, then end up pacing around the kitchen waiting for it to hit temperature anyway. The chopped pieces were uneven too – some tiny, some weirdly long like I lost focus halfway through. I left them like that. It somehow works better when I don’t fuss too much with this recipe.
Also, I had that thought again – the name “dump cake” really undersells what’s about to happen. It sounds lazy, but the end result feels way more intentional than it should.
Ingredients I Used for the Recipe
- 4 cups diced rhubarb – tart base, I kept mine slightly chunky for texture
- 1 small box strawberry gelatin (about 3 oz) – adds sweetness and that bright color
- 1/2 cup sugar – softens the sharp bite of the rhubarb
- 1 box yellow cake mix – dry, straight from the box, no mixing
- 1/2 cup salted butter, melted – gives that golden, slightly crisp top
- 1 2/3 cups cold water – helps everything cook down into that jammy layer
How to make Rhubarb Dump Cake?
Step 1 – Preheat and lightly prep the pan
I set the oven to 350°F and grabbed a baking dish. I almost forgot to grease it, which would have been annoying later, so I gave it a quick swipe with butter. Nothing precise, just enough so things don’t stick in the corners.
Step 2 – Scatter the rhubarb
I dumped all the chopped rhubarb into the pan and spread it out with my hands. It doesn’t need to be perfect. Some pieces piled up a bit, but that just means some bites turn extra soft later.
Step 3 – Add the gelatin and sugar
Sprinkled the strawberry gelatin right over the rhubarb, followed by the sugar. I didn’t mix it. That felt wrong the first time I made this, but leaving it layered is the whole point. The gelatin melts down and creates this almost syrupy layer underneath.
Step 4 – Dump the cake mix
Opened the cake mix and poured it evenly over everything. I tried to cover all the edges because dry pockets are a real thing here. The first time I made this, I left a corner uncovered and it baked into a weird powdery patch. Not great.
Step 5 – Pour butter and water
Drizzled the melted butter across the top. I never get it perfectly even, so I just zigzag it and hope for the best. Then I poured the water slowly over everything. It looks messy at this stage. It’s supposed to.
Step 6 – Bake until it looks right
Into the oven it goes for about 45 to 55 minutes. I usually check at 40 because my oven runs a bit hot. You’re looking for bubbling edges and a golden top. The middle might still look slightly soft, but it sets more as it cools.
Step 7 – Let it sit (even if you don’t want to)
I always want to dig in immediately, and I have, but it’s better if it rests for at least 20 minutes. It thickens up and the layers settle. Otherwise it’s more like a hot, delicious puddle.
Something that almost ruined it
I once thought it would be a good idea to stir everything together halfway through baking. I don’t know why. Maybe curiosity, maybe boredom. Big mistake. It turned into a dense, sticky mess with no texture at all. The top never got that lightly crisp finish.
This is one of those rare recipes where doing less actually matters. No mixing, no adjusting mid-bake, no “fixing” it. Just let it do its thing.
Texture, smell, and that first bite
The smell hits first – warm, slightly buttery, with this sharp fruity edge from the rhubarb. Not overly sweet, which I like. It doesn’t feel heavy.
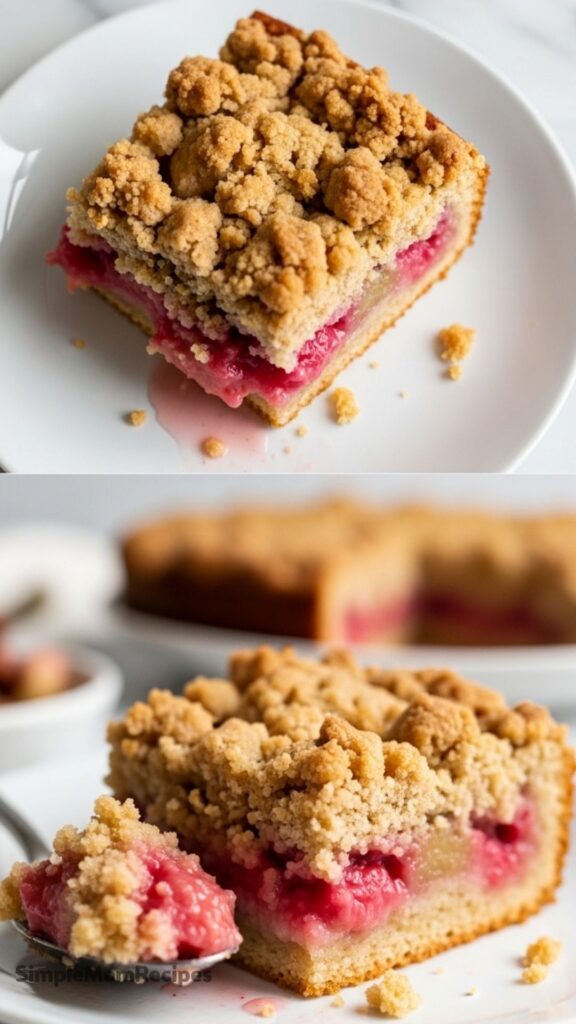
The top layer gets these golden patches where the butter pooled a little more. Some spots stay softer, almost like soaked cake. Underneath, the rhubarb breaks down into something jammy but still a little stringy in places. I actually like that. It reminds me that it came from real stalks, not just a filling.
First bite is always a mix. Sweet from the cake, tart from the rhubarb, and then that slight chew where the fruit didn’t fully melt. If you scoop from the edge, you get more crisp bits. Middle is softer, almost spoonable.
A small habit I follow now
I always make this when I don’t feel like measuring too carefully. It’s forgiving. If I have a little more rhubarb, I throw it in. If I’m short on butter, I still go ahead with it. It’s not the kind of dessert that punishes you for being slightly off.
Sometimes I even keep a bag of frozen rhubarb just for this. No thawing. Straight into the pan. It releases a bit more liquid, so the bottom gets extra saucy. I don’t mind that at all.
And I almost always eat it warm. I’ve had it cold from the fridge too, and it’s good, but warm feels right. Softer, more comforting. A scoop of vanilla ice cream melts into it and kind of disappears, which is exactly what I want.
Tips
- Don’t stir the layers – it ruins the texture and turns everything dense
- Try to cover the cake mix evenly so you don’t get dry patches
- If the top looks too powdery halfway through baking, drizzle a little extra butter
- Let it rest before serving – it thickens more than you think
- Frozen rhubarb works fine, just expect a slightly softer base
- Use salted butter if you can – it balances the sweetness better
This one sticks around in my kitchen because it’s low effort but still feels like you made something real. No mixers, no bowls piling up in the sink, no second guessing every step. Just layering things into a pan and trusting it will turn into something good.
And it always does. Even when I forget something small or cut corners. Especially then, actually.
Rhubarb Dump Cake Recipe
Description
This Rhubarb Dump Cake is the ultimate no-fuss dessert! Featuring tart rhubarb, sweet strawberry gelatin, and a buttery yellow cake mix topping, this recipe requires zero mixing—just layer, bake, and enjoy. It's a nostalgic favorite that's perfect for spring gatherings.
Ingredients
The Base
The Topping
Instructions
Prep the Oven and Pan
Preheat your oven to 350°F (175°C). Grease a 9x13 inch baking dish with non-stick spray or butter.Layer the Ingredients
Spread the diced rhubarb evenly across the bottom of the prepared pan. Sprinkle the dry strawberry gelatin powder evenly over the rhubarb, followed by the 1/2 cup of sugar.Do not stir these layers.Add the Cake Mix
Pour the dry yellow cake mix evenly over the sugar layer. Try to cover as much surface area as possible without pressing it down.Add Liquids
Drizzle the melted butter evenly over the cake mix. Finally, pour the cold water evenly over the entire dish. It may look soupy, but this helps create the sauce and crust.Bake
Bake for 45-55 minutes. The top should be golden brown and the filling should be bubbly around the edges.Cool and Serve
Remove from the oven and let it cool for at least 15-20 minutes. This allows the filling to set slightly. Serve warm, ideally with a scoop of vanilla ice cream.
Nutrition Facts
Servings 12
- Amount Per Serving
- Calories 320kcal
- % Daily Value *
- Total Fat 10g16%
- Saturated Fat 6g30%
- Cholesterol 25mg9%
- Sodium 380mg16%
- Potassium 180mg6%
- Total Carbohydrate 56g19%
- Dietary Fiber 2g8%
- Sugars 38g
- Protein 3g6%
* Percent Daily Values are based on a 2,000 calorie diet. Your daily value may be higher or lower depending on your calorie needs.
Note
Storage: Cover tightly and store in the refrigerator for up to 5 days. Reheat individual slices in the microwave for 15-20 seconds if desired.
