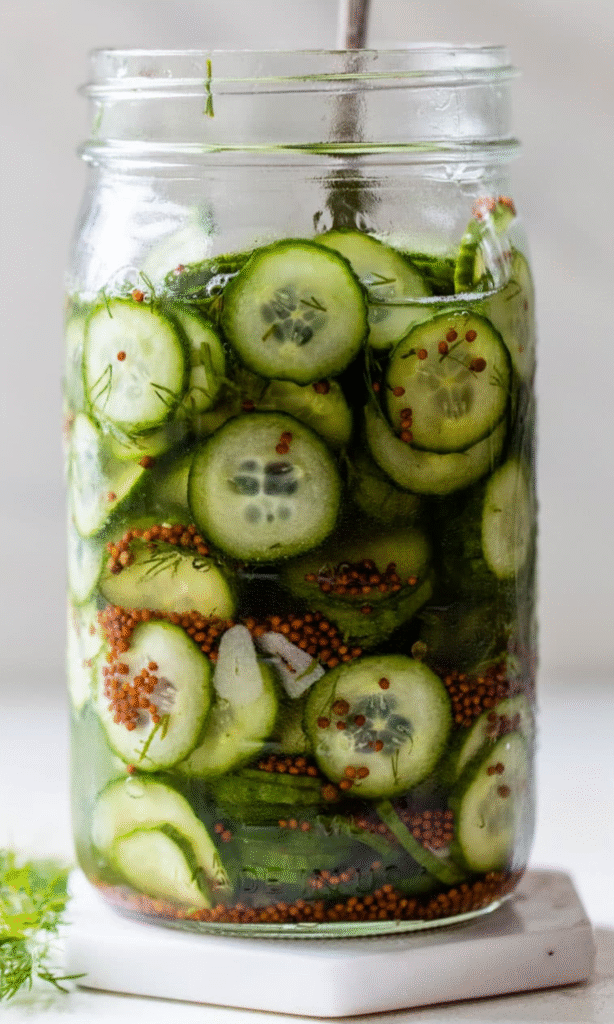
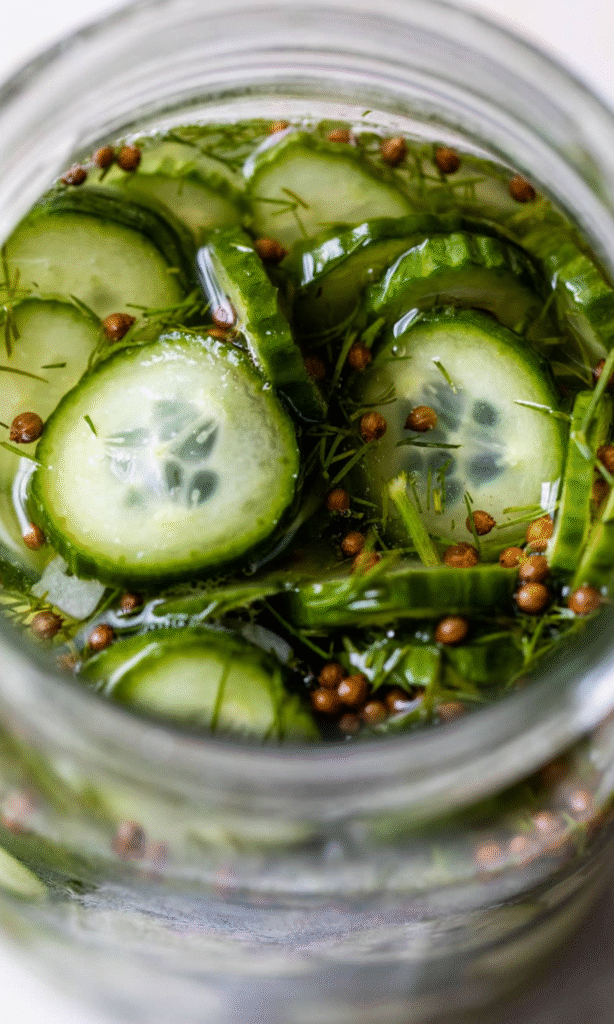
Ever bite into a pickle that just hits different? Like, crisp, tangy, with that little garlicky kick — not too sour, not too sweet, just right? Yeah, that’s what these fridge pickles are all about. And guess what — you don’t need fancy canning gear or a whole weekend to make ‘em.
Nope. Just slice, pour, wait a day, and boom — homemade pickles that’ll make store-bought ones look sad. Seriously, once you try these, you’ll wanna put ‘em on everything. Burgers? Check. Sandwiches? Absolutely. Straight outta the jar at midnight? We won’t judge.
They’re the kind of recipe that feels like a kitchen win — fast, cheap, and tastes like you did something fancy. Plus, they keep for weeks. Well, if you can stop eating them long enough for that to matter.
Why These Pickles Are a Total Game-Changer?
Okay, real talk — I used to think pickles were just pickles. Then I tried these. And honestly? It was kind of a pickle awakening.
They’re not just crunchy — they’re *crisp*, like you’re biting into a fresh cucumber that’s been kissed by garlic and dill. The brine soaks in just enough, but the texture stays firm. No mush here.
And the best part? No canning. No boiling jars. No pressure cookers or weird gadgets. Just a couple clean jars, some basic spices, and your fridge. That’s it. It’s basically magic, but way easier.
People make these with garden cukes, farmers market hauls, even impulse buys from the grocery store. Doesn’t matter — they turn out great every time. Oh, and kids love ‘em too. Which is rare, because kids usually hate anything that looks green and healthy.
Ingredients Needed for the Recipe
Alright, let’s get into what you actually need. Good news — it’s short list, and most of it’s probably already in your pantry.
- 1¼ cups distilled white vinegar (the 5% kind — don’t go fancy here)
- 3 tablespoons kosher salt (not table salt — it’s too dense)
- 2 tablespoons sugar (just balances the tang)
- 2 cups cold water (chilled is even better)
- 1¾ to 2 pounds Kirby cucumbers (aka pickling cukes — they’re bumpy, stubby, and perfect)
- 2 tablespoons coriander seeds (they add this warm, citrusy note)
- 6 large garlic cloves, peeled and halved (go big, go bold)
- 1 teaspoon mustard seeds (tiny little pops of flavor)
- ¼ teaspoon red pepper flakes (just a whisper of heat)
- 16 dill sprigs (fresh is key — don’t use dried dill weed)
That’s it. No weird ingredients. No substitutions that’ll mess it up. Stick to this, and you’re golden.
Oh — and about those Kirby cukes? Don’t try to swap in regular long cucumbers. They get soggy. Fast. These little guys are bred to stay crisp, even in brine. Trust the process.
Make the Brine

Grab a small saucepan. Dump in the vinegar, salt, and sugar. Crank the heat to high and stir — just until the salt and sugar vanish. Doesn’t take long, maybe 2 or 3 minutes.
Now, pour that hot mix into a bowl and whisk in the cold water. Let it chill out — literally. Stick it in the fridge while you prep the cukes. You want the brine cold before it hits the jars, so the pickles don’t cook and lose their crunch.
Quick tip — use a nonreactive pot. Stainless steel, glass, or ceramic. Not aluminum or cast iron. Acid + metal = weird flavors. We don’t want that.
Prep the Cucumbers and Jars
Wash those Kirbys real good. Then slice ‘em — spears, rounds, halved, whatever. Just make sure they fit in your jars.
Grab two clean 1-quart jars. Start layering: a few dill sprigs, some garlic, coriander, mustard seeds, a pinch of red pepper flakes. Then pack in the cukes. Squeeze ‘em in there like you’re packing a suitcase.
Don’t skimp on the garlic or dill — that’s where the flavor lives. And hey, if you like spice, toss in an extra pinch of flakes. No rules here.
Pour, Cover, and Wait
Now, pour that cold brine over the cukes. Fill it right to the top. If the brine doesn’t quite cover everything, add a splash of cold water. Just enough to submerge the cukes.
Screw the lids on tight. Pop the jars in the fridge. And then… wait. Just 24 hours. That’s all.
I know, it’s torture. But give it a day. The flavors need that time to sink in. After that? They’re ready. And they’ll keep for up to a month, if they last that long.
Can You Reuse the Brine? (Spoiler: Yes.)
So you’ve eaten half the jar. Pickles are gone, but there’s still brine left. Don’t toss it!
You can totally reuse that brine for another small batch. Just add fresh cukes, a new garlic clove or two, maybe a fresh dill sprig, and let ‘em soak another day. Works like a charm.
It might not be quite as strong the second time, but still tasty. Some folks even use it a third time — just don’t expect miracles by round three.
And no need to strain it. Spices and garlic bits? Leave ‘em in. They’ve still got flavor.
Ways to Customize Your Pickles
Once you’ve nailed the basic recipe, have fun with it. These pickles are like a blank canvas.
Swap in fresh dill heads instead of sprigs — they give a deeper dill punch. Or try a slice of onion in each jar. Sweet, tangy, amazing.
No coriander seeds? Skip ‘em. Or use a teaspoon of pickling spice blend instead of the coriander and mustard seeds. Some people even toss in a grape leaf — supposedly helps keep the cukes crisp, though it’s not necessary.
Want it sweeter? Add another tablespoon of sugar. Prefer it spicy? Toss in a sliced jalapeño. It’s your jar, do what you want.
Tips
Keep the jars sealed when you’re not grabbing pickles — helps them last longer.
If the cukes float, that’s fine. Just give the jar a gentle shake once in a while to redistribute the brine.
Use clean jars — always. A quick wash with hot, soapy water does the trick. No need to sterilize like in canning.
And seriously — don’t skip the cold brine step. Hot brine = soft pickles. We want crunch, not sadness.
Oh, and if you’re making a double batch? Double everything, but maybe use three jars instead of two. Over-packing can mess with the brine flow.
One last thing — label your jars. Especially if you’re into spicy or sweet variations. Last thing you want is to grab a “mild” pickle and get hit with a jalapeño surprise.
Refrigerator Pickles Recipe
Description
No canning, no fuss—just crisp, tangy pickles you’ll want to eat with everything!
Ingredients
Instructions
-
Make the brine
Combine the vinegar, salt, and sugar in a small non-reactive saucepan (such as stainless steel, glass, ceramic, or Teflon) over high heat. Whisk until the salt and sugar are completely dissolved. Transfer the brine to a bowl and whisk in the cold water. Refrigerate until thoroughly chilled.Using a non-reactive pot prevents metallic taste from acid reacting with metal. -
Pack the jars
Stuff the cucumber spears into two clean 1-quart jars. Evenly divide the coriander seeds, garlic cloves, mustard seeds, red pepper flakes, and dill sprigs between the jars.Ensure cucumbers are tightly packed but not crushed. -
Add the brine
Pour the chilled brine over the cucumbers, ensuring they are completely submerged. If needed, add a little extra cold water to cover.Submersion prevents spoilage and ensures even pickling. -
Refrigerate
Seal the jars and refrigerate for at least 24 hours before serving. The pickles will keep for up to 1 month in the refrigerator.Flavor improves after 2–3 days. Brine can be reused 1–2 times for additional batches.
Nutrition Facts
Servings 24
- Amount Per Serving
- Calories 15kcal
- % Daily Value *
- Total Fat 0gg0%
- Saturated Fat 0gg0%
- Trans Fat 0gg
- Cholesterol 0mgmg0%
- Sodium 380mgmg16%
- Potassium 120mgmg4%
- Total Carbohydrate 3gg1%
- Dietary Fiber 0.5gg2%
- Sugars 2gg
- Protein 0.5gg1%
- Calcium 15mg mg
- Iron 0.2mg mg
* Percent Daily Values are based on a 2,000 calorie diet. Your daily value may be higher or lower depending on your calorie needs.
Note
- Reuse the brine: You can reuse the brine 1–2 more times. Just add fresh cucumbers and spices.
- No canning needed: These are refrigerator pickles and not shelf-stable. Always store in the fridge.
- Customize your flavor: Add sliced onions, jalapeños, or substitute dill with fresh tarragon or dill seed.
- Too salty or strong? If the pickles are too intense after 24 hours, rinse briefly before eating.

