Red velvet has always felt a little dramatic to me. Bold color, quiet cocoa, a whisper of tang, and somehow it all works without shouting. These red velvet chocolate chip cookies take that same idea and bring it into cookie form, where things feel more relaxed but just as special.
I first made a version of these years ago when I wanted something softer than a classic chocolate chip cookie, but not as fussy as cake. What came out of the oven surprised me. Tender centers, crisp buttery edges, and that unmistakable red velvet flavor that sneaks up on you.
These are not chocolate cookies dyed red. They have structure, balance, and intention. Mild cocoa gives depth, buttermilk adds a subtle tang, vanilla smooths everything out, and butter carries it all home.
The chocolate chips are the fun part. I lean toward white chocolate here because it pops against the cocoa flavor, but semi-sweet works beautifully too. Sometimes I even mix both, depending on the mood and what’s in the pantry.
If red velvet has ever felt confusing or overhyped, these cookies might change your mind. They’re approachable, familiar, and quietly impressive. The kind of cookie you make once, then keep thinking about days later.
Ingredients Needed for the Recipe
- All-purpose flour – Gives the cookies structure without making them dense.
- Unsweetened cocoa powder – Adds that signature mild chocolate flavor.
- Baking soda – Helps the cookies spread and rise just enough.
- Salt – Balances sweetness and sharpens flavor.
- Unsalted butter – Brings richness and creates crisp edges.
- Brown sugar – Adds moisture and chew with a hint of caramel.
- Granulated sugar – Helps the cookies spread and crisp.
- Egg – Binds everything together and adds tenderness.
- Buttermilk or milk – Adds subtle tang and soft texture.
- Vanilla extract – Rounds out the cocoa and butter flavors.
- Red food coloring or beet powder – For color only, totally optional.
- Chocolate chips – White, semi-sweet, or a mix for pockets of melted goodness.
Why These Cookies Work So Well
What makes these red velvet chocolate chip cookies stand out is balance. Nothing dominates, and every ingredient has a reason for being there. The cocoa is gentle, not bitter. The sweetness is present, but never heavy.
Buttermilk is doing quiet work here. You don’t taste it outright, but you notice the softness. It keeps the cookies tender even days later, which is rare for something baked in under fifteen minutes.
Chilling the dough might feel like an extra step, but it’s worth it. The dough starts sticky, almost stubborn. A short rest in the fridge firms it up and gives you thicker cookies with chewy centers.
How to make Red Velvet Chocolate Chip Cookies?

Step 1 – Mix the Dry Ingredients
Start by whisking together the flour, cocoa powder, baking soda, and salt in a medium bowl. This helps evenly distribute the cocoa so you don’t end up with dark pockets in the dough.
Set this bowl aside for now. It’s ready when you are, and taking a minute here saves trouble later.
Step 2 – Cream the Butter and Sugars
In a larger bowl, beat the softened butter with the brown sugar and granulated sugar until creamy and smooth. This step builds the cookie’s texture, so give it a few solid minutes.
The mixture should look lighter and slightly fluffy. That’s how you know you’re on the right track.
Step 3 – Add Egg and Flavorings
Beat in the egg and vanilla extract until fully combined. Scrape down the sides of the bowl so nothing gets left behind.
This is where the dough starts to look glossy and cohesive, which always feels satisfying.
Step 4 – Combine Wet and Dry Ingredients
Add the dry ingredients to the wet mixture, along with the buttermilk and food coloring. Mix on low speed until just combined.
The dough will be sticky and soft. That’s normal, and it’s exactly what you want at this stage.
Step 5 – Fold in the Chocolate Chips
Gently mix in the chocolate chips until evenly distributed. Don’t overdo it here, or the cookies can turn tough.
If the dough looks too red or not red enough, this is your moment to adjust.
Step 6 – Chill the Dough
Cover the dough and refrigerate it for about one hour. This firms it up and controls spreading.
Longer chilling will give you thicker cookies, but too long can stop them from spreading at all.
Step 7 – Bake the Cookies
Scoop the dough into balls and place them on lined baking sheets, leaving space between each one. Bake until the edges look set but the centers still seem soft.
They will finish setting as they cool, so don’t wait for them to look fully done.
Step 8 – Cool and Finish
Let the cookies cool on the baking sheet for a few minutes before transferring to a rack. While they’re warm, press a few extra chocolate chips on top if you like.
This step is optional, but it makes them look bakery-ready.
Flavor Variations Worth Trying
White chocolate is my usual choice here. It melts smoothly and contrasts nicely with the cocoa flavor, both visually and in taste.
Semi-sweet chips lean more classic. They give you that familiar chocolate chip cookie feeling with a red velvet twist.
For something different, try a mix of white chocolate and mini dark chocolate chips. The combination keeps each bite interesting.
Tips
- Use gel food coloring for strong color without thinning the dough.
- If skipping food coloring, expect a light brown cookie with the same great flavor.
- Don’t skip chilling the dough, even if you’re tempted.
- If cookies don’t spread, gently press them while still warm.
- Measure flour carefully to avoid dry cookies.
Storage and Make-Ahead Notes
Once baked, these cookies keep well at room temperature for several days. Store them in a covered container to maintain softness.
The dough can be made ahead and chilled for up to three days. This makes it easy to bake fresh cookies when the craving hits.
Cookie dough balls also freeze beautifully. Bake them straight from frozen with a small increase in bake time.
When I Love Making These Most
These red velvet chocolate chip cookies feel festive without being fussy. I make them for Valentine’s Day, winter gatherings, and sometimes just because the week feels long.
The color always gets attention, but it’s the texture that keeps people coming back. Soft centers, crisp edges, and just enough chocolate to feel indulgent.
If you’re looking for a cookie that feels familiar but still a little unexpected, this one delivers. It’s cozy, playful, and quietly confident, which is exactly what a good cookie should be.

Red Velvet Chocolate Chip Cookies Recipe
Description
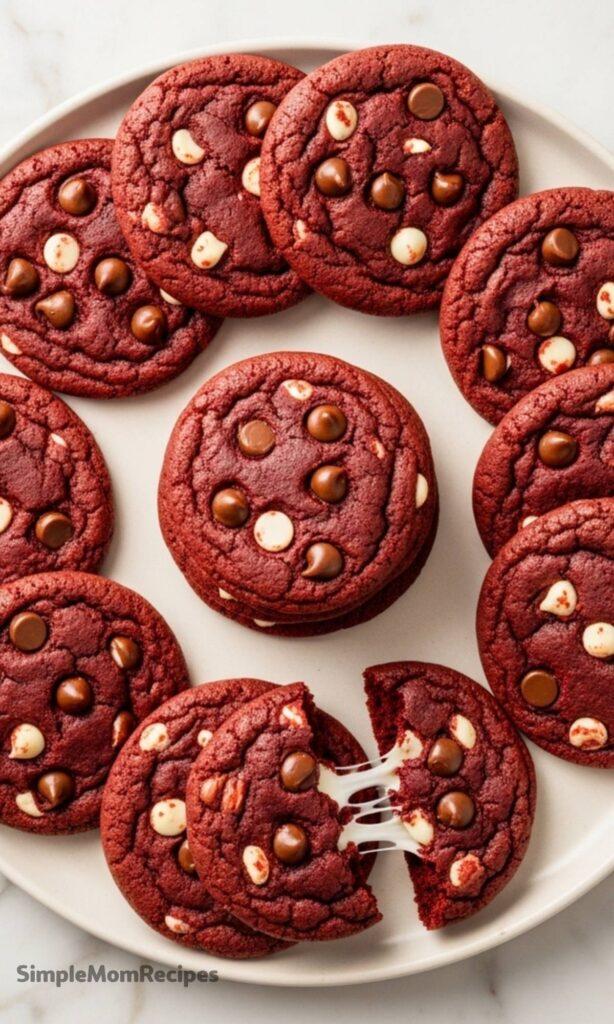
These soft-baked red velvet chocolate chip cookies blend the iconic flavors of red velvet cake—mild cocoa, tangy buttermilk, sweet vanilla, and rich butter—with the gooey texture and crisp edges of classic chocolate chip cookies. Tinted a festive crimson (optional), they’re perfect for holidays like Valentine’s Day or anytime you crave a unique, chewy treat.
ingredients
Instructions
-
Whisk the flour, cocoa powder, baking soda, and salt together in a medium bowl. Set aside.
-
Using a hand mixer or stand mixer fitted with a paddle attachment, beat the butter, brown sugar, and granulated sugar together on medium speed until creamy, about 3 minutes.
-
Add the egg and vanilla extract and mix on high until combined, about 1 minute. Scrape down the sides and bottom of the bowl as needed.
-
Pour the dry ingredients into the wet ingredients, then add the buttermilk and food coloring. Mix on low speed until just combined. The dough will be sticky. Add more food coloring if desired for a deeper red hue.
-
Fold in the chocolate chips until evenly distributed.
-
Cover and chill the dough in the refrigerator for at least 1 hour (up to 3 days). For best spread, do not chill longer than 2 hours unless planning to make crinkle cookies.
-
Preheat oven to 350°F (177°C). Line large baking sheets with parchment paper or silicone baking mats.
-
Scoop dough into 1.5 Tablespoon-sized balls (about 30–35g each) and place 3 inches apart on baking sheets.
-
Bake for 11–13 minutes, or until edges appear set but centers look soft.
-
If cookies haven’t spread, gently press down with the back of a spoon while still warm. Optionally, press a few extra chocolate chips into the tops for appearance.
-
Cool on baking sheets for 5 minutes before transferring to a wire rack to cool completely.
-
Store covered at room temperature for up to 1 week.
Nutrition Facts
Servings 20
- Amount Per Serving
- Calories 160kcal
- % Daily Value *
- Total Fat 8g13%
- Saturated Fat 5g25%
- Cholesterol 25mg9%
- Sodium 95mg4%
- Potassium 80mg3%
- Total Carbohydrate 21g8%
- Dietary Fiber 1g4%
- Sugars 13g
- Protein 2g4%
- Calcium 20 mg
- Iron 1 mg
* Percent Daily Values are based on a 2,000 calorie diet. Your daily value may be higher or lower depending on your calorie needs.
Note
- Food Coloring Options: Use gel food coloring for best results (3/4 tsp recommended). Liquid coloring requires ~1 Tbsp. For natural color, use 2 tsp beet powder.
- Make Crinkle Cookies: Omit chocolate chips, chill dough at least 2 hours, roll balls in confectioners’ sugar before baking.
- Freezing Tip: Unbaked dough balls freeze well for up to 3 months. Bake frozen for 1 extra minute.
