Sometimes, you just need a dessert that feels like a celebration. Something bold, a little dramatic, and undeniably delicious.
That’s exactly where these red velvet brownies come in. They’re not just brownies with a drop of color, mind you.
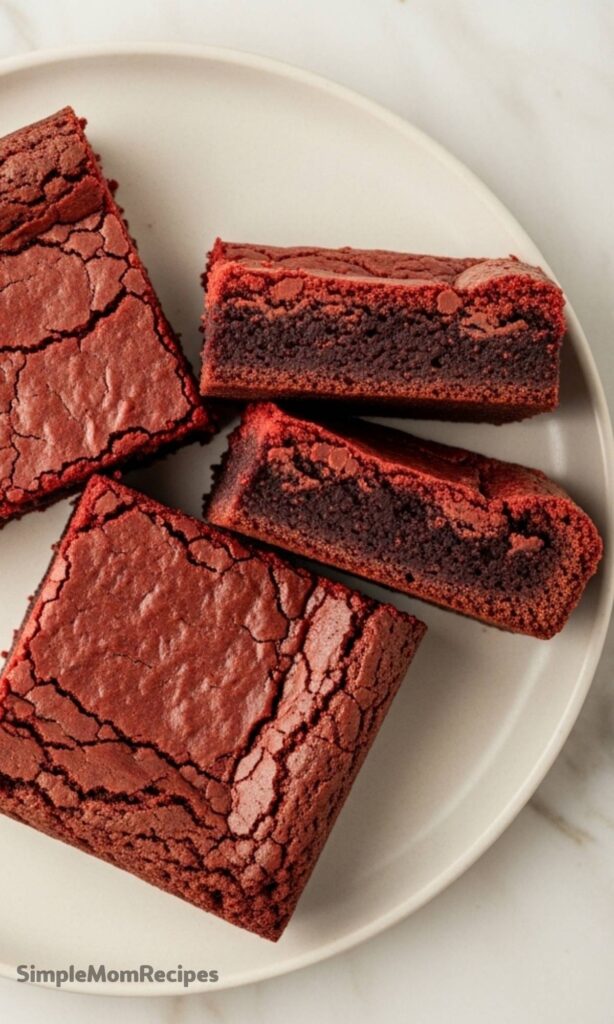
They’re their own glorious thing—fudgy, dense, yet with a hint of airy lightness that makes them impossible to put down.
The Story Behind the Swirl
I hit a creative wall in the kitchen a while back. You know the feeling? Everything starts to taste the same.
So, I asked for ideas, and one brilliant suggestion kept popping up: fudgy red velvet brownies.
The challenge was accepted. The goal was to capture that iconic red velvet flavor—a whisper of cocoa, a touch of tang—in the form of the ultimate brownie.
After some tweaking, and a fair bit of taste-testing, this recipe was born. It’s become my go for holidays, sure.
But honestly, it’s perfect for turning a regular Tuesday into something just a bit more special.
Ingredients Needed for the Recipe
Gathering your ingredients first makes the whole process smooth. Here’s what you’ll need, and why each one matters.
Butter: The foundation. It creates that rich, melt-in-your-mouth texture we all love.
Sugar (Granulated & Brown): A combo! Granulated sugar gives structure, while brown sugar adds moisture and a deeper, caramel-like flavor.
Eggs, at room temperature: This is crucial. Room temp eggs blend seamlessly into the warm butter, preventing clumps and ensuring a smooth, even batter.
Vanilla Extract: The classic flavor enhancer that rounds everything out beautifully.
Red Food Coloring: For that signature, vibrant hue. Gel coloring is more concentrated, so you’ll need less.
White Vinegar: A red velvet secret weapon. It brightens the red color and reacts with the baking soda for a lighter crumb.
All-Purpose Flour: The main structure-builder, giving the brownies their body.
Cocoa Powder: Just enough to hint at chocolate flavor without overwhelming the visual red.
Salt: Balances all the sweetness and makes the flavors pop.
Baking Soda: My texture trick. It lifts the batter just slightly, creating that perfect fudgy-yet-airy contrast.
How to make Red Velvet Brownies?
Don’t let the stunning color fool you—this is a straightforward, one-bowl kind of recipe. Let’s walk through it.
Step 1: Prep and Melt
Start by preheating your oven to 350°F. Grease a 9x9 inch baking pan and line it with parchment paper, leaving some overhang on the sides.
This “sling” will be your best friend for lifting out the brownies later. Now, melt the butter in a small pot over medium heat.
You want it fully melted and just beginning to sizzle. That heat is important for the next step.
Step 2: The Sugar Sizzle
Right away, while the butter is still piping hot, pour it into a large mixing bowl and add both sugars.
Stir them in. This step is the secret to that classic, shiny, crackly brownie top we all adore. The heat begins to dissolve the sugars.
Step 3: Combine the Wet Ingredients
To the warm butter and sugar mixture, add your room-temperature eggs, vanilla, food coloring, and vinegar.
Whisk it all together until you have a smooth, shockingly red, and beautifully glossy liquid. The vinegar’s tang will be subtle but present.
Step 4: Bring It All Together
Add the flour, cocoa powder, salt, and baking soda directly into the wet ingredients.
Use a spatula or whisk to fold and stir until the last streaks of dry flour disappear. Be gentle here—overmixing can lead to tough brownies.
Step 5: Bake to Perfection
Pour the vibrant batter into your prepared pan, spreading it into an even layer.
Bake for 25 to 30 minutes. The true test? A skewer inserted into the center should come out clean of wet batter, but with a few moist, fudgy crumbs clinging to it.
Step 6: The Patient Cool Down
Let the brownies cool in the pan for about 10 minutes. Then, use the parchment paper sling to lift them out onto a wire rack.
This stops them from cooking further in the hot pan. Let them cool enough to handle before slicing.
They are sublime warm, but the flavor deepens beautifully at room temperature.
To Frost or Not to Frost?
This is the fun part, the personalization. A plain red velvet brownie is a masterpiece of simplicity.
The rich, faintly tangy flavor really gets to shine. But, if you want to go all out, a cream cheese frosting is the traditional, glorious partner.
A simple swirl on top of each brownie adds a creamy, cool contrast that’s just magical.
For a less sweet option, a light dusting of powdered sugar works wonderfully, too.
It’s like a little snowfall on a red velvet landscape. Serve them on a platter, maybe with some fresh berries on the side for a pop of color.
Tips
Room temperature eggs are non-negotiable. If you forget, place cold eggs in a bowl of warm water for 5-10 minutes to quickly take the chill off.
For the deepest red color, use gel food coloring. You’ll need much less, and the color won’t dilute your batter.
Don’t skip the parchment paper! It guarantees clean slices and makes cleanup a breeze.
When testing for doneness, look for moist crumbs, not a completely clean skewer. A clean skewer often means overbaked, dry brownies.
For the cleanest slices, use a sharp knife and wipe it clean with a damp cloth between each cut.
Storing Your Brownies
If they last, that is. Once completely cool, store them in an airtight container at room temperature for up to 3 days.
They’ll stay wonderfully moist. For longer storage, you can freeze them.
Wrap the whole slab or individual squares tightly in plastic wrap, then place in a freezer bag.
They’ll keep for up to 2 months. Thaw at room temperature whenever a craving strikes.
So, there you have it. A dessert that’s as fun to make as it is to eat, with a story and a flavor all its own.
Give it a try, and see how a simple brownie can become the star of the show.
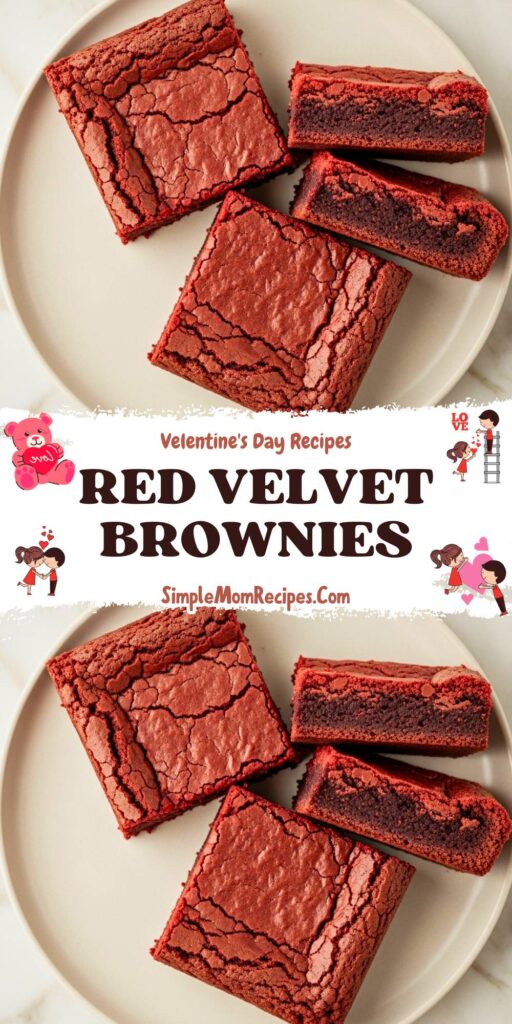
Rich and fudgy don't even begin to describe these brownies! They're the perfect mixture of dense, airy, and moist, with classic brownie crackly tops. A vibrant red hue and subtle cocoa flavor make these a show-stopping dessert for any occasion—Valentine’s Day, Christmas, Mother’s Day, or just because!
ingredients
0.5cup unsalted butter ((1 stick / 115g), melted)
0.5cup granulated sugar ((100g))
0.5cup brown sugar ((100g), packed)
2 large eggs (at room temperature)
1teaspoon pure vanilla extract
2.5teaspoons red liquid food coloring (or 1 teaspoon red gel food coloring)
1teaspoon white vinegar
0.75cup all-purpose flour ((90g), spooned and leveled)
0.25cup unsweetened cocoa powder ((20g))
0.5teaspoon salt
0.25teaspoon baking soda
Instructions
1
Preheat your oven to 350°F. Grease a 9x9 inch baking pan and line with parchment paper, leaving overhang on two sides for easy removal.
2
In a small saucepan, melt the butter over medium heat until fully melted and just beginning to sizzle. Remove from heat.
3
While the butter is still hot, add both sugars and stir to combine and moisten.
4
Transfer the mixture to a large mixing bowl. Add the eggs, vanilla extract, food coloring, and white vinegar. Whisk until smooth and fully combined.
5
Add the flour, cocoa powder, salt, and baking soda to the wet ingredients. Gently fold together until just combined—do not overmix.
6
Pour the batter into the prepared pan and spread evenly with a spatula.
7
Bake in the center of the preheated oven for 25–30 minutes, or until a skewer inserted into the center comes out clean of batter but with a few moist crumbs.
8
Cool in the pan for 10 minutes, then lift out using the parchment overhang and transfer to a wire rack to cool completely before slicing.
Nutrition Facts
Servings 16
Amount Per Serving
Calories180kcal
% Daily Value *
Total Fat8gg13%
Saturated Fat5gg25%
Trans Fat0gg
Cholesterol45mgmg15%
Sodium125mgmg6%
Potassium70mgmg2%
Total Carbohydrate25gg9%
Dietary Fiber1gg4%
Sugars18gg
Protein2gg4%
Calcium 20 mg
Iron 1 mg
* Percent Daily Values are based on a 2,000 calorie diet. Your daily value may be higher or lower depending on your calorie needs.
Note
Room temperature eggs are essential to prevent the melted butter from seizing and creating lumps.
For best results, use gel food coloring if you want a vibrant red without adding extra liquid.
Serve plain or topped with a swirl of cream cheese frosting for an extra decadent treat!
Storage: Keep in an airtight container at room temperature for up to 4 days or freeze for up to 2 months.
Keywords:
red velvet brownies, fudgy brownies, easy red velvet dessert, homemade brownies, cream cheese brownies
Kelsey Perez
Food & Lifestyle Blogger
I’m a London-based food writer, recipe developer, and home cook who has been passionate about cooking for over 15 years. What started as a way to recreate my mother’s traditional dishes turned into a lifelong love for experimenting with flavors, writing about food, and helping others feel more confident in the kitchen.