No-bake dirt cake casserole with creamy layers, crushed cookies, and chocolate pudding. Easy, fun, and perfect for holidays or make-ahead desserts.
I didn’t expect much the first time I threw this together. It felt like one of those “just mix stuff and hope for the best” kind of recipes. But then I took a bite after it chilled, and yeah… it stuck with me.
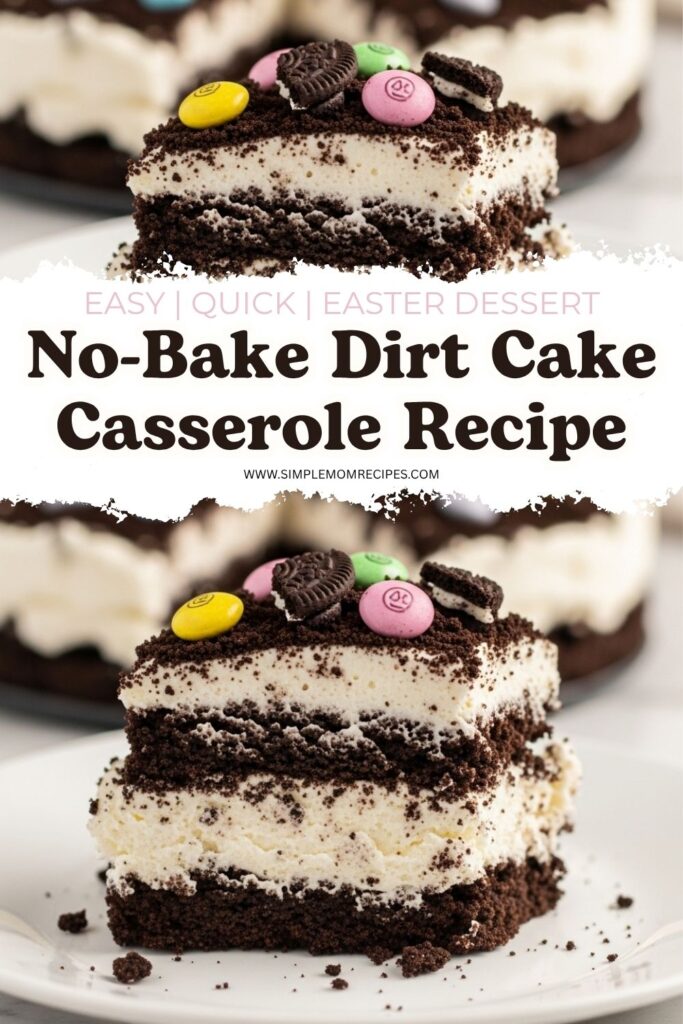
It’s creamy but not too heavy, sweet but not overwhelming. The crushed cookies soften just enough to feel like cake, but still keep a little bite. I’ve made it for Easter, random weekends, and once at midnight because I couldn’t sleep.
And the best part is, I don’t have to bake anything. That alone makes me keep coming back.
Ingredients I Used for the Recipe
- 1 package (14 oz) Oreo cookies, crushed – this is the “dirt” layer and gives that chocolate crunch
- 1 package (8 oz) cream cheese, softened – makes the filling rich and slightly tangy
- ¼ cup unsalted butter, softened – helps smooth everything out and adds a buttery base
- 1 cup powdered sugar – sweetens the cream cheese mixture without feeling grainy
- 1 package (3.4 oz) instant vanilla pudding mix – gives structure and that soft pudding texture
- 2 cups kefir or milk – used to activate the pudding, I like kefir for a slight tang
- 1 container (8 oz) whipped topping, thawed – lightens everything so it doesn’t feel dense
- 1 cup pastel candy-coated chocolates – adds color and a little crunch on top
- ½ cup mini Oreo cookies – mostly for topping, but I sneak a few into the layers sometimes
How to make No-Bake Dirt Cake Casserole?
Step 1 – Crush the cookies
I usually just toss the Oreos into a zip bag and smash them with whatever is nearby. Rolling pin if I’m being proper, but honestly I’ve used a mug before.
I don’t crush them into powder. I like a mix of crumbs and small chunks. It gives better texture later.
Step 2 – Make the creamy base
In a bowl, I beat the cream cheese, butter, and powdered sugar until it looks smooth. The first time I rushed this step and ended up with little lumps. Not great.
Now I take an extra minute here. It should look fluffy and spreadable.
Step 3 – Mix the pudding
In a separate bowl, I whisk the pudding mix with kefir or milk. It thickens pretty quickly, so I don’t walk away from it.
I started using kefir once out of curiosity, and it actually gave the whole dessert a slightly fresher taste. Milk works just fine though.
Step 4 – Bring everything together
I fold the pudding into the cream cheese mixture first. Then I gently fold in the whipped topping.
Gently matters here. I used to stir it aggressively and it turned kind of flat. Folding keeps it light and airy.
Step 5 – Layer it up
Half of the crushed Oreos go into the bottom of a casserole dish. I press them down just a little, not too much.
Then I spread the creamy mixture over it. It doesn’t have to look perfect. I’ve stopped caring about smooth edges.
Step 6 – Add the top layer
The rest of the crushed Oreos go on top. This is where it starts to actually look like dirt cake.
I sprinkle the mini Oreos and pastel chocolates over everything. Sometimes I go heavy on the candies, sometimes I forget them entirely. Still works.
Step 7 – Chill and wait it out
I cover it and let it sit in the fridge for at least 2 hours. Longer is better though.
One time I cut into it too early and it was kind of loose and messy. Still tasted good, just not set.
A few things I figured out along the way
This dessert is forgiving, but I’ve made enough small mistakes to learn what actually matters.
If your cream cheese isn’t soft, you’ll fight it the whole time. I’ve tried to shortcut that step and always regret it.
The chilling part isn’t optional. It’s what turns it from a layered mess into something sliceable and satisfying.
And I don’t always follow the candy topping idea. I’ve swapped in crushed peanut butter cups, skipped toppings completely, or even added gummy worms once just for fun. It’s flexible like that.
People always ask if it can be made ahead. I usually make it the night before if I can. It holds up well for about a day, maybe two if it’s tightly covered. After that, the texture starts to go a bit soft.
Tips
These are the little things that made a difference for me after making this more times than I planned to.
- Let the cream cheese sit out before starting – it saves you from lumpy filling
- Don’t overmix after adding whipped topping – keep it light
- Use a deep dish if you want thicker layers – shallow dishes spread it too thin
- Chill longer if you have time – overnight is actually better
- Keep leftovers covered well – it picks up fridge smells faster than I expected
I keep coming back to this recipe because it doesn’t ask much from me. No oven, no stress, just layering and waiting.
And somehow, every time I scoop into it, it still feels a little fun. Like I didn’t try too hard, but it still worked out anyway.

No-Bake Dirt Cake Casserole Recipe
Description
This fun no-bake dessert layers crushed Oreos, creamy vanilla pudding, and fluffy whipped topping for a playful treat perfect for Easter or any celebration. Easy to make, kid-friendly, and always a crowd-pleaser with zero baking required.
ingredients
Instructions
- In a medium bowl, beat cream cheese, butter, and powdered sugar with an electric mixer until smooth and creamy.
- In a separate small bowl, whisk pudding mix and milk (or kefir) for 2 minutes until thickened. Let stand 2 minutes.
- Gradually fold the pudding mixture into the cream cheese mixture until well combined.
- Gently fold in the thawed whipped topping until no streaks remain.
- Layer half the crushed Oreos in the bottom of a 9x13-inch casserole dish.
- Spread the pudding mixture evenly over the Oreo layer.
- Top with remaining crushed Oreos, spreading evenly.
- Garnish with mini Oreos and pastel candies as desired.
- Cover and refrigerate for at least 2 hours before serving to allow layers to set.
Nutrition Facts
Servings 12
- Amount Per Serving
- Calories 278kcal
- % Daily Value *
- Total Fat 13gg20%
- Saturated Fat 7gg35%
- Trans Fat 0gg
- Cholesterol 16mgmg6%
- Sodium 316mgmg14%
- Potassium 141mgmg5%
- Total Carbohydrate 38gg13%
- Dietary Fiber 1gg4%
- Sugars 26gg
- Protein 3gg6%
- Calcium 70mg mg
- Iron 3mg mg
* Percent Daily Values are based on a 2,000 calorie diet. Your daily value may be higher or lower depending on your calorie needs.
Note
- Make ahead: Assemble up to 24 hours in advance; add garnishes just before serving.
- Storage: Keep covered in refrigerator for up to 2 days.
- Customize: Swap pastel candies for seasonal themes like Halloween or Christmas.
- Dairy option: Regular milk works great if you don't have kefir on hand.
