I didn’t set out to fall in love with these cookies. I actually just wanted something different from the usual holiday lineup. You know how you get tired of making the same things every single year? That was me, staring into my pantry hoping for inspiration.
I’ve always been a chocolate person, but once winter hits, mint starts calling my name. Something about that combo feels cold-weather perfect. Cozy but still fresh. Like stepping outside into crisp air and then coming back into a warm kitchen.
The first batch I ever made was… not great. They looked cute, sure, but they were dry and the mint was way too strong. I’m talking toothpaste vibes. I almost gave up right there.
But stubborn baking energy kicked in. I adjusted things. Baked again. Tweaked again. By the third try, they finally came out soft, lightly minty, and honestly hard to stop eating.
Now they’re one of those cookies people expect me to bring. If I skip them, someone notices.
What Makes These Different From Other Blossom Cookies
These aren’t your typical sugar cookie blossoms. The texture is softer and almost melts when you bite into them. That comes from using powdered sugar instead of granulated sugar, which gives them this delicate, almost shortbread-like feel.
I also learned very quickly that real butter matters here. Not the substitutes. Not the “spreadable” stuff. Actual butter makes the flavor richer and keeps the cookies from turning weirdly flat or greasy.
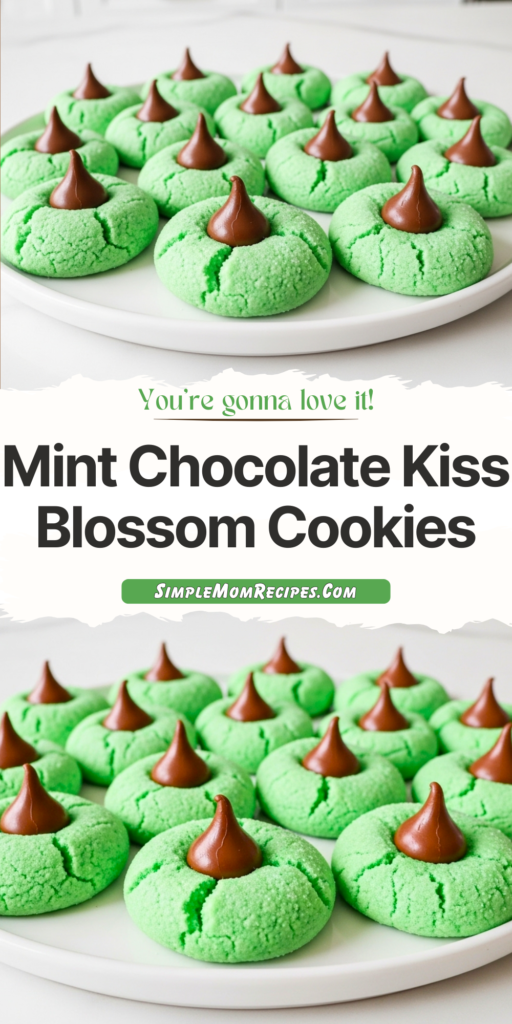
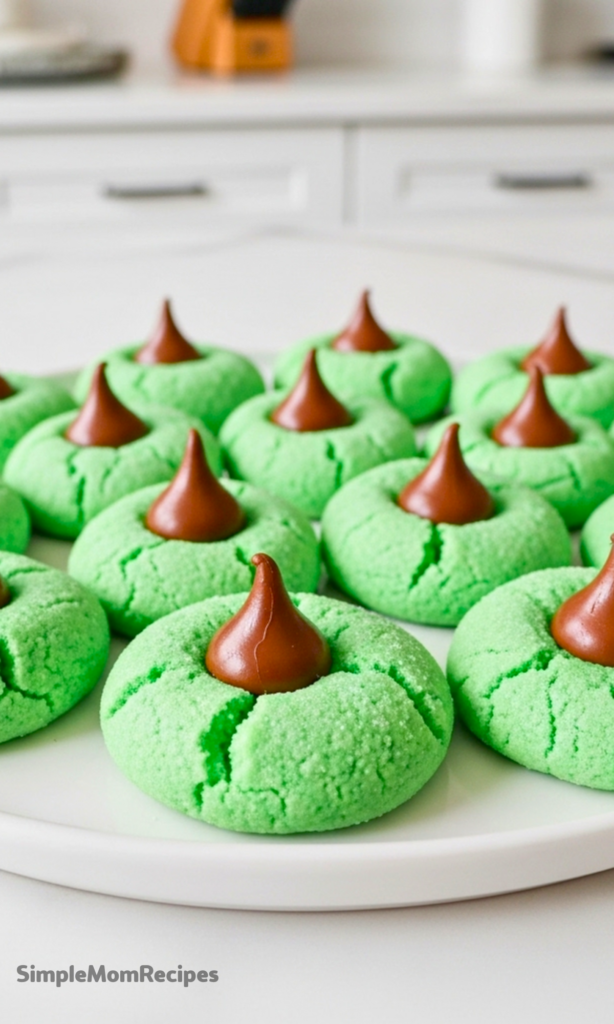
Another thing I love is how customizable they are. Bright green for the holidays. Pale mint for a softer look. Or no color at all if that’s not your thing. The taste stays exactly the same.
And that chocolate kiss pressed into the center? It’s not just decoration. It adds that creamy chocolate contrast that balances the mint so it doesn’t overpower everything.
Ingredients I Used for the Recipe
- 10 tablespoons butter, room temperature – This gives the cookies richness and that soft, melt-in-your-mouth texture.
- 1 cup powdered sugar – Makes the cookies tender instead of crisp and adds a smooth sweetness.
- 1 whole egg – Helps bind everything together.
- 1 egg yolk – Adds extra softness and keeps the dough from feeling dry.
- 1 teaspoon peppermint extract – Brings the mint flavor. I sometimes use a little less for a milder taste.
- 6 to 12 drops green food coloring – Just for color. Totally optional.
- 2 cups all-purpose flour – Gives structure without making them heavy.
- 3/4 teaspoon baking powder – Helps the cookies puff slightly instead of spreading flat.
- 1/4 teaspoon kosher salt – Balances the sweetness.
- 24 chocolate kisses – The star on top. Adds that classic blossom look and creamy chocolate finish.
How to make Mint Chocolate Kiss Blossom Cookies?
Step 1 – Preheat and Prepare
Preheat your oven to 350°F. Line a baking sheet with parchment paper or a silicone mat. I used to skip this step and regretted it every time I had to scrape cookies off the pan.
Step 2 – Cream the Butter and Sugar
Beat the butter and powdered sugar together until light and fluffy. This takes a couple minutes. Don’t rush it. This step is what gives the cookies that soft texture instead of turning dense.
Step 3 – Add the Eggs and Flavor
Mix in the egg and the extra yolk. Then add the peppermint extract. Start with a modest amount. You can always add more next time, but you can’t fix over-minty dough.
Add the food coloring if you’re using it. I start with just a few drops and build from there until I like the color.
Step 4 – Add the Dry Ingredients
Stir in the flour, baking powder, and salt. Mix just until combined. Overmixing will make the cookies tougher, and nobody wants that.
Step 5 – Roll the Dough
Roll the dough into 1-inch balls and place them on the baking sheet. If you want a little sparkle, you can roll them in granulated sugar first. Sometimes I do, sometimes I don’t. Depends on my mood.
Step 6 – Bake Carefully
Bake for 7 to 9 minutes. For my oven, 8 minutes is the sweet spot. The cookies should look set but not browned. Overbaking is the fastest way to ruin these.
Step 7 – Let Them Rest Before Adding Chocolate
Take the cookies out and let them sit on the pan for about 2 minutes. This is important. Pressing the chocolate in too soon makes it melt into a puddle. Waiting too long can cause cracking.
Step 8 – Add the Chocolate Kiss
Gently press one chocolate kiss into the center of each cookie. The chocolate will soften slightly but will hold its shape as it cools.
Step 9 – Cool Completely
Move the cookies to a wire rack and let them cool all the way. Once cooled, store them in an airtight container at room temperature.
Things I Learned the Hard Way
I messed these up enough times to have opinions now.
First, don’t overbake them. They might look slightly underdone when you pull them out, but they finish setting as they cool. Leaving them in “just another minute” will dry them out.
Second, real butter truly makes a difference. I tested it once with a substitute when I ran out. The texture changed, the flavor wasn’t as rich, and I never did that again.
Third, peppermint extract is powerful. A little goes a long way. One time I got confident and added extra. Those cookies cleared your sinuses before you even swallowed.
Also, the green color is just for fun. If you don’t want to use food coloring, skip it. They still taste exactly the same.
Tips
Use Room Temperature Ingredients
Cold butter won’t cream properly. Let it sit out for a bit before starting. It makes mixing so much easier.
Don’t Rush the Chocolate Step
Letting the cookies rest for a minute or two before adding the kiss keeps everything neat and pretty.
Keep the Dough Simple
No need to chill the dough. No complicated steps. This is one of those recipes that works best when you don’t overthink it.
Watch Your Oven, Not the Clock
Every oven runs differently. Look for cookies that are just set with soft tops. That’s when they’re perfect.
They Taste Even Better the Next Day
The mint flavor settles overnight and becomes smoother. If you can resist eating them all immediately, they’re fantastic the next day.
These cookies have become one of those recipes I make without needing to check notes anymore. I know the smell, the timing, even the way the dough should feel when it’s ready. And every year, pulling a tray of these out of the oven still feels a little special.
Simple ingredients. A little patience. And that perfect chocolate center that makes people reach for one more without thinking.

Mint Chocolate Kiss Blossom Cookies Recipe
Description
These adorable Mint Chocolate Kiss Blossom Cookies are the perfect festive treat for the holiday season! Melt-in-your-mouth mint cookies topped with a classic chocolate kiss create a delightful combination that everyone will love. With their vibrant green color and irresistible mint-chocolate flavor, these cookies are sure to be a standout on your Christmas cookie plate.
ingredients
Instructions
-
Pre-heat oven to 350°F (175°C). Line a baking sheet with parchment paper, a silpat, or spray with nonstick baking spray.
-
Cream butter and powdered sugar together until light and fluffy.
-
Add egg, egg yolk, peppermint extract, and green food coloring. Start with 6 drops of food coloring, mix until smooth. Gradually add more food coloring until desired color is reached.
-
Add flour, baking powder, and salt. Mix until just combined.
-
Roll cookie dough into 1-inch balls and place on prepared cookie sheet, spacing about 2 inches apart.
-
Bake for 7-9 minutes (8 minutes is ideal). Be sure not to overbake or cookies will be dry.
-
Remove cookies from oven and let sit on cookie sheet for about 2 minutes. Gently press a chocolate kiss into the top of each cookie.
-
Transfer cookies to a wire rack to finish cooling completely before storing.
Nutrition Facts
Servings 24
- Amount Per Serving
- Calories 130kcal
- % Daily Value *
- Total Fat 6gg10%
- Saturated Fat 3.5gg18%
- Trans Fat 0gg
- Cholesterol 25mgmg9%
- Sodium 45mgmg2%
- Potassium 35mgmg1%
- Total Carbohydrate 17gg6%
- Dietary Fiber 0.5gg2%
- Sugars 10gg
- Protein 1.5gg3%
- Calcium 1% mg
- Iron 3% mg
* Percent Daily Values are based on a 2,000 calorie diet. Your daily value may be higher or lower depending on your calorie needs.
Note
- Food coloring tip: Start with just a few drops of green food coloring and add more gradually. It's easy to add more, but hard to take it out!
- Sugar coating option: Roll cookie dough balls in granulated sugar before baking for extra sparkle and texture.
- Perfect kiss placement: Wait 1-2 minutes after removing cookies from oven before pressing in chocolate kisses. Too soon melts the kiss; too late causes cookies to crack.
- Storage: Store completely cooled cookies in an airtight container at room temperature for up to 5 days.