I have a soft spot for desserts that feel a little extra without asking for much effort. These mini heart cakes are exactly that. Sweet, cheerful, and just fancy enough to make a regular day feel like something worth celebrating.
I started making them years ago when I wanted a dessert that looked thoughtful but didn’t take over my whole afternoon. One batch later, they became a keeper. Now they show up for birthdays, surprise treats, and quiet weekends when baking feels comforting.
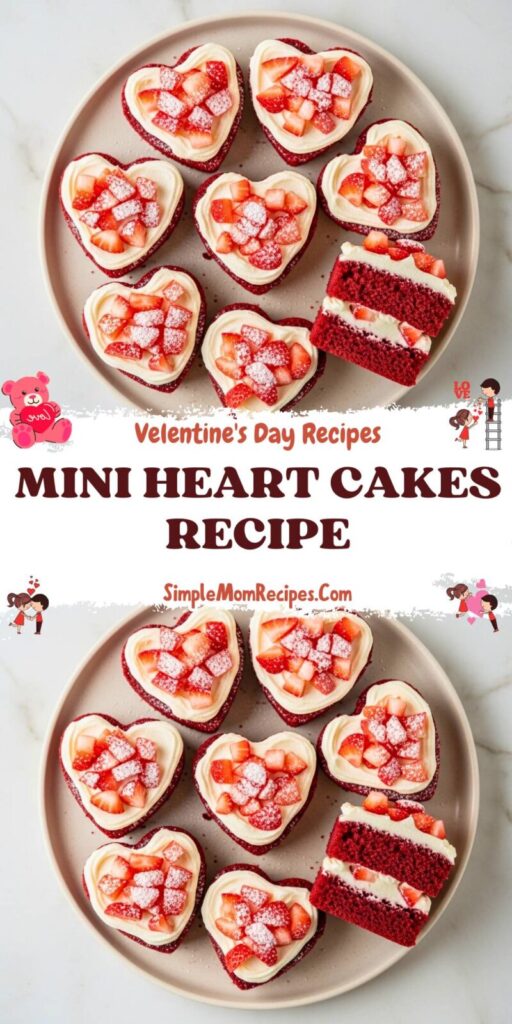
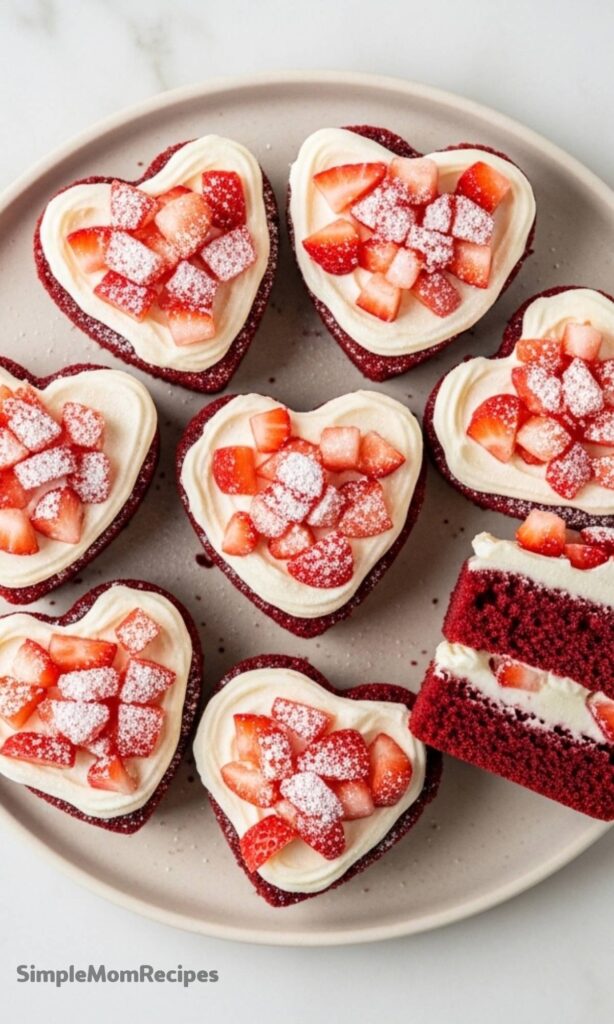
What makes them special isn’t just the heart shape. It’s the balance. Soft red velvet cake, tangy frosting, and fresh fruit on top. Nothing complicated. Nothing fussy. Just a dessert that feels warm and personal.
Why These Little Cakes Always Work
There’s something charming about individual cakes. Everyone gets their own, no slicing required, no crumbs flying everywhere. It feels tidy and generous at the same time.
I also love that these look bakery-level but rely on simple steps. A box mix does the heavy lifting, and a few thoughtful touches make them feel homemade. That’s my favorite kind of baking, honest and relaxed.
They’re especially great when you want to bake with kids or friends. No stress, no long wait, and plenty of room to decorate and make them your own.
Ingredients Needed for the Recipe
- Red velvet cake mix – this is the base and gives the cakes their color and classic flavor.
- Water – helps bring the batter together smoothly.
- Vegetable oil – keeps the cakes moist and tender.
- Large eggs – add structure and richness to the batter.
- Cream cheese frosting – adds a tangy contrast to the sweet cake.
- Fresh strawberries – bring brightness and a juicy finish.
- Powdered sugar – used lightly on top for a soft, pretty finish.
- Nonstick cooking spray – makes sure those hearts release cleanly.
Pan Prep Matters More Than You Think
Heart-shaped pans are adorable, but they have curves and corners that love to cling. I’ve learned the hard way that a quick spray isn’t always enough.
Take an extra moment to coat every nook. Sometimes I use a paper towel to spread the spray around. That small step saves a lot of frustration later.
Once the pan is ready, everything else feels easy. It’s a calm start, and that sets the tone for the whole bake.
How to make ?
Step 1 – Get the Oven Ready
Start by preheating your oven to 350°F. This gives you a consistent bake and helps the cakes rise evenly.
While the oven heats, place your heart-shaped pan on the counter and coat it well with nonstick spray. Take your time here.
Step 2 – Mix the Batter
In a large bowl, combine the cake mix, water, oil, and eggs. I like cracking the eggs separately first, just in case.
Beat everything together until the batter looks smooth and glossy. Scrape the sides once or twice so nothing gets missed.
Step 3 – Fill the Pan
Spoon the batter into each heart cavity, filling them about two-thirds full. They need space to rise without spilling over.
If a little batter drips, wipe it away now. Clean edges make for nicer cakes later.
Step 4 – Bake Until Set
Place the pan in the oven and bake for about 15 to 20 minutes. Keep an eye on them near the end.
When a toothpick comes out clean, they’re ready. The tops should look set and slightly springy.
Step 5 – Cool Completely
Let the cakes rest in the pan for about ten minutes. This helps them firm up before moving.
Turn them out onto a rack and let them cool fully. Warm cakes and frosting do not get along.
Step 6 – Decorate with Care
Spread a thin layer of cream cheese frosting over each cake. I keep it simple and slightly rustic.
Finish with chopped strawberries and a light dusting of powdered sugar. They instantly look joyful.
Ways I Like to Switch Them Up
Once you’ve made these once, it’s hard not to start experimenting. The base recipe is forgiving and playful.
Sometimes I swap the strawberries for raspberries or skip the fruit and add sprinkles. Both versions disappear fast.
You can even change the cake mix entirely. Chocolate or vanilla works beautifully with the same frosting.
Tips
- Let the cakes cool fully before frosting or it will slide right off.
- Fill the pan evenly so all the cakes bake at the same pace.
- Use fresh fruit when possible for better texture.
- Store frosted cakes in the fridge and bring them to room temperature before serving.
- If a cake sticks, let it cool more before trying to release it.
Serving Ideas That Feel Thoughtful
These mini cakes are lovely on their own, but a small detail can make them feel extra special. A simple plate goes a long way.
I like serving them with tea or coffee, especially in the afternoon. They’re just the right size for a slow, cozy break.
For parties, arrange them on a tray with fresh berries scattered around. It looks intentional without trying too hard.
Storing and Making Ahead
If you’re planning ahead, you can bake the cakes a day early and frost them later. Just keep them covered once cooled.
Frosted cakes should be stored in the fridge in an airtight container. They stay soft and flavorful for a few days.
Before serving, let them sit out briefly. The texture is best when they aren’t ice cold.
These mini heart cakes are one of those recipes I return to again and again. They’re simple, sweet, and full of quiet joy. Every time I make them, they remind me that baking doesn’t need to be complicated to feel meaningful.
Mini Heart Cakes Recipe
Description
These adorable Mini Heart Cakes are perfect for special occasions or when you simply want to spread some love! Featuring classic red velvet flavor with tangy cream cheese frosting and fresh strawberries, they’re easy to make using a box mix yet look like you spent hours in the kitchen. Their bite-sized heart shape makes them irresistible for parties, gifts, or just-because treats.
ingredients
Instructions
- Preheat your oven to 175°C (350°F). Generously spray a mini heart-shaped cake pan with nonstick cooking spray.
- In a large bowl, combine the red velvet cake mix, water, vegetable oil, and eggs. Beat with an electric mixer on medium speed for 2 minutes until smooth.Optional: Add 1 tsp vanilla extract for enhanced flavor.
- Pour the batter evenly into the prepared cake pan, filling each heart cavity about 2/3 full.
- Bake for 15–20 minutes, or until a toothpick inserted into the center of a cake comes out clean.
- Let the cakes cool in the pan for 10 minutes, then transfer them to a wire rack to cool completely.Do not frost while warm—this prevents the frosting from melting.
- Once cooled, spread a thin layer of cream cheese frosting on each mini cake. Top with chopped strawberries and a light dusting of powdered sugar.Optional: Add sprinkles or edible glitter for extra flair.
Nutrition Facts
Servings 12
- Amount Per Serving
- Calories 210kcal
- % Daily Value *
- Total Fat 9g14%
- Saturated Fat 3g15%
- Cholesterol 45mg15%
- Sodium 220mg10%
- Total Carbohydrate 30g10%
- Dietary Fiber 1g4%
- Sugars 18g
- Protein 3g6%
* Percent Daily Values are based on a 2,000 calorie diet. Your daily value may be higher or lower depending on your calorie needs.
Note
- Make ahead: Bake unfrosted cakes up to 2 days in advance; store at room temperature and frost just before serving.
- Freezing: Freeze unfrosted cakes for up to 3 months. Thaw at room temperature and decorate fresh.
- Egg-free option: Substitute each egg with 1 tbsp ground flaxseed + 3 tbsp water; let sit 5 minutes before adding.
- Pan tip: Use a pastry brush to ensure nonstick spray reaches every crevice of the heart molds.
