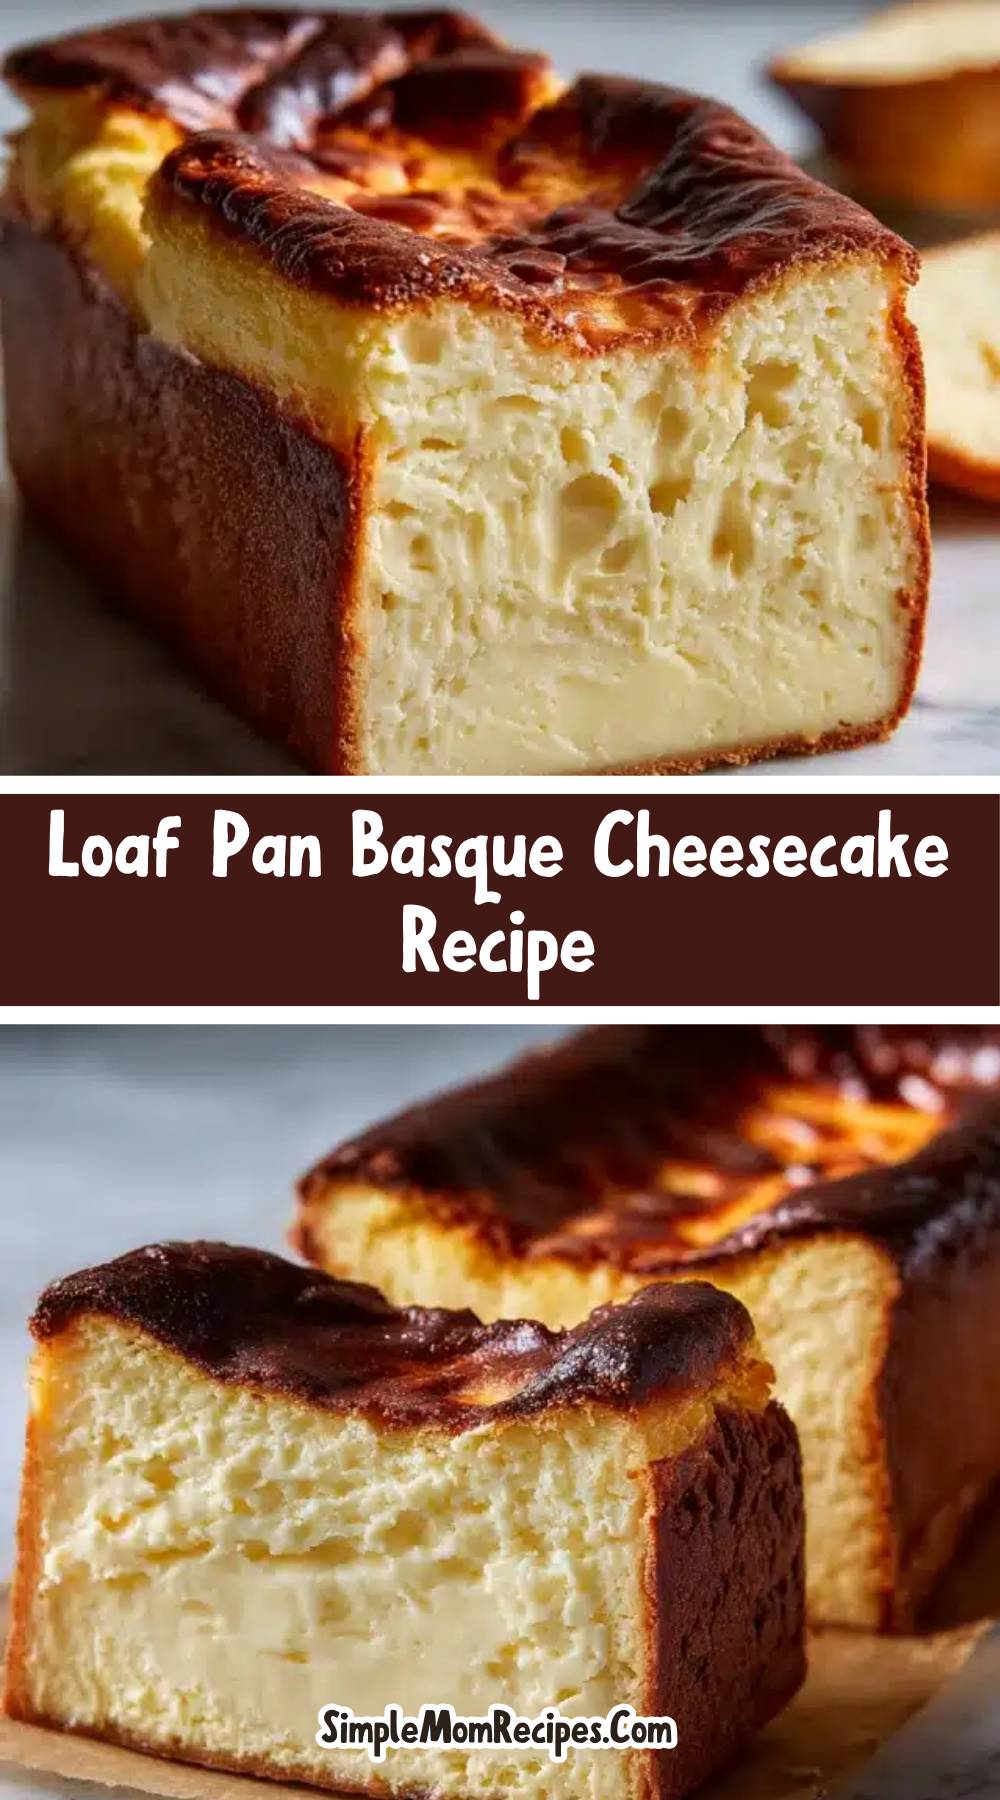
There’s something magical about a Basque cheesecake. Dark, caramelized on top, soft and creamy in the middle—it has an effortless charm. And making it in a loaf pan? Even better. It’s approachable, rustic, and fits right into a cozy kitchen routine.
This isn’t your typical New York-style cheesecake. No crust. No water bath. No fancy tools. Just a golden-brown top and a silky body that feels indulgent with every bite. The loaf pan makes it easy to slice, easy to store, and, honestly, it feels more like comfort food served straight from the oven.
When is the Best Time to Serve Loaf Pan Basque Cheesecake?
You could serve this cheesecake chilled on a hot summer afternoon—it feels refreshing and light, despite its richness. Or enjoy a slice warm from the fridge on a winter night, maybe with a cup of coffee, letting the caramelized top balance against the creamy filling.
It’s also a crowd-pleaser during holidays. Slice it into thick rectangles like bread, and suddenly it fits beautifully onto a dessert platter without the fuss. Birthdays, family dinners, or even a quiet Tuesday—it never feels out of place.
Ingredients Needed for the Recipe
- 1¾ lb full-fat cream cheese bars, softened
- 1 cup granulated sugar
- 4 large eggs
- 1⅔ cup heavy cream
- 1 tsp vanilla extract (optional)
- ¼ tsp salt
- ¼ cup all-purpose flour
Every ingredient has a role. The cream cheese sets the foundation—silky and tangy. Sugar balances it with sweetness, while eggs enrich and bind. Cream lifts the texture into something cloud-like, and that pinch of salt rounds it all out. Flour? Just enough to give body without making it cake-like.
Ingredient Substitutions You Can Try
If you’re out of heavy cream, try crème fraîche or even unsweetened Greek yogurt for a tangier note. No vanilla? Skip it, or lean into almond extract for a nutty twist. Gluten-free flour blends also work well, so everyone can have a slice.
Feeling adventurous? A spoonful of espresso powder, citrus zest, or a swirl of melted chocolate can turn this humble cheesecake into something you’ll brag about.
How to Make Loaf Pan Basque Cheesecake?
Step 1. Prep the Oven
Preheat oven to 400°F. This cheesecake bakes hot—the heat caramelizes the top while the inside stays creamy. Line your loaf pan with parchment, leaving some overhang to lift it out later.
Step 2. Beat Cream Cheese and Sugar
In a big mixing bowl, whip the softened cream cheese with sugar until smooth and fluffy, about 5 minutes. This sets the silky base. Don’t rush—airy cream cheese makes for a dreamy cheesecake.
Step 3. Add Eggs, One by One
Crack in an egg, beat, then repeat. Slowly incorporating helps the batter stay uniform, without streaks of yolk. It’s one of those small details that makes the end texture so velvety.
Step 4. Mix in Cream and Vanilla
Now pour in the heavy cream, vanilla, and salt. Whisk gently until everything comes together. The batter will feel lush, almost like melted ice cream—exactly how it should.
Step 5. Sift in Flour
Dust the flour through a strainer, adding it slowly. Stir gently to avoid lumps. This little step keeps the cheesecake smooth with the faintest bit of structure.
Step 6. Bake with Confidence
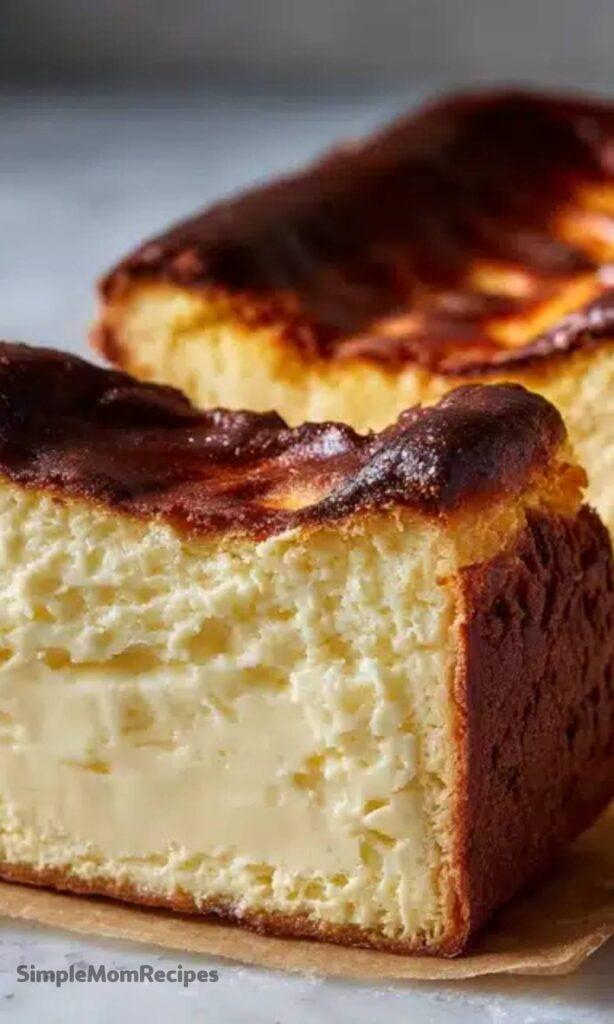
Pour into your loaf pan, smooth the top, and bake for 40–45 minutes. The top should be nearly burnt-looking—that’s the charm. The center will still jiggle, but it firms up as it cools.
Step 7. Cool and Chill
Let it rest at room temp, then refrigerate 2–4 hours or overnight. Waiting is the hardest part, but flavor sets and deepens as it chills.
How Do You Serve and Store It?
Lift it from the pan using parchment and set it on a board. Slice like bread—thick, generous pieces. It feels rustic, unfussy, and cozy.
To store, let it cool completely before wrapping in foil or plastic wrap. Keep in the fridge up to 4 days. For longer, freeze slices and thaw when cravings hit.
Can You Play with Variations?
Yes, and that’s the fun part. Fold in a handful of chocolate chunks or swirl in raspberry jam. Sprinkle cinnamon, nutmeg, and cloves for an autumn version. Even a salted caramel drizzle turns it into something show-stopping.
And if you love layered desserts, cut the cheesecake into cubes and stack them in trifles, parfaits, or brownie sandwiches. It’s versatile in ways few desserts are.
Tips
1. Size of Loaf Pan: Some pans are taller, some wider—always leave ½ inch of room at the top for the batter to rise safely.
2. Expect Cracks: This cheesecake is rustic. Cracks may bloom on top, but they settle as it cools. The imperfections are part of its story.
3. Baking Sheet Backup: Place the loaf pan on a baking sheet if it’s extra full, just in case of accidental overflow.
4. Don’t Fear the Darkness: The top should look boldly browned, even close to burnt. That caramelized flavor is what makes Basque cheesecake so unforgettable.
5. Chill Before Serving: Patience is key—give it at least a few hours in the fridge. The slices cut cleaner, the flavors deepen, and the creaminess sharpens.
In the end, this loaf pan basque cheesecake isn’t about being perfect. It’s about being bold on top, soft in the middle, and quietly astonishing in its ease. From mixing bowl to your fork, it celebrates simple ingredients transformed by heat, patience, and a little trust in the process.

Loaf Pan Basque Cheesecake Recipe
Description
Indulge in this creamy, decadent Loaf Pan Basque Cheesecake—made without a crust or water bath! This easy, fuss-free dessert bakes to a deep golden-brown top with a rich, creamy interior. Perfectly caramelized and incredibly simple, it's an impressive treat that requires no special tools, just a standard loaf pan. Ideal for beginners and seasoned bakers alike.
Ingredients
Instructions
-
Preheat Oven
Preheat your oven to 400°F (200°C). -
Prepare Loaf Pan
Lightly butter a 9x5-inch loaf pan. Line it with parchment paper, pressing it firmly into the corners and leaving at least 2 inches of overhang on the long sides for easy removal.Do not use wax paper—only parchment paper. -
Beat Cream Cheese and Sugar
In a large bowl, beat softened cream cheese and granulated sugar with a hand mixer or stand mixer on low speed for 1 minute, then increase to medium speed and beat for 4 more minutes until smooth and creamy.Scrape down the sides as needed. -
Add Eggs
Add the eggs one at a time, mixing well after each addition until fully incorporated (about 10 seconds per egg).Ensure each egg is fully mixed before adding the next. -
Mix in Cream and Flavorings
Add the heavy cream, vanilla extract (if using), and salt. Whisk by hand or mix on low until just combined.Avoid overmixing to prevent air bubbles. -
Sift in Flour
Sift the flour into the batter using a fine mesh strainer, adding it in small increments while gently whisking to avoid lumps.Do not dump flour all at once. -
Pour and Bake
Pour the batter into the prepared loaf pan. Bake for 40–45 minutes, until the top is deeply caramelized and dark brown around the edges, with a slightly lighter center. The center will still be soft and jiggly.Do not underbake—the dark top ensures the center sets properly. -
Cool and Chill
Let the cheesecake cool completely at room temperature (about 1–2 hours), then cover and refrigerate for at least 2–4 hours, or preferably overnight, before serving.Chilling improves texture and flavor.
Nutrition Facts
Servings 12
- Amount Per Serving
- Calories 480kcal
- % Daily Value *
- Total Fat 34g53%
- Saturated Fat 20g100%
- Trans Fat 1g
- Cholesterol 195mg65%
- Sodium 220mg10%
- Potassium 210mg6%
- Total Carbohydrate 32g11%
- Sugars 28g
- Protein 10g20%
- Calcium 80 mg
- Iron 1 mg
* Percent Daily Values are based on a 2,000 calorie diet. Your daily value may be higher or lower depending on your calorie needs.
Note
- No Springform Needed: This recipe is designed for a standard 9x5-inch loaf pan—no special equipment required!
- Vanilla Extract: Optional. Use real vanilla if available, but the cheesecake is delicious without it.
- Sifting Flour: Sift gradually to avoid lumps and ensure a smooth texture.
- Parchment Paper: Essential for easy removal. Never use wax paper—it will melt.
- Baking Tip: Don’t fear the dark top! A deeply caramelized crust is key to a creamy, set center.
- Loaf Pan Size: If your pan is smaller or taller, adjust baking time and leave ½ inch headspace to prevent overflow.
- Storage: Keep refrigerated in an airtight container for up to 5 days. For longer storage, freeze slices for up to 3 months.
