I have baked a lot of cookies over the years. Some fancy. Some total disasters. These are the ones I make when I want something that feels a little special without stressing myself out.
They look like classic holiday cookies, but the Irish cream gives them this soft, cozy flavor that people can never quite figure out. Every time I bring them somewhere, someone asks what I added.
The truth is, they are simple. No complicated steps. No weird ingredients. Just a really good dough, a little splash of something fun, and chocolate right in the center where it belongs.
The first time I made them I actually overbaked them. I thought they looked underdone. I was wrong. They firm up later, and that soft texture is exactly what makes them so good. Now I trust the process more.
Ingredients I Used for the Recipe
- 1/2 cup (1 stick) butter, softened – This gives the cookies their rich base and soft texture. I let mine sit out until it presses easily.
- 1/2 cup granulated sugar – Adds sweetness and helps create those lightly crisp edges.
- 1/2 cup light brown sugar, packed – Brings moisture and a subtle caramel flavor that makes the cookies taste homemade in the best way.
- 1 large egg – Holds everything together and keeps the texture tender.
- 1 teaspoon vanilla extract – Rounds out the flavor so it does not taste flat.
- 1/4 cup Irish cream liqueur – The star ingredient. Adds creamy warmth and a hint of something unexpected.
- 2 1/4 cups all-purpose flour – Gives structure to the dough without making it heavy.
- 1/2 teaspoon baking soda – Helps the cookies rise just enough.
- 1/2 teaspoon salt – Balances the sweetness. I never skip this.
- 24 chocolate kiss candies, unwrapped – These melt slightly into the cookie and make that classic center.
How to make ?

Step 1 – Preheat and Set Yourself Up
I start by heating the oven to 350°F. I line my baking sheets with parchment because cleanup is easier and nothing sticks. I used to skip this and regret it every time.
Step 2 – Cream the Butter and Sugars
In a large bowl, I beat the butter, granulated sugar, and brown sugar together until it looks fluffy and lighter in color. This step matters more than people think. It is what gives the cookies that soft bite.
If the butter is too cold, it will not mix right. I have tried to rush that before. It never works.
Step 3 – Add the Egg and Flavor
I mix in the egg and vanilla extract until everything is smooth. Then I pour in the Irish cream. The smell at this point is honestly one of my favorite parts.
The batter might look slightly creamy or loose. That is totally fine.
Step 4 – Mix the Dry Ingredients Separately
In another bowl, I whisk together the flour, baking soda, and salt. Nothing fancy here. I just make sure it is evenly combined so I do not get random salty bites.
Step 5 – Bring the Dough Together
I slowly add the dry mixture into the wet ingredients, mixing on low speed. Once it turns into a soft dough, I stop. Overmixing makes cookies tough, and I learned that the hard way.
The dough should feel soft but not sticky. If it sticks to everything, I let it rest for a few minutes.
Step 6 – Shape Into Small Balls
I scoop out teaspoon-sized portions and roll them between my hands. They do not have to be perfect. Slightly uneven actually looks more homemade.
I place them on the baking sheet with space between each one.
Step 7 – Add the Chocolate Centers
This is the fun part. I gently press a chocolate kiss into the center of each dough ball before baking. The dough cracks a little around the edges, and that is exactly what you want.
They start looking like real cookies already, which always makes me weirdly proud.
Step 8 – Bake Just Until Lightly Golden
I bake them for about 8 to 9 minutes. The edges should look set, but the centers will still be soft. I used to wait until they looked fully done. That was a mistake.
Soft is good. Soft means they stay tender later.
Step 9 – Let Them Cool Before Moving
I leave the cookies on the baking sheet for a few minutes before transferring them. They are delicate at first and need that time to firm up.
After that, I move them to a wire rack to cool completely. Or at least until I cannot resist grabbing one.
What Makes These Different From Other Cookies
These are not overly sweet. The Irish cream gives them this smooth flavor that feels a little more grown up but still comforting.
I like that they are not trying too hard. They are simple but still feel like something you made with intention.
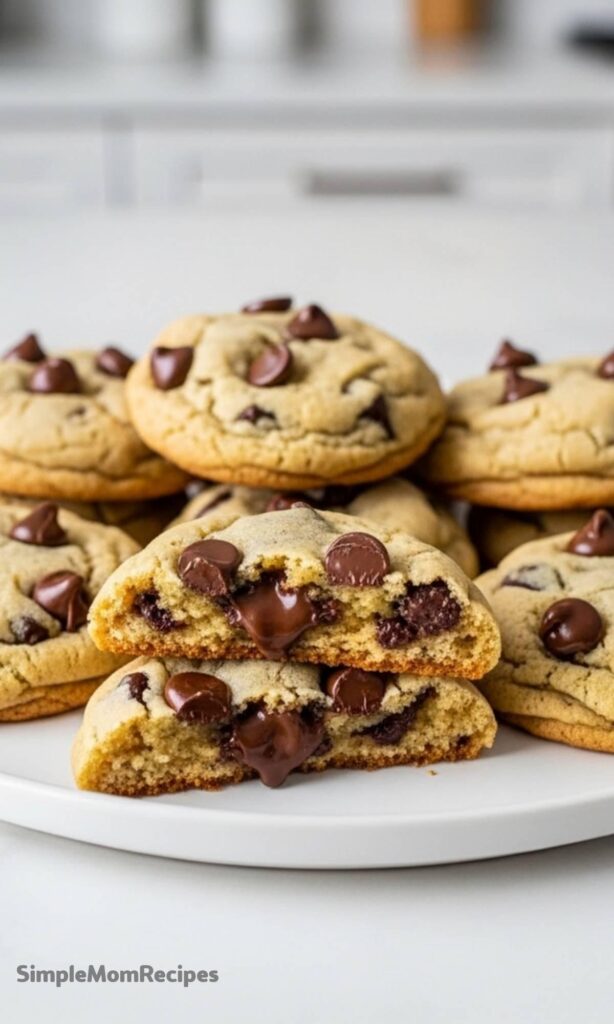
The texture is my favorite part. The outside is just set, the inside stays soft, and the chocolate slowly melts into the cookie instead of sitting on top like an afterthought.
They also hold memories well. I have made these for small get-togethers, late-night baking moods, and once during a snowstorm when I just needed my kitchen to smell good.
Tips That Helped Me Get Them Just Right
After making these more times than I can count, I have picked up a few habits that make a difference.
- If the dough feels too soft, I chill it for about 30 minutes. This keeps the cookies from spreading too much.
- Using gel food coloring works better if you want to add color without making the dough wet.
- Do not overbake. Even if they look slightly underdone, take them out. They finish setting as they cool.
- You can switch up the chocolate centers with caramel-filled or white chocolate versions for variety.
- A light sprinkle of festive sugar while they are still warm adds texture and makes them look extra special.
How I Store Them and Sneak a Few for Myself
I keep these in an airtight container at room temperature, and they stay soft for several days. Though honestly, they rarely last that long around me.
If I am making them ahead, I bake them the night before. The flavor actually deepens a little by the next day, which surprised me the first time I noticed it.
Sometimes I freeze a few just so I can pull one out later with coffee. It feels like a reward for being responsible earlier. Even if I was not that responsible.
These cookies are the kind you make once and then keep coming back to. Not because they are flashy. Just because they feel good to bake, good to share, and even better to eat.
Irish Cream Chocolate Kiss Cookies Recipe
Description
These Irish Cream Kiss Cookies are a delightful from-scratch treat with a grown-up twist. Soft, buttery cookies infused with Irish cream liqueur and topped with a classic chocolate kiss make them perfect for St. Patrick's Day, holiday gatherings, or any time you want to add a little indulgence to your baking. Easy to make and impossible to resist.
ingredients
Instructions
- Preheat your oven to 350°F (175°C) and line two baking sheets with parchment paper.
- In a large bowl or stand mixer, cream together the softened butter, granulated sugar, and brown sugar until the mixture is light and fluffy.
- Beat in the egg and vanilla extract until well combined. Then, pour in the Irish cream liqueur and mix thoroughly.
- In a separate bowl, whisk together the flour, baking soda, and salt.
- Gradually add the dry ingredients to the wet ingredients, mixing on low speed until everything is just incorporated and a dough forms.
- Roll teaspoons of dough into balls and place them on the prepared baking sheets, spacing about 2 inches apart.
- Press a chocolate kiss into the center of each dough ball. The dough will slightly crack and form up around the kiss.
- Bake for 8-9 minutes, or until the cookies are lightly golden around the edges.
- Let the cookies cool on the baking sheets for 5 minutes—this is important as they will be very soft. Then, transfer them to a wire rack to cool completely.
Nutrition Facts
Servings 24
- Amount Per Serving
- Calories 143kcal
- % Daily Value *
- Total Fat 4.5gg7%
- Saturated Fat 2.8gg14%
- Trans Fat 0.1gg
- Cholesterol 15mgmg5%
- Sodium 55mgmg3%
- Potassium 45mgmg2%
- Total Carbohydrate 22gg8%
- Dietary Fiber 0.5gg2%
- Sugars 14gg
- Protein 1.8gg4%
- Calcium 1% mg
- Iron 4% mg
* Percent Daily Values are based on a 2,000 calorie diet. Your daily value may be higher or lower depending on your calorie needs.
Note
- Play with Color: For a more vibrant green without adding too much liquid, use gel food coloring instead of the liquid kind.
- Spreading Control: If your cookies spread too much, try chilling the dough for 30 minutes before shaping and baking.
- Make it Your Own: While the cookies are still warm and the chocolate is soft, sprinkle them with green or gold sprinkles for an extra festive touch.
- Variety: Feel free to use milk chocolate, caramel-filled, or even white chocolate kisses for a different flavor.
