There's a quiet magic in making your own Greek yogurt, you know. It feels a bit like a secret, turning simple milk into something luxuriously thick and tangy.
Once you try it, that store-bought tub just won't have the same charm, the same creamy satisfaction.
Why This Recipe Feels Like a Win
Honestly, the pride is a real ingredient here. You get to control everything, from the quality of the milk to the perfect level of tartness.
And the texture? It's dreamily creamy, without a single stabilizer or preservative getting in the way.
Ingredients Needed for the Recipe
Gathering what you need is wonderfully simple. It's about quality, not quantity.
1⁄2 gallon whole milk: Full-fat milk is non-negotiable for that rich, custard-like consistency we're after.
1⁄3 cup plain whole milk yogurt: This is your starter. Just check the label for "live, active cultures" to ensure it can bring your milk to life.
The Simple Tools of the Trade
You likely have most of this already. No fancy gadgets are required, just a bit of patience.
A heavy-bottomed pot with a lid, to heat the milk evenly.
A reliable kitchen thermometer, your best friend for hitting the right temperatures.
A fine mesh strainer and some cheesecloth (or a very clean, thin tea towel) for the final, transformative step.
How to Make Greek Yogurt?
The process is a gentle dance of heat, cool, and wait. It's easier than you think.
Make this recipe yours—just save it to your Pinterest board!"
Step 1 - Heat and Cool the Milk
Pour your milk into the pot and place it over medium-low heat. Now, you'll warm it slowly, to 180°F.
Stir it every few minutes, a mindful pause, to prevent any scalding on the bottom. Once it hits that mark, take it off the heat and let it cool down to 110°F. This patience is key.
Step 2 - Wake Up Your Starter
While the milk cools, scoop your yogurt starter into a small bowl. Ladle in about a cup of the warm milk.
Give it a gentle whisk until it's completely smooth. This "tempering" step wakes the cultures up gently, so they're ready to work.
Step 3 - Combine and Incubate
Pour that smooth yogurt mixture back into the pot of warm milk. Stir it gently but thoroughly, sending those cultures throughout.
Cover the pot, and tuck it into your oven with only the oven light turned on. The low, steady warmth is perfect. Now, walk away for a full 24 hours.
Step 4 - The Strain to Greatness
After its long rest, you'll find a pot of softly set yogurt. Line your strainer with cheesecloth and set it over a deep bowl.
Pour the yogurt in, cover it, and place everything in the fridge. Let it strain for at least 10 hours; the whey will drip away, leaving incredible thickness behind.
Step 5 - Enjoy Your Creation
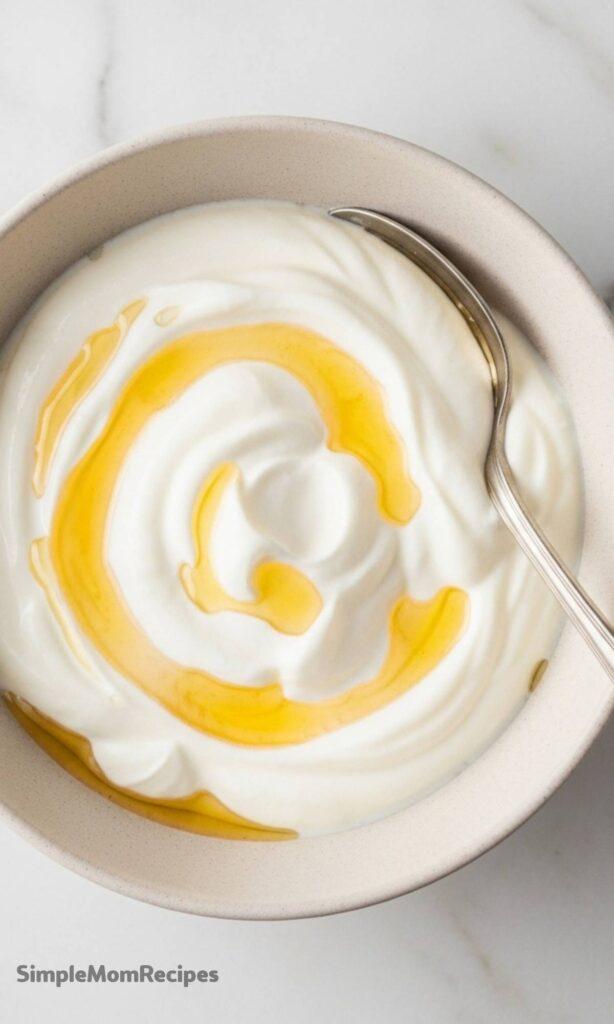
Lift the cheesecloth, and behold your silky, homemade Greek yogurt. Scoop it into a clean container.
Now, the best part: drizzle it with honey, pile on fresh fruit, or enjoy it plain, savoring that clean, cultured tang you made yourself.
How to Customize Your Yogurt
Plain yogurt is a beautiful blank canvas, ready for your personal touch. Stir in a swirl of local honey or pure maple syrup right after straining, if you have a sweet tooth.
For a real treat, fold in a spoonful of vanilla bean paste or a drizzle of real fruit preserves. My family loves it with a handful of sourdough granola for crunch.
Tips
A few little notes from my kitchen to yours can make all the difference. They smooth out the process.
Place a sticky note on your oven door while the yogurt incubates. Trust me, it prevents a very sad, preheating accident.
Save a half-cup of your fresh yogurt as the starter for your next batch. The cycle of homemade goodness can just keep going.
Don't pour that leftover whey down the drain. It's liquid gold for adding probiotics to smoothies or extra tang to your next loaf of bread.
If 24 hours seems too tart, try a 12-hour incubation first. You can always culture it longer next time to find your perfect flavor..
Knowing how to make Greek yogurt is a life hack that feeds your family, saves you money, and pats you on the back. Most importantly, homemade Greek yogurt surpasses store-bought yogurts every time in taste, texture, and quality. This high-protein, customizable breakfast or snack is easy to make and doesn’t require any fancy tools. Use it in smoothies, baking, as a sour cream substitute, or enjoy it with honey, jam, or fresh fruit!
ingredients
1/2gallon whole milk (preferably not ultra-pasteurized)
1/3cup plain whole milk yogurt (with live active cultures)
Instructions
1
Add the 1/2 gallon of milk to a large pot with a lid over medium-low heat. Bring the temperature of the milk to 180°F (82°C), stirring every few minutes to prevent scalding. This takes about 20–25 minutes.
2
Remove from heat and let the milk cool to 110°F (43°C). This may take 30–45 minutes. Stir occasionally. To speed it up, place the pot in a cold water bath.
3
In a small bowl, mix the 1/3 cup yogurt with 1 cup of the warm milk until smooth.
4
Pour the yogurt mixture into the remaining warm milk and stir gently to combine.
5
Cover the pot and place it in your oven with only the oven light on. Let sit undisturbed for 24 hours.
6
After 24 hours, you’ll have thick plain yogurt. Set up a fine mesh strainer over a bowl and line it with cheesecloth or a clean tea towel.
7
Pour the yogurt into the lined strainer, cover with plastic wrap or a towel, and refrigerate for at least 10 hours (up to 24 hours for thicker consistency).
8
Transfer strained Greek yogurt to an airtight container and store in the fridge. Enjoy plain or with your favorite toppings!
Nutrition Facts
Servings 8
Amount Per Serving
Calories130kcal
% Daily Value *
Total Fat8 gg13%
Saturated Fat5 gg25%
Trans Fat0 gg
Cholesterol25 mgmg9%
Sodium65 mgmg3%
Potassium240 mgmg7%
Total Carbohydrate9 gg3%
Dietary Fiber0 gg0%
Sugars8 gg
Protein6 gg12%
Calcium 200 mg
* Percent Daily Values are based on a 2,000 calorie diet. Your daily value may be higher or lower depending on your calorie needs.
Note
Storage: Keep in an airtight container in the fridge for up to 2 weeks.
Starter tip: Save 1/3 cup of your batch to use as a starter for your next batch.
Whey uses: Don’t toss the whey! Use in smoothies, bread, soups, or fermented drinks.
Sweeten it: Add honey, maple syrup, or fruit after straining—or mix in during tempering for flavored yogurt.
Keywords:
Greek yogurt, homemade yogurt, how to make Greek yogurt, yogurt from scratch, high protein breakfast
Kelsey Perez
Food & Lifestyle Blogger
I’m a London-based food writer, recipe developer, and home cook who has been passionate about cooking for over 15 years. What started as a way to recreate my mother’s traditional dishes turned into a lifelong love for experimenting with flavors, writing about food, and helping others feel more confident in the kitchen.