There’s something magical about Halloween that brings out the kid in everyone. The crisp air, the colorful leaves, and the promise of spooky fun just seem to ignite creativity, especially in the kitchen.
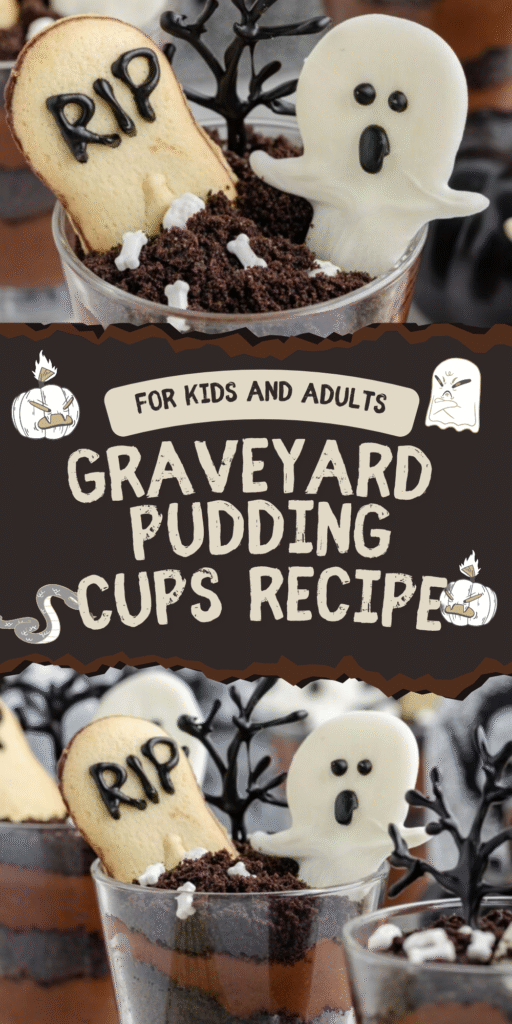
These Graveyard Pudding Cups capture that playful spirit perfectly, turning a simple dessert into a miniature, edible scene. They’re not just a treat to eat; they’re a tiny project, a moment of spooky artistry that’s as enjoyable to create as it is to devour.
Ingredients Needed for the Recipe
Gathering your ingredients is the first step to building your delicious little graveyard. You’ll need:
- Chocolate pudding: Homemade or from the store, this is your rich, dark “earth.”
- Oreo cookies: Crushed up, they make the perfect, gritty soil for the graves.
- Milano cookies: These oval-shaped cookies are ideal headstones, just waiting for an epitaph.
- Black writing icing: Your tool for inscribing those classic “R.I.P.” messages.
- Candy pumpkins: A pop of orange adds a festive, harvest touch.
- Gummy worms: Because what graveyard is complete without a few wiggly residents?
- Candy bones: These skeletal pieces really sell the spooky atmosphere.
- Clear plastic or glass cups: The window to your edible underworld.
Why This is the Perfect Halloween Treat
Honestly, the charm of these cups is how they blend simplicity with pure, imaginative fun. There’s no baking involved, which means you can whip them up in a frenzy on Halloween afternoon, or, even better, get the kids involved without any stress.
It’s an activity and a dessert all rolled into one. The joy isn’t just in the final taste, but in the process of constructing each unique little scene, deciding where the worm should poke out or how many bones are just enough to be spooky without being scary.
How to make Graveyard Pudding Cups?
Preparing the Spooky Soil
First, you’ll want to create your “dirt.” Place the Oreo cookies (cream filling removed, if you like) into a sturdy plastic bag. Now, grab a rolling pin and crush them with gusto until you have a pile of fine, dark crumbs.
Alternatively, a quick pulse in a food processor works wonders. This step is strangely satisfying, a little bit of culinary catharsis to start your project.
Layering the Earth and Mud
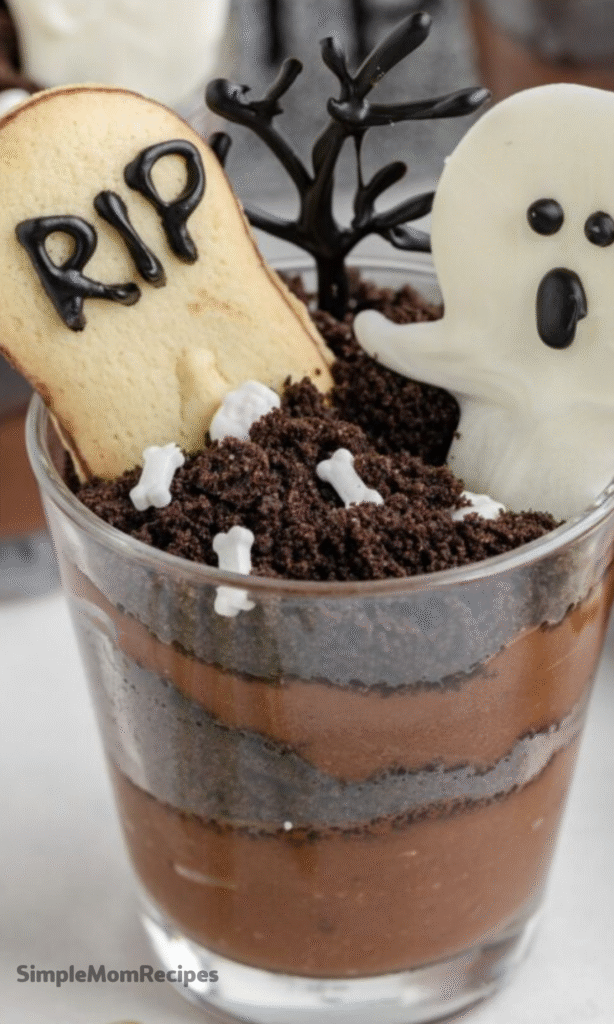
Take your clear cups and spoon in the chocolate pudding, filling them about two-thirds of the way full. This pudding layer is the dark, muddy foundation of your graveyard.
Then, generously sprinkle the crushed Oreo “dirt” on top, creating a textured ground for your scene. The contrast between the smooth pudding and the crunchy cookie is part of the delicious magic.
Creating the Headstones
This is where the personality comes in. Take your Milano cookies and, using the black writing icing, carefully inscribe “R.I.P.” on each one. You can make the writing neat and solemn, or wobbly and extra-spooky.
Feel free to get creative with the messages, maybe a “Boo!” or a simple cross, if you prefer. These are your headstones, after all.
Assembling the Graveyard Scene
Gently press the bottom edge of your decorated cookie headstone into the pudding and Oreo layers, so it stands upright. Now, for the best part: decorating.
Artfully arrange a candy pumpkin or two, scatter a few candy bones, and let a gummy worm slither out from the dirt or curl over the edge of the headstone. There’s no wrong way to do this.
Tips for the Best Spooky Presentation
For a truly eerie effect, consider using different cup sizes to create a varied landscape, like a hill of graves. If you’re serving these at a party, set up a “decoration station” with small bowls of the different candies and let guests build their own—it’s a fantastic icebreaker.
And don’t forget, a little messiness is a good thing here! A crooked headstone or a worm half-buried in the dirt just adds to the creepy charm.
Ingredient Substitutions for Every Ghoul
The beauty of this recipe is its flexibility. If you have a vanilla lover in the house, simply swap the chocolate pudding for vanilla or even butterscotch—it creates a sandier, equally eerie ground.
No Milano cookies? Any rectangular or oval cookie will work, like Nilla Wafers or even rectangular graham crackers broken in half. And for the candies, let your imagination run wild with what you can find at the store.
Serving and Storing Your Creations
These pudding cups are best served immediately, when the Oreo crumbs are still crisp against the cool, smooth pudding. The theatrical reveal is half the fun, so line them up on a tray for your guests to admire before they dig in.
If you need to make them ahead, you can assemble them and store them in the refrigerator for up to two days. Just be aware that the cookies will slowly soften, becoming more cake-like, which is still delicious, just a different texture.
Fun Variations to Spookify Your Dessert
Once you’ve mastered the basic graveyard, why not expand the universe? Gummy spiders are a fantastic, creepy-crawly addition. A dollop of whipped cream can become a ghostly apparition floating over a grave.
For a burst of autumn color, add a few pieces of candy corn. Or, for a seriously silly scene, press a few candy eyeballs into the pudding so they peer out from the “dirt.” The possibilities are endless, and half the fun is inventing your own spooky stories.
Making it a Family Affair
This is, without a doubt, a recipe meant to be made with little hands. Assign tasks based on age: the youngest can help sprinkle the Oreo dirt or place the candy pumpkins, while older kids can take charge of the delicate headstone lettering.
It’s a wonderful way to create Halloween memories that are about more than just candy; they’re about creating something together, laughing as a worm is placed in a particularly funny spot, and feeling proud of the spooky masterpiece you’ve built as a team.

Graveyard Pudding Cups Recipe
Description
Graveyard Pudding Cups are fun for any school or at-home Halloween party, or as a spooky dessert after dinner. Chocolate pudding is topped with crushed Oreo "dirt" and decorated with candy pumpkins, bones, and gummy worms. A cookie headstone makes the finishing touch. They are as exciting to eat as to make!
ingredients
Instructions
-
Using a rolling pin or food processor, crush the Oreo cookies (with cream filling removed) into fine pieces to resemble graveyard dirt.
-
Fill each 8-ounce clear plastic cup with 1 cup of chocolate pudding (or ½ cup if using 4-ounce cups).
-
Top each pudding cup with a generous layer of crushed Oreo “dirt.”
-
Use black icing to write “R.I.P.” or spooky messages on the Milano cookies to create headstones.
-
Gently press each cookie headstone into the pudding so it stands upright.
-
Decorate each cup with 1 gummy worm, 1 candy pumpkin, and 3 candy bones (or as desired).
-
Serve immediately or refrigerate until ready to serve.
Nutrition Facts
Servings 4
- Amount Per Serving
- Calories 290kcal
- % Daily Value *
- Total Fat 12g19%
- Saturated Fat 6g30%
- Cholesterol 10mg4%
- Sodium 320mg14%
- Potassium 210mg6%
- Total Carbohydrate 44g15%
- Dietary Fiber 2g8%
- Sugars 30g
- Protein 4g8%
- Calcium 80 mg
- Iron 2 mg
* Percent Daily Values are based on a 2,000 calorie diet. Your daily value may be higher or lower depending on your calorie needs.
Note
- Add gummy spiders for extra creepiness!
- Use vanilla pudding for a lighter twist.
- Make ghosts with dollops of whipped cream or melted marshmallows.
- Top with candy corn or candy eyeballs for more Halloween flair.