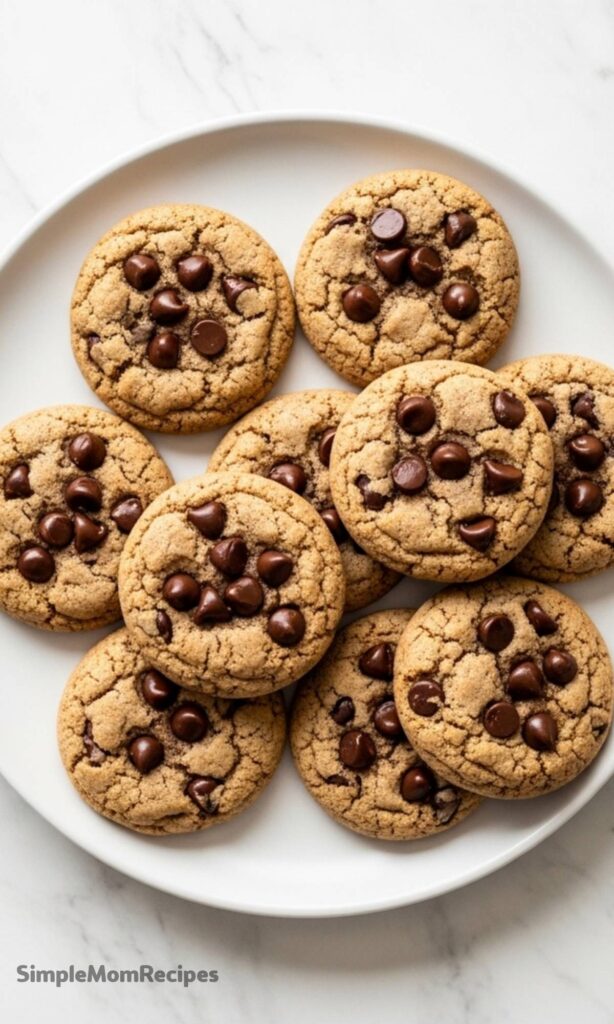
There’s something truly special about a classic chocolate chip cookie, the kind that feels like a warm hug from the inside.
And this version, well, it just happens to be gluten-free, without sacrificing a single bit of that nostalgic, chewy perfection.
Why This Recipe Works
This isn't a compromise cookie, it's the real deal, a recipe built for pure, unadulterated joy.
We use a trusted gluten-free flour blend to handle the structure, while the combination of brown sugars delivers that deep, caramel-like flavor we all crave.
Ingredients Needed for the Recipe
Gathering your ingredients is the first step to cookie bliss. Using a kitchen scale is best, but spooning and leveling your flour works perfectly too.
Butter (regular or dairy-free): Provides richness and that essential melt-in-your-mouth texture. For dairy-free, Earth Balance sticks are a great choice.
Granulated Sugar & Light/Dark Brown Sugars: This trio creates a complex sweetness and ensures the cookies are wonderfully chewy.
One Large Egg: Binds everything together and adds to the soft, tender crumb.
Vanilla Extract: The flavor enhancer, rounding out all the other ingredients for a truly classic taste.
Gluten-Free 1:1 Baking Flour: The foundation. Bob's Red Mill in the blue bag is highly reliable for this recipe.
Baking Soda & Baking Powder: Our leavening team that gives the cookies just the right amount of lift and spread.
Salt: A crucial pinch to balance the sweetness and make the chocolate flavor pop.
Chocolate Chips: The star of the show! Use your favorite brand, dairy-free if needed.
The Secret to Perfect Cookie Texture
It all comes down to two things: the creaming process and the chill time.
Properly creaming the butter and sugars incorporates tiny air pockets that lead to a lighter texture, while chilling the dough solidifies the fat, preventing the cookies from spreading too thinly in the oven.
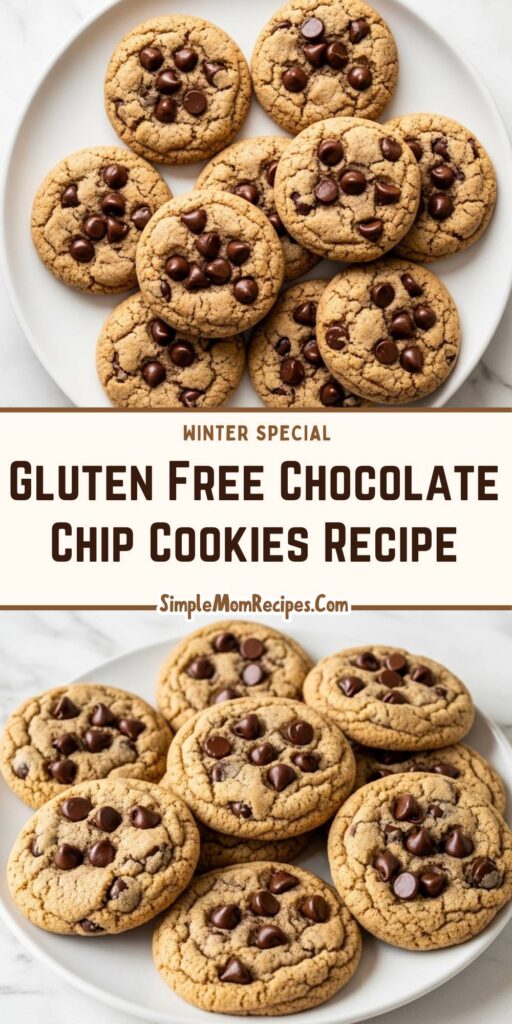
How to make Gluten Free Chocolate Chip Cookies?
Make this recipe yours—just save it to your Pinterest board!"
Step 1- Prep the Butter and Sugars
Start by placing your butter in a large mixing bowl. If it's not already soft, give it a brief 20-second zap in the microwave.
You're aiming for softness, not melted; when you press it, your finger should leave a clear indent without the butter collapsing.
Step 2- Cream Until Fluffy
Add all three sugars to the softened butter. Now, use an electric mixer to beat them together.
Keep going until the mixture is noticeably paler, fluffy, and perfectly creamy. This step is non-negotiable for that ideal texture.
Step 3- Incorporate Egg and Vanilla
Beat in the egg and the vanilla extract. Mix just until everything is smoothly combined and you no longer see streaks of egg.
At this stage, you don't want to over-mix and incorporate too much air.
Step 4- Combine the Dry Ingredients
It's time to add the gluten-free flour, baking soda, baking powder, and salt directly into the same bowl.
Remember to spoon your flour into the measuring cup and level it off; scooping directly packs it down and can lead to dry cookies.
Step 5- Bring the Dough Together
Beat everything on a low speed until the dry ingredients are fully absorbed and a soft cookie dough has formed.
The dough might be a bit sticky, and that's exactly what you want.
Step 6- Fold and Scoop
Switch to a spatula and gently fold in the chocolate chips, ensuring they're evenly distributed throughout the dough.
Then, use a two-tablespoon cookie scoop to portion the dough onto a parchment-lined baking sheet.
Step 7- The Essential Chill
This is the hardest part, I know. Place the entire baking sheet of scooped dough into the refrigerator for a full two hours.
This patience pays off in flavor depth and prevents the cookies from baking into flat puddles.
Step 8- Bake to Perfection
When there's about 15 minutes left of chilling, preheat your oven to 350°F (175°C). Bake the cookies for 10 to 14 minutes.
For a supremely chewy center, take them out when the edges are set but the centers still look a little soft and underdone.
Step 9- The Final Touches
As soon as the cookies come out of the oven, you can sprinkle a few extra chocolate chips on top for a bakery-style look.
For a perfect round shape, gently nudge the edges with a round cookie cutter while they're still piping hot.
Step 10- Cool and Store
Let the cookies cool on the baking sheet for at least 10 minutes; they'll continue to firm up as they sit.
Then, transfer them to a wire rack to cool completely before storing in an airtight container.
Tips
For a thicker, cakier cookie, reduce the baking soda to just 1/4 teaspoon. It's a small change with a big impact.
Always bake one sheet at a time, and don't crowd the pan. Giving them space to spread is the secret to even baking.
If your cookies spread too much, your baking sheet might be too thin. A medium-weight, light-colored sheet promotes the best results.
To revive day-old cookies, a quick 10-second burst in the microwave will make them taste freshly baked again.
Mastering the Freeze
This dough is a fantastic candidate for your freezer, a secret weapon for fresh cookies on demand.
After the mandatory 2-hour chill, transfer the dough balls to a freezer-safe bag; they'll keep beautifully for up to two months.
Chewy, chocolatey, sweet, easy to make, buttery but completely gluten free chocolate chip cookies! This is the perfect recipe to satisfy your sweet tooth and I promise you’d never know they’re gluten free! Everyone needs a tried and tested chocolate chip cookie in their repertoire, and this is mine! It just happens to be both dairy free and gluten free.
Add the butter to a large mixing bowl. Unless it was already at room temperature, add it to the microwave for about 20-30 seconds. You want it to be soft, but not melted. If you press your finger on the top slightly, it should leave an indent, but not completely fall apart.
2
Once the butter is softened, add all sugars to the bowl with the butter and beat with an electric mixer until fluffy, creamy and well combined.
3
Beat in the egg and the vanilla.
4
Add in all of the dry ingredients. Be sure to spoon and level the flour to measure, do not scoop from the bag.
5
Beat together until combined.
6
Fold in the chocolate chips. Scoop using 2 tbsp of dough and form into balls.
7
Place on a baking sheet lined with parchment paper. Place in the fridge to set for 2 hours. (don’t skip this!) When you have about 15 minutes left, preheat the oven to 350°F.
8
Bake for 10-14 minutes, depending on preferred texture. For gooey cookies, take them out when the centers still look slightly undercooked. Be sure to only place one cookie sheet in the oven at a time, with only 5-6 cookies on each sheet as these will spread.
9
When they come out of the oven, take a round cookie cutter and shuffle it around each cookie to encourage a perfect circle shape. Sprinkle on a few extra chocolate chips when they’re still hot.
10
Once cool, transfer to a wire rack and then an air tight container for 3-5 days.
Nutrition Facts
Servings 18
Amount Per Serving
Calories180kcal
% Daily Value *
Total Fat9gg14%
Saturated Fat5gg25%
Trans Fat0gg
Cholesterol25mgmg9%
Sodium115mgmg5%
Potassium70mgmg2%
Total Carbohydrate24gg8%
Dietary Fiber1gg4%
Sugars15gg
Protein2gg4%
Calcium 30 mg
Iron 1 mg
* Percent Daily Values are based on a 2,000 calorie diet. Your daily value may be higher or lower depending on your calorie needs.
Note
Dough must be chilled! For best results, chill for 2 hours to prevent over-spreading and to enhance flavor.
Use GF flour with xanthan gum (like Bob’s Red Mill 1:1) or add ½ tsp xanthan gum if your blend doesn’t include it.
Dairy-free? Use dairy-free butter and chocolate chips.
Vegan option: Substitute the egg with 3 tbsp applesauce or a flax egg (1 tbsp ground flax + 2.5 tbsp water).
I’m a London-based food writer, recipe developer, and home cook who has been passionate about cooking for over 15 years. What started as a way to recreate my mother’s traditional dishes turned into a lifelong love for experimenting with flavors, writing about food, and helping others feel more confident in the kitchen.