This Christmas, I’m ditching the carton for something far more special.
There’s just something about homemade eggnog that turns a sip into a memory.
A Toast Through Time
Our creamy drink has quite the adventurous past, starting centuries ago in Europe.
It evolved from a spiced, ale-curdled “posset” into the rich, comforting treat we know today.
Ingredients Needed for the Recipe
Each ingredient here builds the classic, silky texture and spiced flavor we love. Here’s what you’ll need:
- 6 large egg yolks: These are the heart of the recipe, creating a luxurious, creamy base and that signature froth.
- 1/2 cup granulated sugar: Sweetens the mix perfectly; maple syrup is a wonderful, flavorful swap if you have it.
- 2 cups whole milk & 1 cup heavy cream: This duo is non-negotiable for that decadent, rich mouthfeel we’re after.
- 1/2 teaspoon ground nutmeg: The essential, warming spice that makes eggnog taste unmistakably like the holidays.
- 1/4 teaspoon salt: A tiny pinch to balance all the sweetness and enhance the other flavors.
- 1/4 teaspoon vanilla extract: Adds a beautiful, fragrant layer of sweetness that complements the spices.
- Ground cinnamon & a cinnamon stick: Mostly for garnish, but that final sprinkle adds a lovely aromatic touch.
How to make Eggnog Recipe?
The process is simple, but a few key techniques make all the difference. Let’s walk through it.
Step 1 – Cream the Yolks
In a medium bowl, vigorously whisk the egg yolks and sugar together.
Keep going until the mixture turns a pale yellow and becomes beautifully light and creamy.
Step 2 – Heat the Dairy
Combine the milk, heavy cream, nutmeg, and salt in a saucepan.
Place it over medium heat, stirring often, until you see small bubbles form around the edges—just simmering.
Step 3 – The Temper Dance
Now, here’s the crucial part. Slowly drizzle the hot milk mixture into the egg yolks, whisking without pause.
This gradual introduction, called tempering, gently cooks the eggs without scrambling them.
Step 4 – Cook to Perfection
Pour the combined mixture back into your saucepan. Cook over medium heat, stirring constantly with a spoon.
You’re looking for it to thicken just enough to coat the back of that spoon, about 5 to 7 minutes.
Step 5 – Finish and Flavor
Remove the pan from the heat immediately once it’s thickened. Stir in that vanilla extract.
You’ll smell the wonderful aroma the moment it hits the warm base.
Step 6 – Strain and Chill
Pour your eggnog through a fine-mesh sieve into a clean bowl or pitcher. This catches any tiny curdled bits.
Cover it tightly and let it chill in the fridge for at least 4 hours, or until it’s thoroughly cold.
Step 7 – Serve and Savor
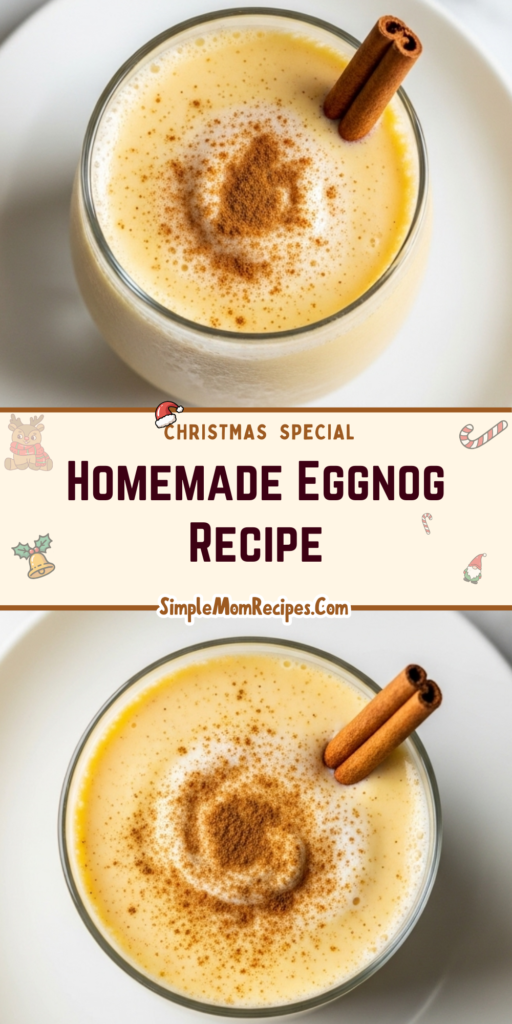
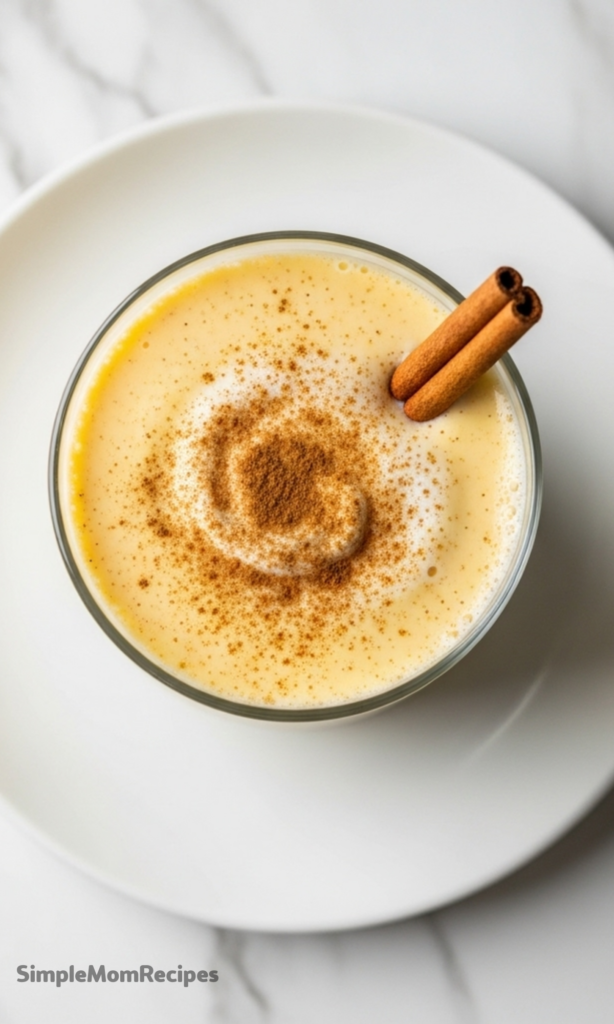
Pour the chilled eggnog into your favorite glasses. Give each one a little sprinkle of ground cinnamon.
If you’re feeling festive, drop in a cinnamon stick for stirring and style, then enjoy deeply.
Making It Your Own: Variations
This classic recipe is a perfect canvas for a little personal creativity, if you wish.
For a dairy-free version, use full-fat coconut milk and a creamy oat or almond milk blend.
Tips
A few simple pointers will ensure your eggnog is smooth, safe, and spectacular every single time.
- Use a heavy-bottomed saucepan to prevent the dairy from scorching during the heating stage.
- When tempering, start with just a few tablespoons of hot milk into the eggs, whisking madly, before adding the rest in a steady stream.
- Don’t rush the chilling process. That time in the fridge allows the flavors to meld and develop fully.
- For an extra-fluffy texture, you can whip the leftover egg whites to soft peaks and fold them in before serving.
Serving and Storing Your Creation
Homemade eggnog is wonderfully versatile when it comes to planning your holiday moments.
You can make this entire recipe up to three days ahead, which actually improves the flavor.
Just keep it sealed in the refrigerator until you’re ready to pour. Leftovers keep for a few days, too.
It pairs magically with spiced cookies, gingerbread, or even a slice of pecan pie after a big meal.
My grandma and I love ours by the fireplace, but it’s just as good handed around at a festive gathering.

Eggnog Recipe
Description
This Christmas, chill out with a creamy classic that’s full of comfort and joy! Fragrant with hints of nutmeg and vanilla, this homemade eggnog is perfectly smooth, lightly sweet, and ideal for sipping by the fireplace. Whether you’re an eggnog fangirl like my grandma and me—or just curious—this festive holiday drink will win you over with its rich, frothy texture and cozy spice blend.
ingredients
Instructions
-
In a medium bowl, whisk egg yolks and sugar until light and creamy.
-
In a saucepan, combine milk, cream, nutmeg, and salt. Stir often and heat until just simmering.
-
Gradually temper the hot milk mixture into the egg yolks, whisking continuously.
-
Return the mixture to the saucepan. Cook over medium heat, stirring constantly, until slightly thickened (do not boil).
-
Remove from heat. Stir in vanilla extract.
-
Strain the mixture through a fine mesh sieve. Cover and refrigerate until chilled (at least 2 hours).
-
Serve chilled with a sprinkle of cinnamon and a cinnamon stick (optional).
Nutrition Facts
Servings 6
- Amount Per Serving
- Calories 320kcal
- % Daily Value *
- Total Fat 23g36%
- Saturated Fat 13g65%
- Cholesterol 285mg95%
- Sodium 150mg7%
- Potassium 210mg6%
- Total Carbohydrate 18g6%
- Sugars 17g
- Protein 8g16%
- Calcium 150 mg
- Iron 0.5 mg
* Percent Daily Values are based on a 2,000 calorie diet. Your daily value may be higher or lower depending on your calorie needs.
Note
- Dairy-free option: Replace whole milk and heavy cream with full-fat canned coconut milk and coconut cream for a rich vegan alternative.
- Make ahead: Eggnog tastes even better the next day as the flavors meld. Store in an airtight container for up to 4 days.
- Serve it festive: Pair with holiday favorites like Paleo Gingerbread Cookies, Vegan Carrot Cake, or Pumpkin Spice Latte Crêpe Cake.