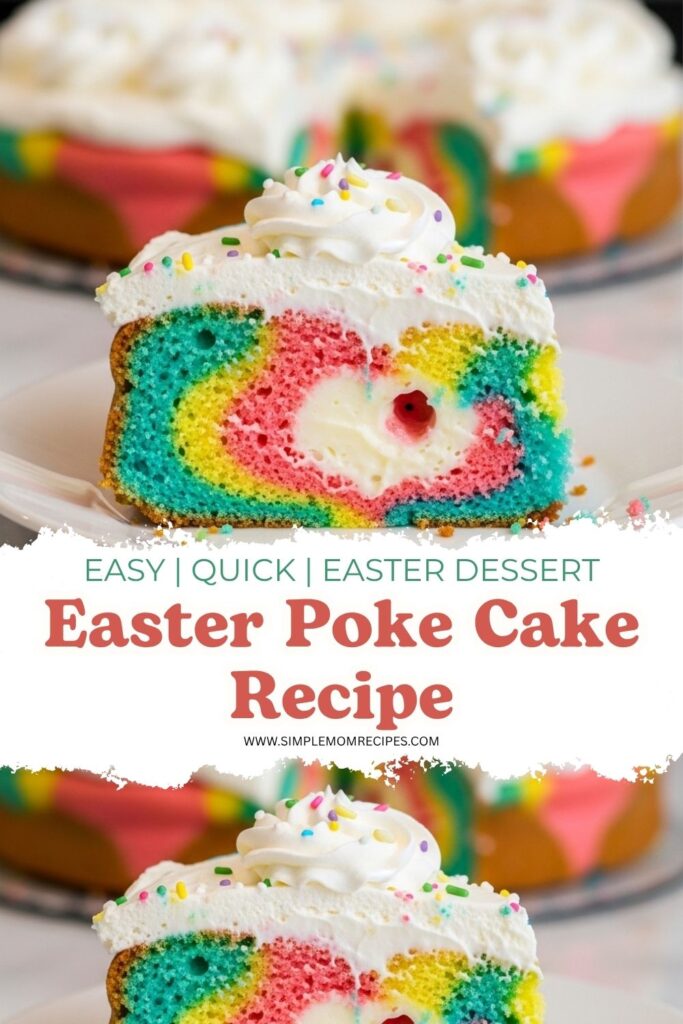
Easy Easter Poke Cake with colorful swirls, creamy pudding filling, and fluffy whipped topping. A fun, simple dessert that feels special without much effort.
I made this one on a random afternoon when everything felt a little too busy and I just needed something simple that still felt festive.
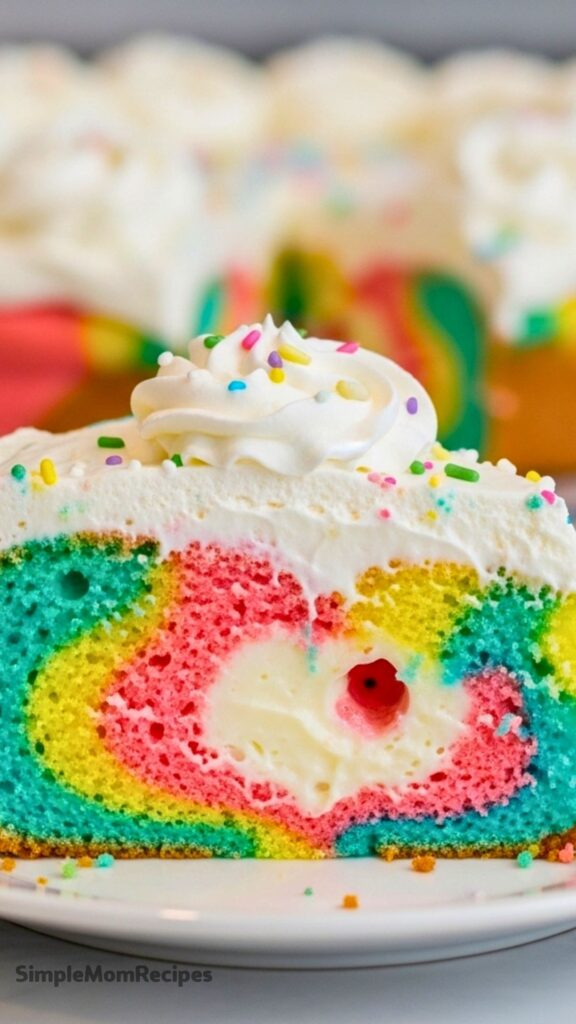
It turned out brighter than I planned, a little messy in spots, and honestly kind of perfect because of that. The colors peek through in the most unexpected way, and every slice looks different. I like desserts that don’t try too hard.
There’s something about this one that feels nostalgic too. Not in a heavy way, just that soft reminder of those classic desserts that always showed up at holidays without explanation.
Ingredients I Used for the Recipe
- 1 box white cake mix – this keeps things easy and gives a neutral base for the colors
- Eggs, oil, and water (as listed on the box) – needed to actually make the cake batter
- 2 (3.3 oz) boxes instant white chocolate pudding – this soaks into the cake and makes it soft and creamy
- 3 1/2 cups milk – used to mix the pudding so it’s smooth and pourable
- 2 cups heavy cream – for making a light, fluffy topping
- 1/4 cup powdered sugar – sweetens the whipped cream just enough
- 1 tsp vanilla extract – adds that soft, warm flavor to the cream
- Pink, green, blue, and yellow food coloring – gives the cake that fun spring look
I didn’t think the colors would matter this much
At first I almost skipped the whole coloring part. It felt like extra work. But splitting the batter and adding those soft pastel shades completely changed the vibe of the cake.
I remember standing there with four bowls thinking I’d overcomplicated it. Then I started dropping spoonfuls into the pan and it just worked. No precision, no pattern, just little blobs everywhere.
When it baked, the colors spread and blended a bit but not too much. That part surprised me. I expected a muddy mess and instead got these soft swirls that look way fancier than they are.
How to make Easter Poke Cake?
Step 1 – Prep the pan and oven
I preheat the oven according to the cake mix box and grease a 9×13 dish. I don’t skip the greasing because this cake sticks more than I expect every time.
Step 2 – Make and divide the batter
I mix the cake batter like usual, then split it into four bowls. Each bowl gets a different color. I keep the colors light because they deepen a bit when baked.
Step 3 – Drop and layer the colors
I spoon little amounts of each color randomly into the pan. It feels chaotic, and that’s kind of the point. The batter spreads, so I don’t overthink placement.
Step 4 – Light swirl and bake
I tap the pan gently and use a toothpick to swirl just a little. Not too much. I learned the hard way that over-swirling turns everything into one color.
Then I bake it according to the box instructions and let it cool for about 10 minutes.
Step 5 – Poke and cool completely
This is where it gets its name. I poke holes all over using the end of a wooden spoon. I space them about an inch apart. Then I let the cake cool completely.
Step 6 – Add the pudding layer
I whisk the pudding mix with milk until smooth, then pour it over the cake. I try to push it into the holes with a spatula. Some of it sits on top and that’s fine.
I refrigerate it for about 30 minutes so it sets.
Step 7 – Make the whipped topping
I beat the heavy cream with vanilla until soft peaks form, then add powdered sugar and keep mixing until it thickens. It takes a few minutes but it’s worth it.
Step 8 – Spread and finish
Once the pudding layer is set, I spread the whipped cream on top. Sometimes I add sprinkles, sometimes I don’t. Depends on my mood.
Then I slice it up and try not to eat the first piece straight from the pan. Not always successful.
It’s not just about Easter, honestly
I started making this for Easter, but it doesn’t really need a reason. The colors can change depending on the season or whatever I have in the cabinet.
One time I made it with just two colors because I ran out of food coloring. Still looked good. Maybe even better because it felt less busy.
I’ve also made it for a birthday and nobody even called it a poke cake. They just thought it was some kind of fancy layered thing. I didn’t correct them.
Tips
Don’t overmix the colors. I’ve done that and it turns into a dull shade that doesn’t look very exciting. A quick swirl is enough.
Poke bigger holes than you think. The pudding needs space to soak in. Tiny holes don’t do much.
Let the cake cool fully before adding pudding. I rushed this once and the pudding got weirdly thin and didn’t set right.
Use cold cream for whipping. It thickens faster and holds better. Warm cream just frustrates me.
Don’t stress about perfection. This cake looks best when it’s a little uneven. Clean lines don’t really belong here.
Make it ahead if you can. It actually tastes better after sitting in the fridge for a few hours. Everything settles in nicely.
I keep coming back to this cake when I want something easy but still a little fun. It doesn’t demand much, and somehow it still delivers every time. That’s rare.
Easter Poke Cake Recipe
Description
This colorful Easter Poke Cake is the prettiest and tastiest dessert for spring! Made with a fun multi-colored cake base, creamy white chocolate pudding layer, and topped with fluffy whipped cream, it's an easy and festive treat that's perfect for Easter celebrations or any spring gathering.
ingredients
Instructions
- Preheat oven to 350°F (or temperature directed on cake mix box). Spray a 9x13 inch baking dish with nonstick cooking spray and set aside.
- Prepare cake mix according to package directions in a medium mixing bowl. Divide batter evenly into four separate bowls.
- Add a few drops of different food coloring (pink, green, blue, yellow) to each bowl. Stir until you reach desired color shades, adding more drops if needed.
- Using a spoon, drop small dollops of each colored batter randomly into the prepared baking dish, distributing colors evenly. Work quickly as batter will spread.
- Lightly tap the bottom of the dish on the counter. Use a toothpick to gently swirl colors together slightly, being careful not to overmix.
- Bake according to cake mix box directions, approximately 25-30 minutes or until a toothpick inserted in center comes out clean.
- Remove cake from oven and let cool for 10 minutes. Using the end of a wooden spoon or large straw, poke holes all over the cake about 1 inch apart. Cool completely.
- In a large bowl, whisk together white chocolate pudding mixes and 3 1/2 cups milk until dissolved and smooth. Pour pudding mixture over cooled cake, spreading to fill holes.
- Spread any remaining pudding evenly over cake. Refrigerate for at least 30 minutes until pudding is set.
- In a large bowl, beat heavy cream and vanilla extract with a hand mixer until soft peaks form. Add powdered sugar and continue beating until stiff peaks form, about 5-6 minutes.
- Spread whipped cream evenly over the set pudding layer. Top with sprinkles if desired. Slice and serve chilled.
Nutrition Facts
Servings 10
- Amount Per Serving
- Calories 485kcal
- % Daily Value *
- Total Fat 28gg44%
- Saturated Fat 14gg70%
- Trans Fat 0gg
- Cholesterol 95mgmg32%
- Sodium 420mgmg18%
- Potassium 180mgmg6%
- Total Carbohydrate 53gg18%
- Dietary Fiber 0gg0%
- Sugars 38gg
- Protein 6gg12%
- Calcium 15 mg
- Iron 4 mg
* Percent Daily Values are based on a 2,000 calorie diet. Your daily value may be higher or lower depending on your calorie needs.
Note
- Color variations: Use any food coloring colors you like to match your party theme or holiday.
- Make ahead: This cake can be made 1 day in advance. Keep refrigerated until ready to serve.
- Cake mix options: You can use any flavor cake mix, though white or yellow works best for vibrant colors.
- Storage: Store covered in refrigerator for up to 3 days.
