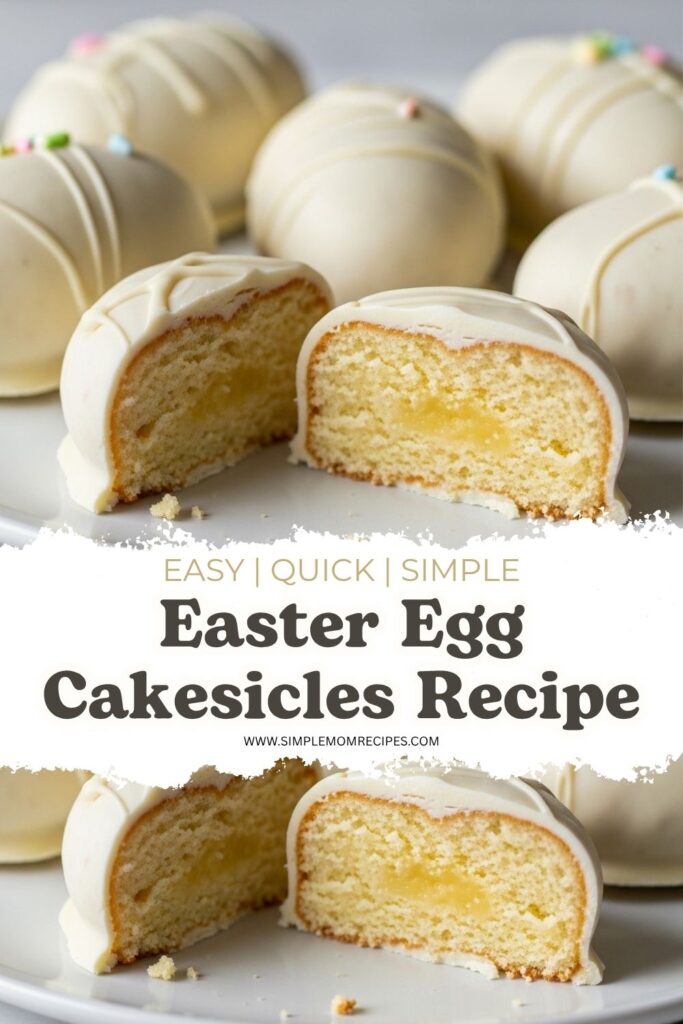
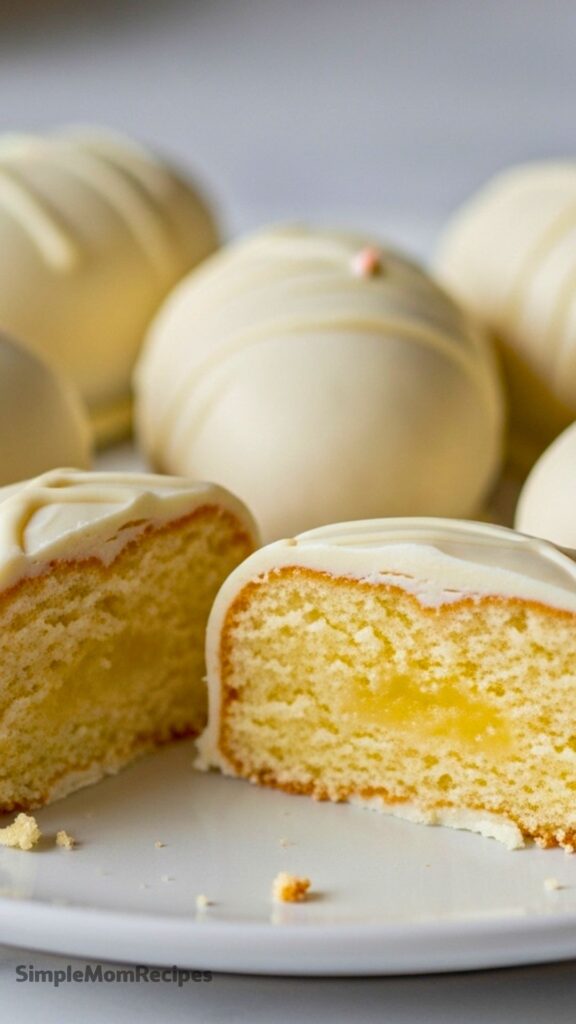
Easter egg cakesicles made with lemon cake, creamy filling, and a smooth chocolate shell. A fun, giftable treat that’s easier than it looks and totally customizable.
What I ended up loving about these little egg treats
I didn’t set out to make anything fancy. I just had leftover lemon cake sitting on my counter, slowly drying out, and I hated the thought of tossing it. That’s honestly how this whole thing started.
At first, I was thinking cake pops. Then I saw an egg mould tucked away in my cabinet, and something clicked. I figured I could skip all the rolling and dipping and just press everything into a shape that actually looked clean.
That one small decision made the whole process feel easier. Less messy too. No uneven balls, no chocolate dripping everywhere. Just neat little eggs that somehow looked like I tried way harder than I did.
They’re not exactly cake pops, not exactly cakesicles either. Kind of somewhere in the middle. But honestly, I don’t think anyone cares what they’re called once they taste one.
Ingredients I Used for the Recipe
- 150 grams lemon cake – crumbled into soft crumbs, this is the base of the filling
- 25 grams lemon curd – adds moisture and a slight tang so it’s not overly sweet
- 50 grams white chocolate – melted into the filling to bind everything together
- 250 to 300 grams white chocolate – used for the outer shell to give that clean egg shape
- Optional sugar decorations – for a bit of color and texture on the outside
I’ve tried swapping things around a few times. Vanilla cake works fine. Chocolate cake too, if you want something richer. The filling is pretty forgiving as long as it holds together.
How to make Easter egg cakesicles?
Step 1 – Crumble the cake
I start by breaking the cake down with my hands. Not perfectly fine crumbs, just soft and even. I used to rush this part and ended up with weird lumps later, so now I take an extra minute here.
Step 2 – Melt chocolate and lemon curd
I melt the white chocolate with the lemon curd slowly. Microwave works, but I do it in short bursts and stop stirring too aggressively. I learned the hard way that overheating it makes everything split and look… not great.
Step 3 – Combine everything
The melted mixture goes straight into the cake crumbs. I mix until it starts feeling like dough. If it’s too soft, I just let it chill for a bit. It should hold shape without sticking everywhere.
Step 4 – Prepare the chocolate shell
I melt more white chocolate for the shells. This part used to intimidate me, but honestly, I just aim for smooth and slightly cooled chocolate. Nothing fancy.
I pour or brush it into the mould, making sure it coats everything. I prefer doing two thin layers instead of one thick one. It sets better and doesn’t crack as easily later.
Step 5 – Fill the mould
Once the shell firms up, I press the cake mixture inside. Not all the way to the top though. I leave a small gap, maybe a few millimeters, so there’s space to seal it properly.
Step 6 – Seal with chocolate
I cover the top with more melted chocolate and scrape off the extra. Sometimes I tap the mould lightly on the counter to smooth things out. It’s oddly satisfying.
Step 7 – Chill and release
After about 20 to 30 minutes in the fridge, they’re ready to come out. I gently twist the mould and tap it. If they don’t release right away, I don’t force it. A little extra chill time usually fixes it.
Things I figured out after messing this up a few times
My first batch looked rough. Some cracked, some wouldn’t come out, and one completely fell apart in my hand. Still tasted good though, so not a total loss.
Now I pay more attention to the shell thickness. Too thin and it breaks. Too thick and it feels heavy. Two light layers really seem to hit that sweet spot.
Temperature matters more than I expected. If the chocolate is too warm, it doesn’t set right. If it’s too cold, it gets clumpy. I don’t use a thermometer, I just go by feel. Slightly cool to the touch usually works.
And the filling. It needs to be firm enough to hold shape but not dry. If it crumbles, I add a tiny bit more curd or cream. If it’s sticky, I let it chill. It’s a bit of a balance.
Ways I’ve switched it up
Once I got the basic version down, I started playing around with flavors. That’s where this recipe really opens up.
I’ve done chocolate cake with dark chocolate shell. That one felt richer, almost like a truffle inside. I also tried vanilla cake with a bit of cream instead of lemon curd, which made it softer and more mellow.
Sometimes I add a few sprinkles inside the filling. Not necessary, but it makes them fun when you bite into them. Especially if I’m making these for kids.
You don’t even need a mould if you don’t have one. I tried shaping them by hand once. It worked, just not as clean looking. Still tasted exactly the same.
Tips
Take your time coating the mould. I used to rush and ended up with thin spots. Now I rotate it slowly and check from different angles before letting it set.
Leaving that small gap at the top makes sealing so much easier. I skipped this once and couldn’t get the tops to close properly.
This recipe is perfect for leftovers. I’ve used random cake scraps that I didn’t even think would work, and they turned out just fine.
If something cracks or doesn’t release cleanly, I just dip it in more melted chocolate or cover it with decorations. It’s one of those desserts where you can hide flaws pretty easily.
Storage matters
I keep them in an airtight container with a bit of paper between layers. They hold up well for a few days, and honestly, they taste even better the next day.
Sometimes I wrap them individually if I’m giving them away. A simple ribbon makes them look like a proper gift, even though they started as leftover cake in my kitchen.
That’s probably my favorite part about these. They feel a little special, but they don’t require perfect skills or fancy tools. Just a bit of patience and a willingness to go with it, even if things get slightly messy along the way.
Easter Egg Cakesicles Recipe
Description
These Easter Egg cakesicles are a fun twist on cake pops, featuring a soft cake filling mixed with white chocolate and lemon curd, coated in a smooth chocolate shell. Perfect for Easter gifts or festive desserts, they are easy to customize with different cake and chocolate flavours.
ingredients
Instructions
- Crumble the cake into fine crumbs using hands.
- Slowly melt white chocolate with lemon curd using microwave or bain-marie.
- Mix melted chocolate mixture with cake crumbs until a firm dough forms.
- Melt coating chocolate gently and cool to about 27°C.
- Coat mould with 1-2 layers of chocolate and chill 15 minutes.
- Fill mould with cake mixture leaving 3-5 mm gap.
- Seal with melted chocolate and smooth the surface.
- Refrigerate for 30 minutes until fully set.
- Remove gently from mould and serve at room temperature.
Nutrition Facts
Servings 12
- Amount Per Serving
- Calories 210kcal
- % Daily Value *
- Total Fat 12 gg19%
- Saturated Fat 7 gg35%
- Trans Fat 0 gg
- Cholesterol 15 mgmg5%
- Sodium 45 mgmg2%
- Potassium 60 mgmg2%
- Total Carbohydrate 24 gg8%
- Dietary Fiber 0.5 gg2%
- Sugars 18 gg
- Protein 2 gg4%
- Calcium 6 % mg
- Iron 3 % mg
* Percent Daily Values are based on a 2,000 calorie diet. Your daily value may be higher or lower depending on your calorie needs.
Note
- Use milk or dark chocolate for less sweetness.
- Apply 2 thin chocolate layers to avoid cracking.
- Store in airtight container for freshness.
- Decorate with sprinkles or colored cocoa butter.
