I didn’t plan on making Easter Bunny biscuits the day it happened. It just sort of… turned into that kind of afternoon. You know those days when you need something simple, a little messy, and honestly a bit distracting? That was me.
I had flour on the counter before I even fully committed to the idea. And once I started, I remembered why I keep coming back to recipes like this. Not because they’re perfect, but because they’re forgiving.
These biscuits aren’t fancy. They’re soft in the middle, a little crisp on the edges, and shaped like bunnies that somehow always end up looking slightly different from each other. That’s kind of the point though.
The first time I made them, I rushed the dough and didn’t chill it long enough. The bunnies spread out and looked more like blobs. Still tasted great. That was my first lesson with these, they don’t need to look perfect to feel right.
Ingredients I Used for the Recipe
185 g butter (room temperature) - this gives the biscuits that soft, rich base and helps everything come together smoothly
1 cup (220 g) caster sugar - adds sweetness and helps with that slight crisp edge
1 ½ tsp vanilla extract - for that warm, simple flavor that makes the biscuits smell amazing
2 ½ cups (375 g) plain flour - the main structure of the biscuits, keeps them holding shape when cut
1 egg - binds the dough and adds a bit of richness
1 extra egg yolk - makes the texture softer and slightly more tender
1 ½ cups icing sugar - for the icing, gives that smooth, sweet finish
1 tbsp butter (extra, for icing) - makes the icing creamy instead of chalky
1 ½ tbsp boiling water - helps loosen the icing just enough to spread easily
Food dye (optional) - I usually go for soft pink, but honestly any color works
100s and 1000s - for decoration, adds crunch and a bit of fun
Marshmallows - for the bunny tails, probably my favorite part
How to make Easter Bunny Biscuits?
Step 1 - Preheat and get things ready
I start by setting the oven to 180°C and lining a couple of baking trays. I used to skip lining sometimes, thinking it wouldn’t matter. It does. The bottoms stick, and then you’re peeling biscuits off like you’re fixing a mistake.
Step 2 - Cream the butter and sugar
I mix the butter, sugar, and vanilla together until it looks pale and fluffy. This step always feels longer than it actually is. I’ve rushed it before and ended up with dense biscuits. Now I just let it go until it looks right.
Step 3 - Add the rest and form the dough
Flour goes in, along with the egg and extra yolk. I mix until a dough forms. It usually looks a bit rough at first, and I always think I messed it up, but then it pulls together.
Step 4 - Bring it together and chill
I turn the dough out, give it a quick knead, then wrap it up and put it in the fridge for about 30 minutes. This part is annoying when you’re impatient, but skipping it makes everything harder later.
Step 5 - Roll and cut the shapes
Once chilled, I roll the dough out between baking paper to about 5 mm thick. I’ve learned this trick after getting dough stuck to my rolling pin too many times. Then I use a bunny cutter and try not to overthink the shapes.
Step 6 - Bake until lightly golden
They go into the oven for about 10 to 12 minutes. I watch the edges more than the time. When they start turning golden, I pull them out. I used to wait for them to look fully done, but that made them too hard.
Step 7 - Let them cool properly
This is where patience matters again. I leave them on the tray for a bit, then move them to a rack. Decorating warm biscuits is a disaster. I learned that the messy way.
Step 8 - Make the icing
I mix the icing sugar, butter, and hot water until it’s smooth. Not too thick, not too runny. The first time I made it, it slid right off the biscuits. Now I aim for something that spreads without dripping.
Step 9 - Decorate the bunnies
This is honestly the fun part. I spread icing over the biscuits, sometimes tint it pink, sometimes leave it plain. Then I make the tails by dipping marshmallows into icing and rolling them in sprinkles. It’s simple but it works.
The messy part I secretly enjoy
I used to think baking had to be neat to be good. Clean counters, perfect shapes, everything lined up. These biscuits completely changed that for me.
There’s always a moment where flour gets everywhere, icing ends up thicker than planned, and one bunny looks nothing like a bunny. That used to bother me. Now it’s the part I like most.
I remember one batch where I tried making them look “nice” for photos. Took forever, and they still didn’t look perfect. The next batch, I didn’t care at all. Those turned out better somehow.
It made me realize something small but kind of important. When I stop trying to control every detail, the process actually feels better. And the biscuits still taste the same, maybe even better.
How I tweak them depending on mood
I don’t always make these the same way. That’s probably why I haven’t gotten bored of them.
Some days I skip the icing completely. Just plain biscuits, still good. Other days I go all in with colors and decorations.
A few things I’ve tried that worked:
Using mini marshmallows instead of big ones for smaller tails
Adding a tiny bit more vanilla when I want a stronger flavor
Keeping the icing white and just adding sprinkles for a cleaner look
Letting the biscuits bake a minute longer when I want them crispier
Not everything worked though. I once tried making the icing super thin to “drizzle” it. It just pooled everywhere. Lesson learned.
Tips
I know it’s tempting. I’ve done it. The shapes spread and lose definition. It’s worth the wait.
Too runny and it slides off. Too thick and it won’t spread. I adjust slowly, a little water or sugar at a time.
If one side is thicker, you’ll get uneven baking. Some parts soft, some too crisp.
This one matters more than it seems. Warm biscuits melt icing instantly.
Honestly, slightly wonky bunnies look more real. Or at least more fun.
Keep extra dough in the fridge
I don’t always bake everything at once. It’s nice having dough ready for another day.
At the end of it, these Easter Bunny biscuits aren’t just about how they turn out. It’s about the time spent making them, the small mistakes, the adjustments, and those moments where things don’t go exactly as planned but still feel right.
I still get flour on my hands every time. Still second guess the icing. Still end up with at least one oddly shaped bunny on the tray.
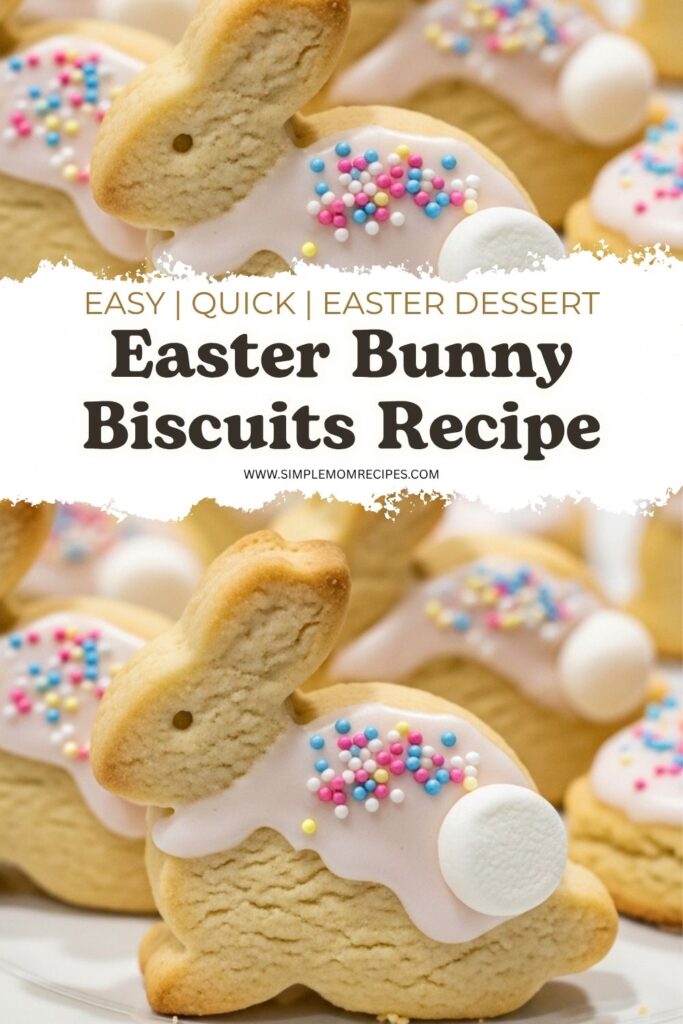
These cute and easy Easter Bunny Biscuits are a perfect baking activity for kids and adults alike. Made with a simple vanilla snap dough, decorated with sweet icing, and finished with a fluffy marshmallow tail, they bring festive cheer to any Easter celebration.
ingredients
Biscuit Dough
185g butter (at room temperature)
220g caster sugar
1.5tsp vanilla extract
375g plain flour
1large egg
1large egg yolk (extra)
Icing and Decoration
180g icing sugar mixture (approx 1.5 cups)
1tbsp butter (melted)
1.5tbsp boiling water
1drop food dye (pink or optional color)
32pieces mini marshmallows (for tails)
2tbsp 100s and 1000s (sprinkles)
Instructions
1
Prepare Oven and TraysPreheat your oven to 180°C (350°F). Line two baking trays with parchment paper.
2
Cream Butter and SugarIn a large bowl or electric mixer, beat the butter, caster sugar, and vanilla extract until light and fluffy.
3
Form DoughAdd the flour, egg, and extra egg yolk. Mix until a smooth dough forms. Turn onto a lightly floured surface and knead gently into a ball.
4
Chill DoughWrap the dough in cling wrap and refrigerate for 30 minutes to firm up.
5
Cut ShapesRoll the chilled dough to 5mm thickness between two sheets of baking paper. Use a bunny-shaped cookie cutter to cut out shapes and place them on the prepared trays.
Re-roll scraps to use all dough.
6
BakeBake for 10–12 minutes until edges are lightly golden. Cool on the tray for 10 minutes, then transfer to a wire rack to cool completely.
7
Make IcingMix icing sugar, melted butter, boiling water, and food dye until smooth. Adjust consistency with more sugar if too runny.
8
DecorateSpread icing over cooled biscuits. Dip one end of a mini marshmallow in icing, roll in sprinkles, and attach to the back of the bunny as a tail. Let set before serving.
Nutrition Facts
Servings 32
Amount Per Serving
Calories95kcal
% Daily Value *
Total Fat4gg7%
Saturated Fat2.5gg13%
Trans Fat0gg
Cholesterol15mgmg5%
Sodium35mgmg2%
Potassium25mgmg1%
Total Carbohydrate14gg5%
Dietary Fiber0.2gg1%
Sugars8gg
Protein1.2gg3%
Calcium 10 mg
Iron 0.4 mg
* Percent Daily Values are based on a 2,000 calorie diet. Your daily value may be higher or lower depending on your calorie needs.
Note
Make Ahead: Dough can be made 2 days ahead and kept chilled. Baked biscuits store well in an airtight container for up to 5 days.
Kids' Touch: Let children choose food dye colors and decorate their own bunnies for extra fun.
No Marshmallows? Use a dollop of icing or a candy ball for the tail instead.
Gluten-Free Option: Substitute plain flour with a 1:1 gluten-free baking blend.
I’m a London-based food writer, recipe developer, and home cook who has been passionate about cooking for over 15 years. What started as a way to recreate my mother’s traditional dishes turned into a lifelong love for experimenting with flavors, writing about food, and helping others feel more confident in the kitchen.