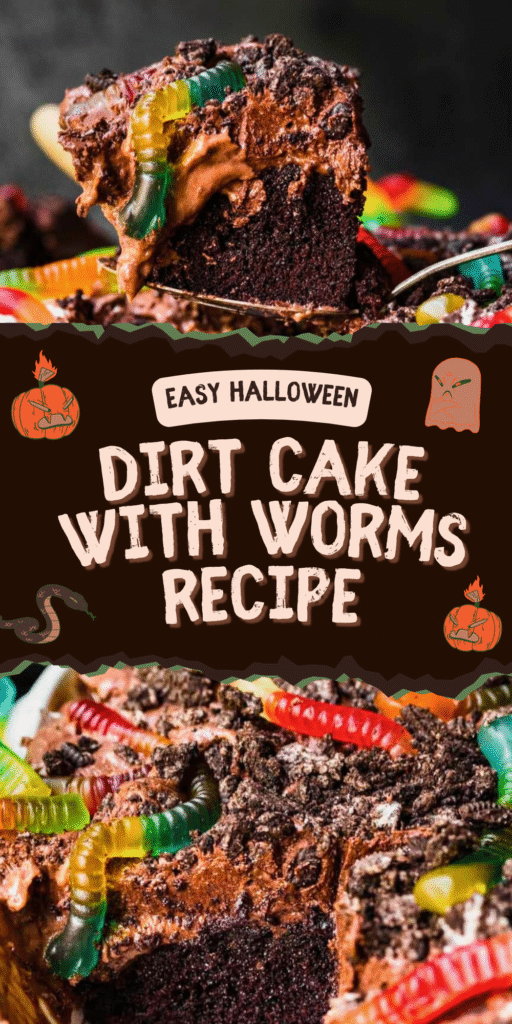
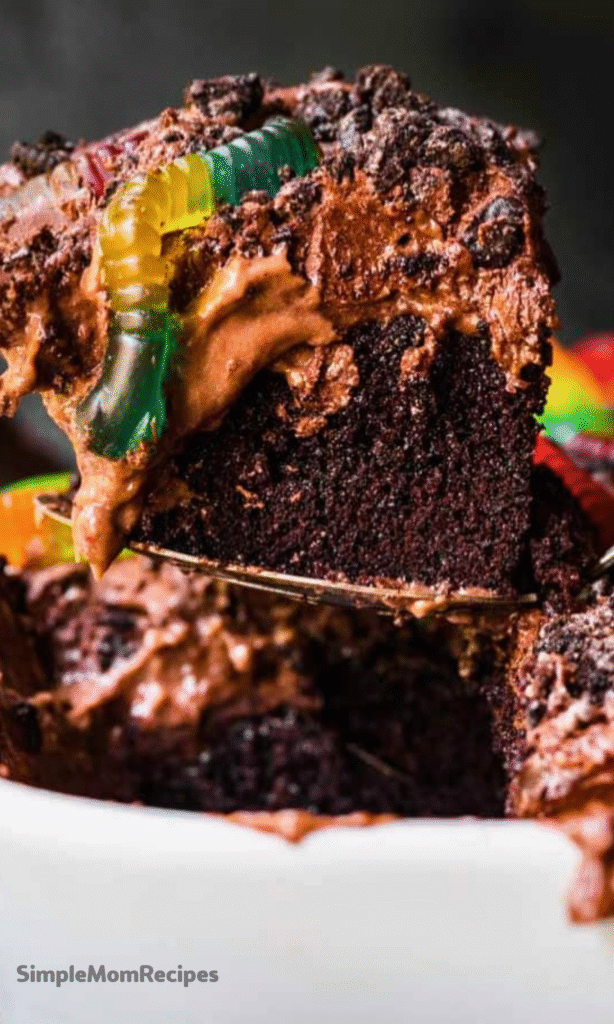
There’s something wonderfully, delightfully wrong about serving a bowl of dirt for dessert. And yet, here we are.
This Dirt Cake with Worms is a masterpiece of playful deception, a treat that’s as fun to make as it is to eat. It’s the kind of dessert that makes kids’ eyes light up with a mix of confusion and pure joy.
Best of all, it’s disgustingly delicious!
Why This Recipe is a Timeless Classic
Some recipes come and go, but this one has serious staying power. It’s been a hit at birthday parties and Halloween gatherings for decades, and for good reason.
It requires no baking, which is a gift on a hot day. It’s incredibly simple, relying on a few pantry staples to create pure magic.
And honestly, the combination of creamy pudding, rich Oreos, and chewy gummy worms is just… perfection.
Ingredients Needed for the Recipe
Gathering your ingredients is the first step toward a deliciously messy adventure. Here’s what you’ll need:
- 4 oz cream cheese, softened
- 1/4 cup butter, softened
- 1/2 cup powdered sugar
- 8 oz whipped topping (like Cool Whip), thawed
- 1 box (3.9 oz) instant chocolate pudding mix
- 1 1/2 cups cold milk
- 2 sleeves (about 36) Oreo cookies
- A handful of extra Oreos for garnish
- 1 bag of gummy worms
That’s it! Simple, right? The magic is in how you put them all together.
Choosing Your Perfect Serving Vessel
Part of the charm of this dessert is how you present it. The container you choose can completely change the experience.
For a classic, communal feel, a clean, new flowerpot is a fantastic choice. Just line it with parchment paper first.
Individual clear plastic cups are brilliant for parties, preventing any arguments over who got more worms. And glass jars give it a charming, rustic look that’s perfect for a picnic.
How to make Dirt Cake With Worms?

Preparing Your “Dirt”
First things first, we need to make the dirt. And for that, we need finely crushed Oreos.
You can toss the whole cookies—creme filling and all—into a food processor and pulse until they’re fine crumbs. Or, for a more hands-on approach, place them in a heavy-duty zip-top bag and crush them with a rolling pin.
This second method gives you a bit more texture, with some satisfyingly chunky pieces mixed in with the fine soil. Set your dirt aside for now.
Creating the Creamy Cloud Layer
In a medium bowl, beat the softened cream cheese, butter, and powdered sugar together until the mixture is completely smooth and fluffy. No lumps allowed!
Now, here’s the key: gently fold in the whipped topping. Don’t stir vigorously—use a spatula and a light hand, folding from the bottom up.
This keeps the air in the whipped cream, ensuring your final dessert is light as a cloud, not dense and heavy.
Whipping Up the Pudding Base
In a separate, larger bowl, whisk the instant chocolate pudding mix with the cold milk. Whisk for a good two minutes, until it’s thick and dreamy.
Now, gently fold the pudding into the cream cheese mixture you just made. Again, fold, don’t stir. You’re combining two creamy worlds into one super-creamy, mousse-like masterpiece.
See how it’s starting to come together? It already looks too good to be called “dirt.”
The Art of Assembly
This is where the fun really begins. Grab your chosen cups, jars, or dish.
Spoon a layer of your crushed Oreos into the bottom, patting it down lightly. This is the foundation of your edible garden.
Next, add a thick layer of the creamy pudding mixture. For neatness, you can spoon the mixture into a large zip-top bag, snip off a corner, and pipe it in. Tap the container gently on the counter to settle everything and remove air bubbles.
The Grand Finale: Garnish and Serve
Top everything off with another generous layer of your Oreo dirt. Be generous!
Now, cover and refrigerate the dessert for at least two hours. This chill time is non-negotiable—it allows the flavors to meld and the texture to set up perfectly.
Right before serving, add the gummy worms. Poke them into the dirt, let them slither over the top, and even bury one halfway for a creepy, crawly effect.
Tips
Texture is Key: For the creamiest results, use whole milk and make sure your cream cheese and butter are properly softened, not melted.
Fold, Don’t Mix: Remember that gentle folding motion when combining the whipped cream and pudding. It makes all the difference in creating a light, airy texture.
Make-Ahead Magic: You can assemble this dessert up to 24 hours in advance. Just wait to add the final layer of Oreo crumbs and the gummy worms until you’re ready to serve, so they stay crunchy and chewy.
Storing Leftovers: If you have any leftovers (a rare occurrence!), remove the gummy worms first so they don’t get soggy. Cover with plastic wrap and refrigerate for 2-3 days.
Incredibly Fun Flavor Variations
While chocolate pudding is the classic, don’t be afraid to get creative with the flavors. The basic structure of this dessert is a fantastic canvas.
Try using instant vanilla or cheesecake pudding for a “vanilla soil” look. You could even use pistachio pudding for a green, grassy field—perfect for an Easter-themed treat.
For a cookies-and-cream explosion, use Golden Oreos instead of chocolate ones. The possibilities are endless, and all of them are delicious.
What to Serve With Your Wiggly Masterpiece
This dessert is a star on its own, but it plays well with others too. It’s the perfect, whimsical ending to a casual summer barbecue.
Serve it alongside other finger-food favorites like brownie bites, fresh fruit skewers, or a simple ice cream bar.
For a Halloween party, pair it with themed drinks like a bubbling witch’s brew punch. The contrast of the creepy cake and a bright, fruity drink is always a hit.
The Secret to the Perfect Gummy Worm Placement
It might seem silly, but there’s an art to the worms. Don’t just toss them on top at the last minute.
For a real “wow” factor, as you’re assembling the cups, press a worm against the side of the clear glass before adding the next layer of pudding. It will look like it’s burrowing deep within the dirt.
You can also use a combination of worms—half buried, some peeking out, others coiled on the surface. This creates a dynamic, lively scene that’s sure to get a reaction.

Dirt Cake With Worms Recipe
Description
This Dirt Cake with Worms is a disgustingly delicious no-bake dessert that kids (and adults!) adore! Layers of crushed Oreo “dirt” and fluffy chocolate pudding mousse are topped with wriggly gummy worms for a fun, spooky treat perfect for Halloween or summer parties. Ready in minutes and always a crowd-pleaser!
ingredients
Instructions
-
Crush Oreos in a food processor or sealed zip-top bag until fine crumbs form. Set aside.
-
In a medium bowl, beat softened cream cheese, butter, and powdered sugar until smooth. Gently fold in Cool Whip until fully combined. Set aside.
-
In a large bowl, whisk pudding mix and milk for 2 minutes until thickened. Let sit 2 minutes to set.
-
Gently fold the pudding mixture into the cream cheese mixture until smooth and fluffy.
-
In individual clear cups or a 9x13-inch dish, layer 2–3 tbsp Oreo crumbs at the bottom. Add a layer of chocolate mousse mixture (use a piping bag or spoon). Tap gently to remove air bubbles.
-
Add another layer of Oreo crumbs, then more mousse. Top with a final layer of Oreo crumbs to resemble dirt.
-
Cover and refrigerate for at least 2 hours (or up to 24 hours). Just before serving, insert gummy worms into the “dirt.”
Nutrition Facts
Servings 12
- Amount Per Serving
- Calories 320kcal
- % Daily Value *
- Total Fat 17gg27%
- Saturated Fat 9gg45%
- Trans Fat 0gg
- Cholesterol 35mgmg12%
- Sodium 320mgmg14%
- Potassium 180mgmg6%
- Total Carbohydrate 40gg14%
- Dietary Fiber 1gg4%
- Sugars 28gg
- Protein 4gg8%
- Calcium 80 mg
- Iron 2 mg
* Percent Daily Values are based on a 2,000 calorie diet. Your daily value may be higher or lower depending on your calorie needs.
Note
- Make ahead: Assemble up to 24 hours in advance, but add gummy worms just before serving to keep them chewy.
- Pudding tip: Use instant pudding mix—do not prepare it with milk separately. Mix powder directly with cold milk as directed.
- Oreo hack: Leave the cream filling in—it adds sweetness and helps bind the “dirt.”
- Storage: Keep covered in the fridge for 2–3 days. Remove gummy worms before storing to prevent sliminess.
- Variations: Try vanilla, butterscotch, or Oreo pudding for a fun twist!

