I created this Chocolate Covered Strawberries Cake with celebration in mind, but it has a way of sneaking into ordinary days too. Chocolate and strawberries together always feel special, even when nothing big is happening.
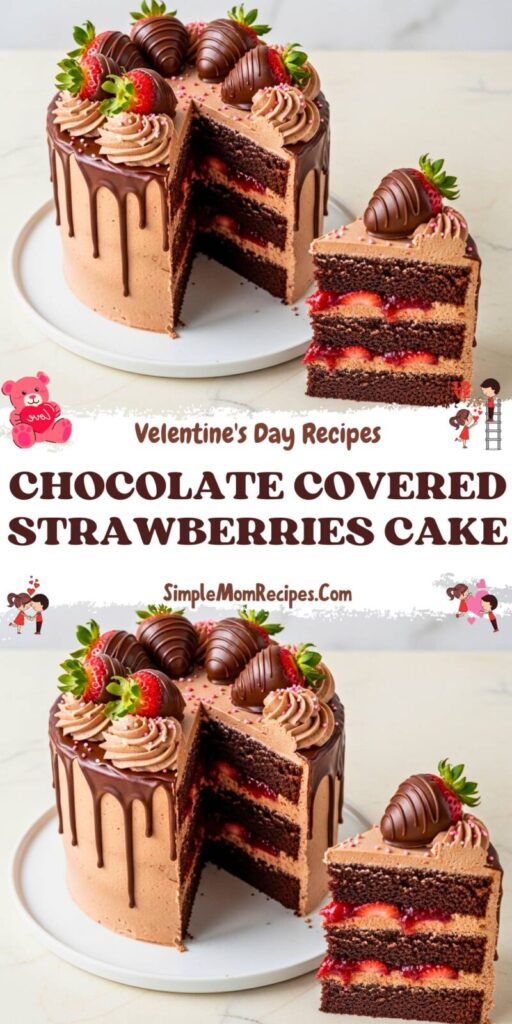
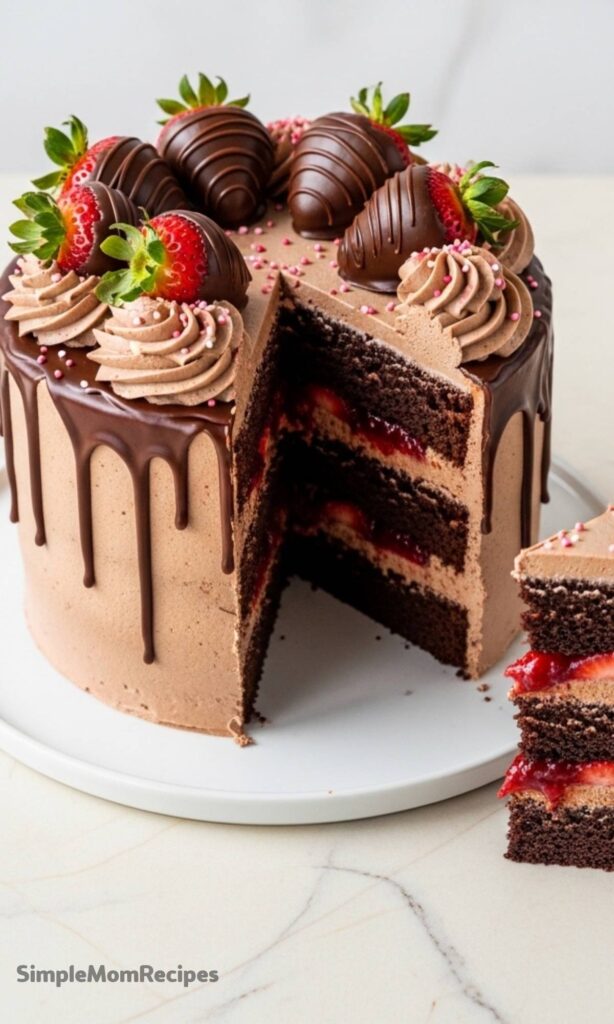
This cake is tall, dramatic, and unapologetically rich. Three layers of dark chocolate cake are stacked with strawberry filling, wrapped in chocolate Swiss meringue buttercream, and finished with a glossy chocolate drip.
It sounds fancy, but the process is surprisingly approachable. I’ve made this more than once when I wanted a showstopper that still tasted comforting and familiar.
The flavors are balanced on purpose. Deep chocolate, bright fruit, and silky buttercream all get their moment without overpowering each other.
Why this cake works so well
The chocolate cake stays moist thanks to oil, milk, and a little espresso powder. You don’t taste coffee, but it deepens the chocolate in a quiet, sneaky way.
The strawberry filling is thick enough to slice cleanly. That matters more than you think when you’re stacking layers and want everything to stay put.
Chocolate Swiss meringue buttercream keeps the sweetness in check. It’s smooth, light, and melts beautifully against the cake.
Ingredients Needed for the Recipe
- Granulated sugar – sweetens the cake and stabilizes the meringue.
- All-purpose flour – gives structure to the cake layers.
- Dutch-processed cocoa powder – creates a deep chocolate flavor.
- Baking powder and baking soda – help the cake rise evenly.
- Salt – balances sweetness and enhances flavor.
- Eggs – bind the batter and add richness.
- Whole milk – keeps the cake tender.
- Vegetable oil – adds moisture that lasts for days.
- Vanilla extract – rounds out the chocolate notes.
- Instant espresso powder – intensifies the cocoa flavor.
- Boiling water – dissolves espresso and smooths the batter.
- Frozen strawberries – form the base of the filling.
- Cornstarch – thickens the strawberry filling.
- Lemon juice – brightens the fruit flavor.
- Egg whites – create a stable Swiss meringue base.
- Unsalted butter – turns meringue into silky buttercream.
- Bittersweet chocolate – flavors the buttercream.
- Semi-sweet chocolate – forms the drip topping.
- Heavy cream – melts chocolate smoothly for the drip.
Planning Ahead Makes This Easier
This cake is much less stressful when broken into parts. I usually bake the cake layers and make the strawberry filling one day, then assemble everything the next.
Giving yourself that space helps the flavors settle. It also keeps the process fun instead of rushed.
How to make Chocolate Covered Strawberries Cake?
Step 1 – Prepare the Chocolate Cake Batter
Start by heating the oven and preparing your cake pans. Whisk the dry ingredients together until the cocoa is evenly distributed.
Mix the eggs, milk, oil, and vanilla separately so they blend smoothly. Dissolve the espresso powder in boiling water and let it cool slightly.
Step 2 – Bake the Cake Layers
Combine the wet and dry ingredients, then slowly whisk in the espresso mixture. The batter will be thin, and that’s exactly what you want.
Divide the batter evenly and bake until a skewer comes out with moist crumbs. Let the layers cool completely before handling.
Step 3 – Make the Strawberry Filling
Puree the thawed strawberries until smooth, then strain out the solids. This step gives you a clean, smooth filling.
Cook the puree with sugar and cornstarch until thickened. Finish with lemon juice and chill until fully set.
Step 4 – Prepare the Chocolate Swiss Meringue Buttercream
Whisk the egg whites and sugar over a simmering water bath until the mixture reaches temperature. This creates a safe, stable base.
Whip until stiff peaks form, then slowly add butter until smooth. Finish by mixing in melted, cooled chocolate.
Step 5 – Assemble the Cake Layers
Place the first cake layer on a board and pipe a buttercream dam around the edge. Spread strawberry filling evenly inside the border.
Repeat with the second layer, then top with the final layer placed bottom-side up. Press gently to secure.
Step 6 – Apply the Crumb Coat
Spread a thin layer of buttercream over the entire cake. This traps crumbs and gives you a clean base.
Chill the cake until the buttercream firms up. This makes the final frosting much easier.
Step 7 – Frost and Smooth the Cake
Apply a generous layer of buttercream to the top and sides. Use a scraper to smooth everything evenly.
Chill again until the surface feels firm to the touch. Cold cake equals better control.
Step 8 – Add the Chocolate Drip
Melt the chocolate and cream together, then let it cool slightly. It should flow slowly, not rush.
Drip along the edges first, then fill in the top. Chill until set before decorating.
Step 9 – Decorate and Finish
Pipe buttercream swirls around the top edge. Nestle chocolate covered strawberries between each swirl.
Transfer to a serving stand and take a moment to admire it. This cake earns that pause.
Tips
- Use room temperature butter for smooth buttercream.
- Chill the cake often to keep layers stable.
- Test the chocolate drip on the back of the cake first.
- Keep egg whites free from any yolk.
- Let melted chocolate cool before adding it to buttercream.
- Run the mixer on low briefly to remove air bubbles.
Serving Ideas
This cake shines when served slightly chilled, but not cold. I like to let slices sit for ten minutes before serving.
A simple plate is all you need. The cake already brings plenty of drama to the table.
Storage and Make-Ahead Notes
Fully assembled, the cake keeps well in the refrigerator when covered. The flavors actually deepen overnight.
If you have leftovers, store slices in an airtight container. They hold their texture beautifully for a couple of days.
This Chocolate Covered Strawberries Cake is one of those recipes I come back to when I want something bold and comforting at the same time. It never feels tired, and it always gets a reaction.

Chocolate Covered Strawberries Cake Recipe
Description
Celebrate any occasion with this stunning Chocolate Covered Strawberries Cake. Enjoy three layers of moist, espresso-infused dark chocolate cake, filled with a sweet homemade strawberry filling, frosted with velvety chocolate Swiss meringue buttercream, and finished with a glossy chocolate drip and chocolate-covered strawberries.
Ingredients
SPECIAL TOOLS
CHOCOLATE CAKE
STRAWBERRY FILLING
CHOCOLATE SWISS MERINGUE BUTTERCREAM
CHOCOLATE DRIP & DECORATION
Instructions
CHOCOLATE CAKE
-
Prep and Mix Dry Ingredients
Adjust an oven rack to the middle position and heat oven to 325°F. Spray 3 8-inch round cake pans with nonstick baking spray. -
In a large bowl, whisk together the sugar, flour, cocoa, baking powder, baking soda, and salt.
-
In a 4-cup measuring cup, whisk together the eggs, milk, oil, and vanilla extract.
-
In a 2-cup measuring cup, whisk the espresso powder into the boiling water until dissolved.Let cool for 10 minutes.
-
Add the egg-milk mixture to the dry ingredients and whisk to combine. Scrape down the bowl.
-
Pour the warm espresso mixture into the batter and whisk until combined. Batter will be thin.
-
Bake
Divide the batter evenly between the prepared pans. Bake for 25-30 minutes, until a skewer inserted comes out with a few moist crumbs. -
Cool
Let cakes cool in pans for 30 minutes on wire racks. Invert onto racks to cool completely.
STRAWBERRY FILLING
-
Puree and Strain
Puree thawed strawberries in a blender until smooth. Pour puree through a sieve into a bowl to remove solids, pressing with a spoon. -
Cook and Thicken
Place puree in a small saucepan over medium-low heat. Add sugar and the cornstarch-water slurry. Bring to a simmer, stirring constantly until thickened. -
Flavor and Chill
Remove from heat. Cool 5 minutes, then stir in lemon juice to taste. Chill in refrigerator for 2-3 hours until set.
CHOCOLATE BUTTERCREAM
-
Heat Egg Whites and Sugar
In a clean, dry stand mixer bowl, combine egg whites and sugar. Whisk by hand. Place bowl over a simmering pot of water (double boiler). Attach candy thermometer.Ensure bowl bottom doesn't touch water. -
Heat mixture, whisking occasionally, until it reaches 160°F. Immediately transfer bowl to the stand mixer.
-
Whip Meringue
Fit mixer with whisk attachment. Whip on high speed for 10 minutes, until medium-stiff peaks form and bowl is room temperature. -
Add Butter and Chocolate
Switch to paddle attachment. With mixer on low, add butter one tablespoon at a time. Add vanilla. Increase speed to medium-high and beat until smooth, about 5 minutes. -
With mixer on low, pour in the cooled, melted chocolate. Mix until fully combined and smooth. Run mixer on low for 1 minute to remove air bubbles.
ASSEMBLE & DECORATE
-
First Layer and Filling
Place one cake layer on an 8-inch cake board on a turntable. Fit a piping bag with a round tip and fill with buttercream. Pipe a dam around the top edge. -
Spread about 1/2 cup of strawberry filling inside the dam. Place the second cake layer on top.
-
Second Layer and Crumb Coat
Repeat step: pipe a dam, add 1/2 cup filling. Place the third layer on top (bottom side up). Press gently. -
Apply a thin layer of buttercream over the entire cake to create a crumb coat. Freeze for 15 minutes.
-
Final Frosting Layer
Line an 8-inch acrylic disc with parchment. Apply a thick layer of buttercream to the top of the chilled cake. Place the disc, parchment-side down, on top, aligning it with the bottom board. -
Frost the sides. Use a cake scraper touching both the top disc and bottom board to smooth the frosting. Chill for 10-15 minutes.
-
Gently slide an offset spatula under the acrylic disc to release it. Peel off parchment. Fill any gaps with buttercream. Chill cake.
CHOCOLATE DRIP & FINISHING
-
Make Drip
Place chocolate and heavy cream in a microwave-safe bowl. Heat in 30-second intervals, stirring, until smooth and melted. Let cool 15-20 minutes until fluid but not warm.Test consistency on the back of the cake. -
Apply Drip and Top
Using a spoon, carefully drip chocolate down the sides of the chilled cake. Pour remaining chocolate on the center and spread evenly to meet the drips. -
Chill cake for 15 minutes to set the chocolate.
-
Final Decorations
Fit a piping bag with Ateco tip #828 (or similar star tip). Pipe buttercream swirls on top. Alternate placing a chocolate-covered strawberry between each swirl. Add sprinkles if desired. Transfer to a pedestal and serve.
Nutrition Facts
Servings 16
- Amount Per Serving
- Calories 685kcal
- % Daily Value *
- Total Fat 40gg62%
- Saturated Fat 23gg115%
- Trans Fat 0.5gg
- Cholesterol 95mgmg32%
- Sodium 420mgmg18%
- Potassium 280mgmg8%
- Total Carbohydrate 78gg26%
- Dietary Fiber 4gg16%
- Sugars 58gg
- Protein 6gg12%
- Calcium 80mg mg
- Iron 3mg mg
* Percent Daily Values are based on a 2,000 calorie diet. Your daily value may be higher or lower depending on your calorie needs.
Note
- Make-Ahead: Cake layers can be baked, wrapped, and refrigerated up to 3 days ahead. Strawberry filling can be made and stored in the fridge for up to 5 days. Buttercream is best used the day it's made.
- Espresso Powder: Enhances chocolate flavor without making the cake taste like coffee. If you don't have it, you can use instant coffee granules.
- Buttercream Success: Ensure your bowl and whisk are completely grease-free for the meringue. Room temperature butter is crucial for a smooth frosting.
- Chocolate Drip Control: Let the ganache cool to the consistency of warm honey. Do a test drip on the back of the cake first. If it runs too fast, let it cool more; if it's too thick, reheat briefly.
- Serving & Storage: Store the assembled cake in an airtight container in the refrigerator. Let slices sit at room temperature for 20-30 minutes before serving for the best texture and flavor.
