
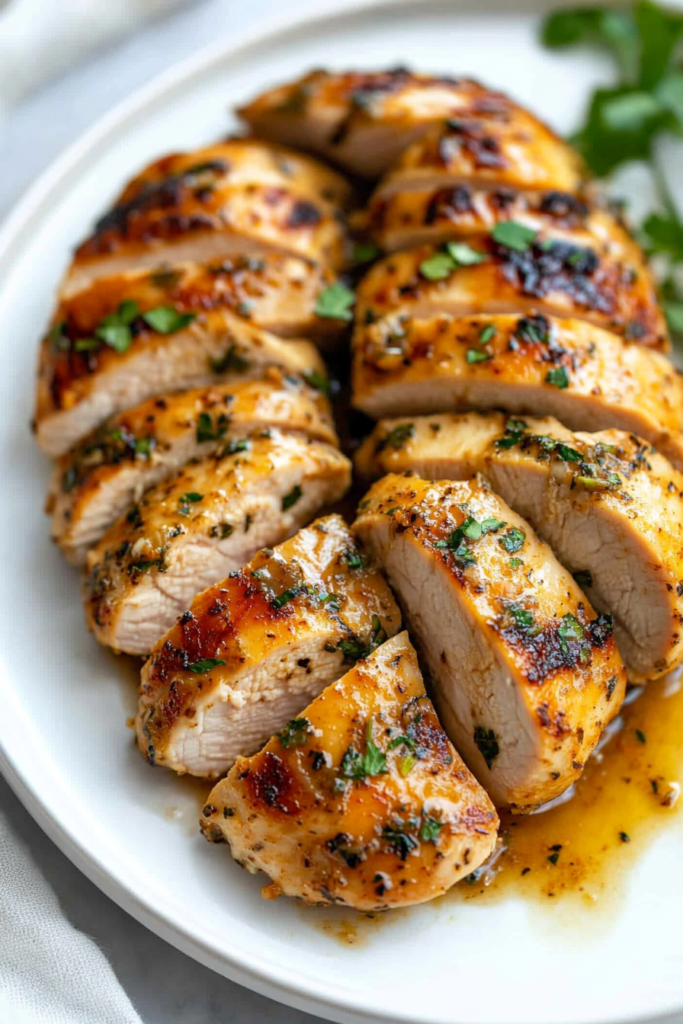
An ideal roasted whole chicken, rubbed down with garlic and herb butter, whose flavor has been tweaked just a bit. The buttery-garlic bath penetrates the flesh, ensuring that each bite is juicy and sapid, and the skin crisps up to golden perfection.
Topped with fresh herbs and a squeeze of lemon, it’s sure to be a hit at any gathering. This beautifully decadent pie deserves a spot on any holiday, and the delicious scent of this baby coming outta the oven will have everyone looking to dig in! Whether it’s a family dinner, a fancy occasion, or just one of those days when you wanna impress — this one’s gotta do it!
How To Cut Chicken for Garlic Herb Butter Chicken Recipe?
- Get Your Tools Ready: You will need a sharp knife or kitchen shears, and a cutting board, plus paper towels to dry the chicken.
- Remove the Backbone (Optional for Spatchcocking): With the chicken breast-side down, use kitchen shears to cut along both sides of the backbone, then push down on the breastbone to flatten.
- Separate the Leg Quarters: Turn the chicken breast-side up, pull a leg away from the body and slice through the joint where the thigh meets the body. Repeat for the other leg.
- Separate Drumsticks and Thighs: Locate the natural joint between the drumsticks and thighs, then cut through it.
- Remove the Wings: Pull each wing away from the body and cut through the joint where it attaches to the breast.
- Split the Breast (If Needed): Keep the breast whole or slice it in half through the center breastbone for smaller portions
How To Cook the Delicious Garlic Herb Butter Chicken?
Step 1: Preheat the Oven — Heat It Up
The first step — preheat your oven to 430°F (220°C). We want it in hot so the skin crisps and doesn’t get soggy. If using a baking tray, line with foil (less mess, thank me later). A roasting pan? All you need is a bit of grease.
Step 2: Prepare the Chicken – The Cleanup Crew
Alright, look inside that chicken — there’s always a neck or some extra bits in there. Toss those out. And if you notice any feathers stickin’ around, pluck ’em off. Then take some paper towels and dry the chicken — this will make the skin crisp and not steam.
Quick tip: Dry chicken = crispy skin. Wet chicken = kinda depressing, chewy skin.
Step 3: Butter, Oil & Season — The Good Stuff
Now for the fun part! Follow that with olive oil, melted butter, a splash of white wine (if you’re feelin’ fancy) and some lemon juice — pour it all over the chicken. Under the skin, in the cavity, around.
Then season as if you care — salt, pepper and a little parsley. Don’t hold back here, this is where the flavor starts.
Step 4: Garlic Magic
Mince a few cloves of garlic and rub them all over. Under the skin, on the skin, inside; just really get in there. The more, the better. You want that garlicky goodness to seep into the meat as it roasts.
Step 5: Stuff it Up — More Flavor Incoming
Then, you take a head of garlic (yes, the whole head!, a few sprigs of fresh rosemary and the squeezed lemon halves from earlier. Stuff ‘em straight into the chicken cavity. Believe me, it gives a lot of aroma while cooking.
Oh, and tie the legs together with some kitchen string — keeps it all neat, and helps it cook evenly.
Step 6: Roast It — Put the Oven to Work
Put chicken breast-side up in the baking tray or roasting pan. Get it in the oven and roast for about 1 hour and 15-20 minutes.
Step 7: The Finishing Touch
When it’s nearly finished, baste it again and turn your oven back to broil mode for 2 to 3 minutes. This step gives you that deep golden, slightly crisp finish. Just watch it carefully—nobody wants charred chicken!
Step 8: Rest & Serve
Return the chicken to the oven and cover loosely with foil. Let it sit for 10 minutes. I know, I know, it smells incredible, but this step adds juiciness to the meat.
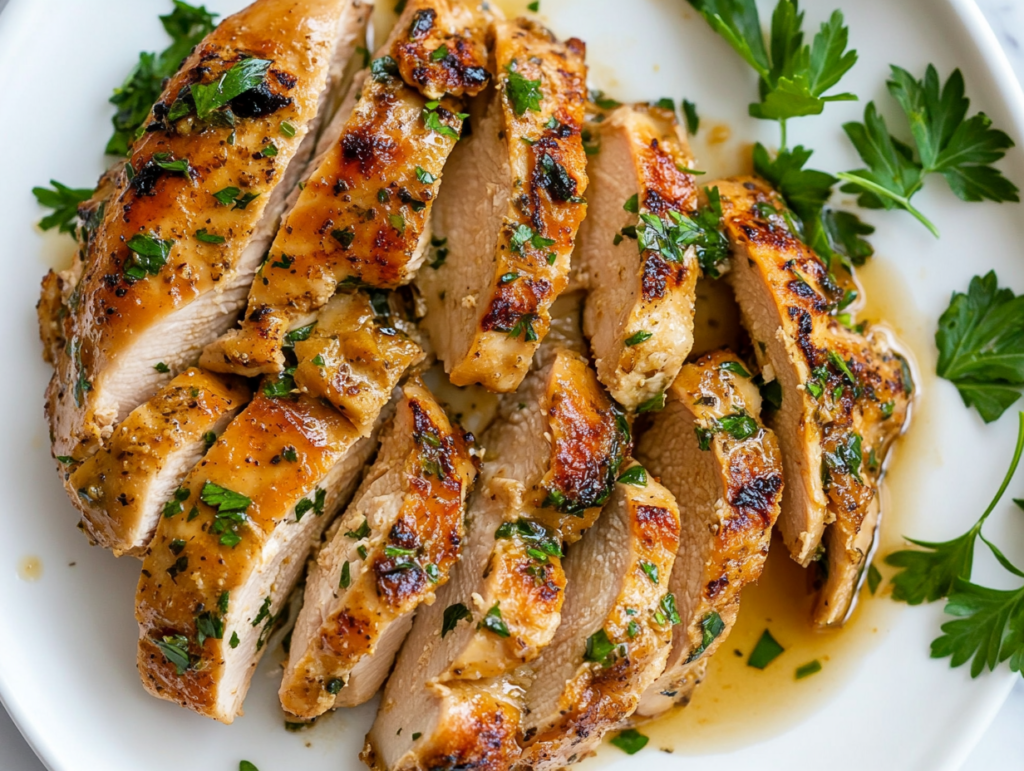
Afterward, carve it up and drizzle with those pan juices. Perhaps drizzle a bit more lemon on top if you’re feelin’ it. Boom! Dinner is served.
Tips for Making It Even More Delicious:
- Don’t Begin with Cold Chicken — Roasting a cold bird causes uneven cooking. Leave it out for 30 minutes before seasoning it.
- Butter Under the Skin — Gently separate the skin from the breast and rub the butter directly onto the meat for the juiciest, most tender meat.
- Flavors from the Inside Out – Stuff the cavity with garlic, herbs, and lemon, and it will infuse the meat with deep flavor as it cooks.
- Salt in Advance (if You Can)– Salting hours or the night before gives the salt time to seep into the meat for flavor.
- crispy skin hack — You pat the chicken dry, then season it and place it uncovered in the fridge for an hour before roasting, so that excess moisture evaporates
Garlic Herb Butter Chicken Recipe
An ideal roasted whole chicken, rubbed down with garlic and herb butter, whose flavor has been tweaked just a bit. The buttery-garlic bath penetrates the flesh, ensuring that each bite is juicy and sapid, and the skin crisps up to golden perfection.This beautifully decadent pie deserves a spot on any holiday,
Ingredients
Instructions
-
Preheat oven to 430°F (220°C) and prepare a baking tray or roasting pan.
-
Pat the chicken dry and remove any excess moisture.
-
Mix butter, olive oil, wine, and lemon juice, then rub it all over the chicken, including under the skin and inside the cavity.
-
Season generously with salt, pepper, and parsley.
-
Rub minced garlic over and under the skin for extra flavor.
-
Stuff the cavity with the peeled garlic head, rosemary sprigs, and lemon halves.
-
Tie the legs together with kitchen string to keep the shape intact.
-
Place the chicken breast-side up in the roasting pan and bake for 1 hour 15-20 minutes, basting halfway.
-
Broil for 2-3 minutes at the end for a golden, crispy finish.
-
Let it rest for 10 minutes, then serve with pan juices.
Nutrition Facts
- Amount Per Serving
- Calories 690kcal
- % Daily Value *
- Total Fat 55g85%
- Saturated Fat 18g90%
- Trans Fat 1g
- Cholesterol 194mg65%
- Sodium 194mg9%
- Potassium 488mg14%
- Total Carbohydrate 4g2%
- Dietary Fiber 1g4%
- Sugars 0.4g
- Protein 41g82%
- Vitamin A 852 IU
- Vitamin C 12 mg
- Calcium 53 mg
- Iron 2 mg
* Percent Daily Values are based on a 2,000 calorie diet. Your daily value may be higher or lower depending on your calorie needs.